 Pin it
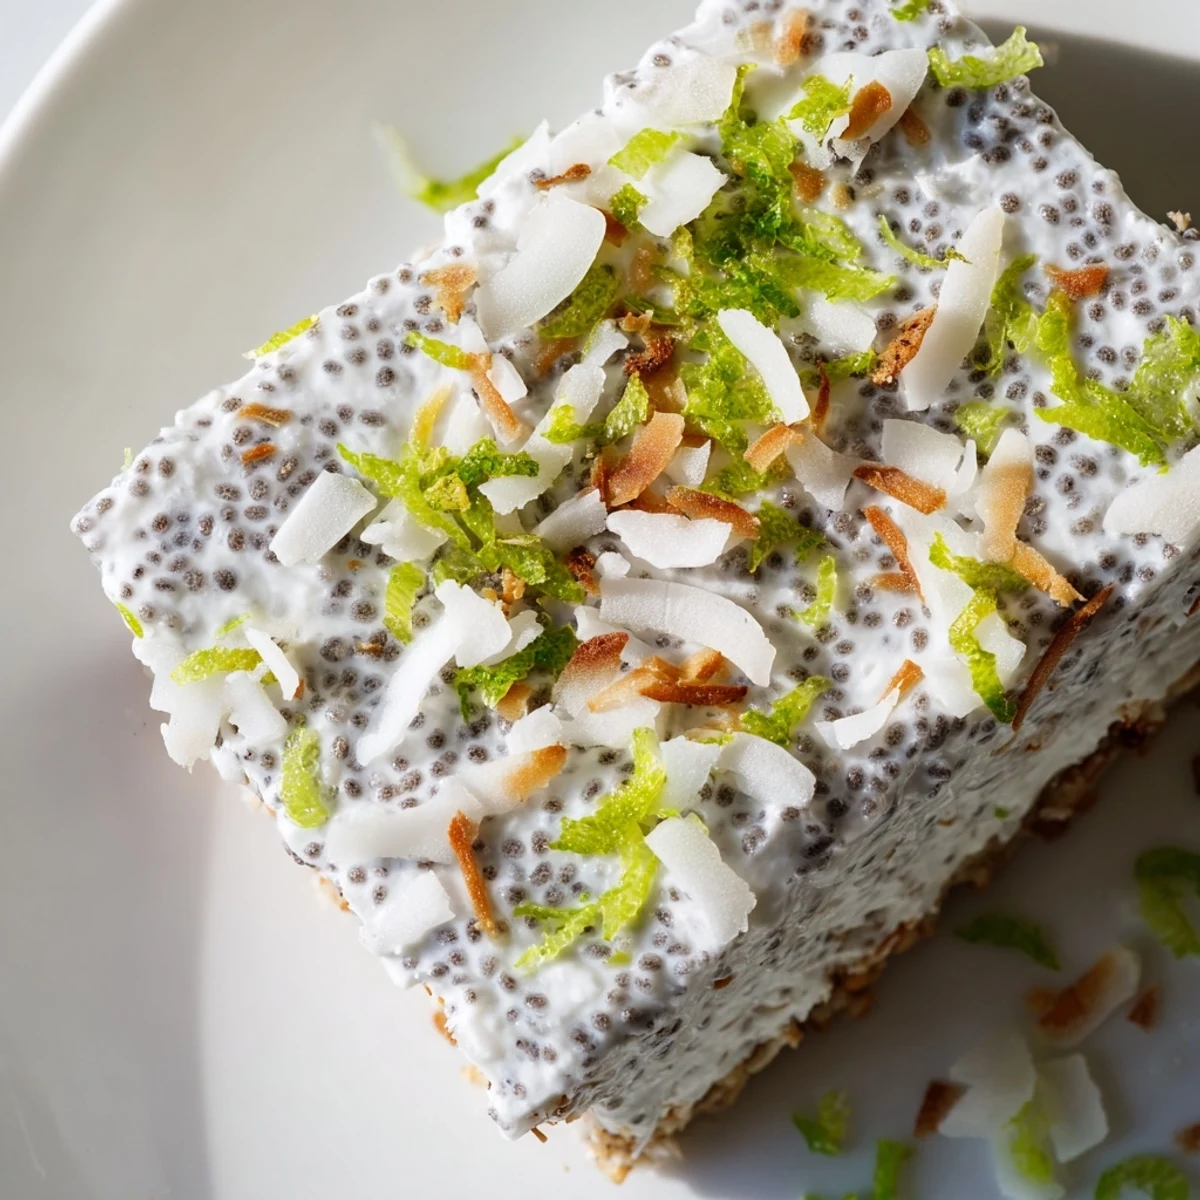
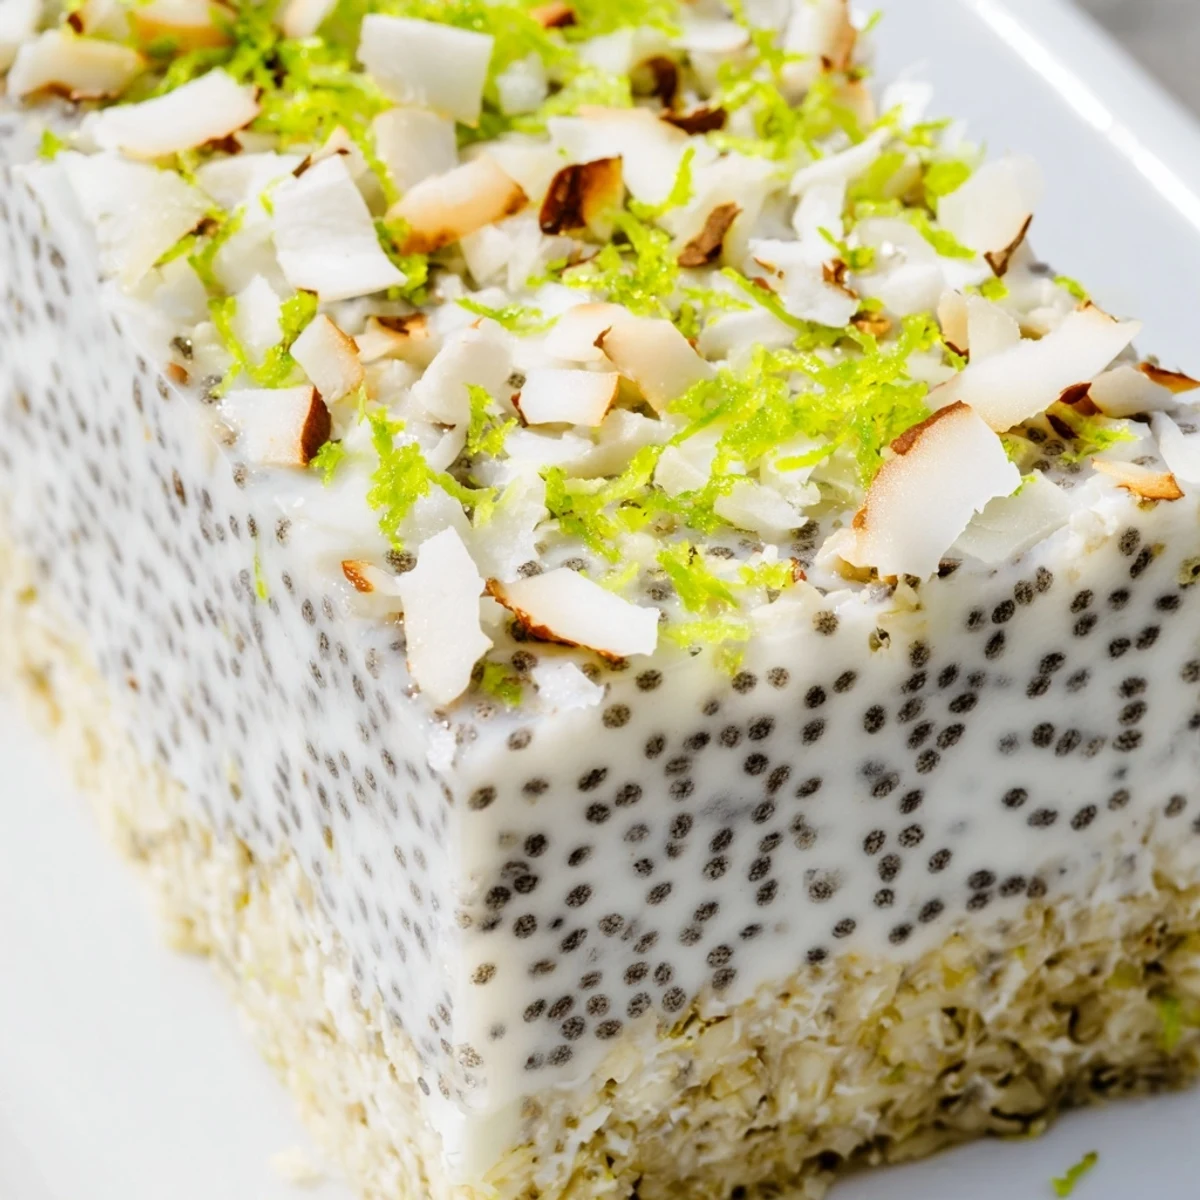
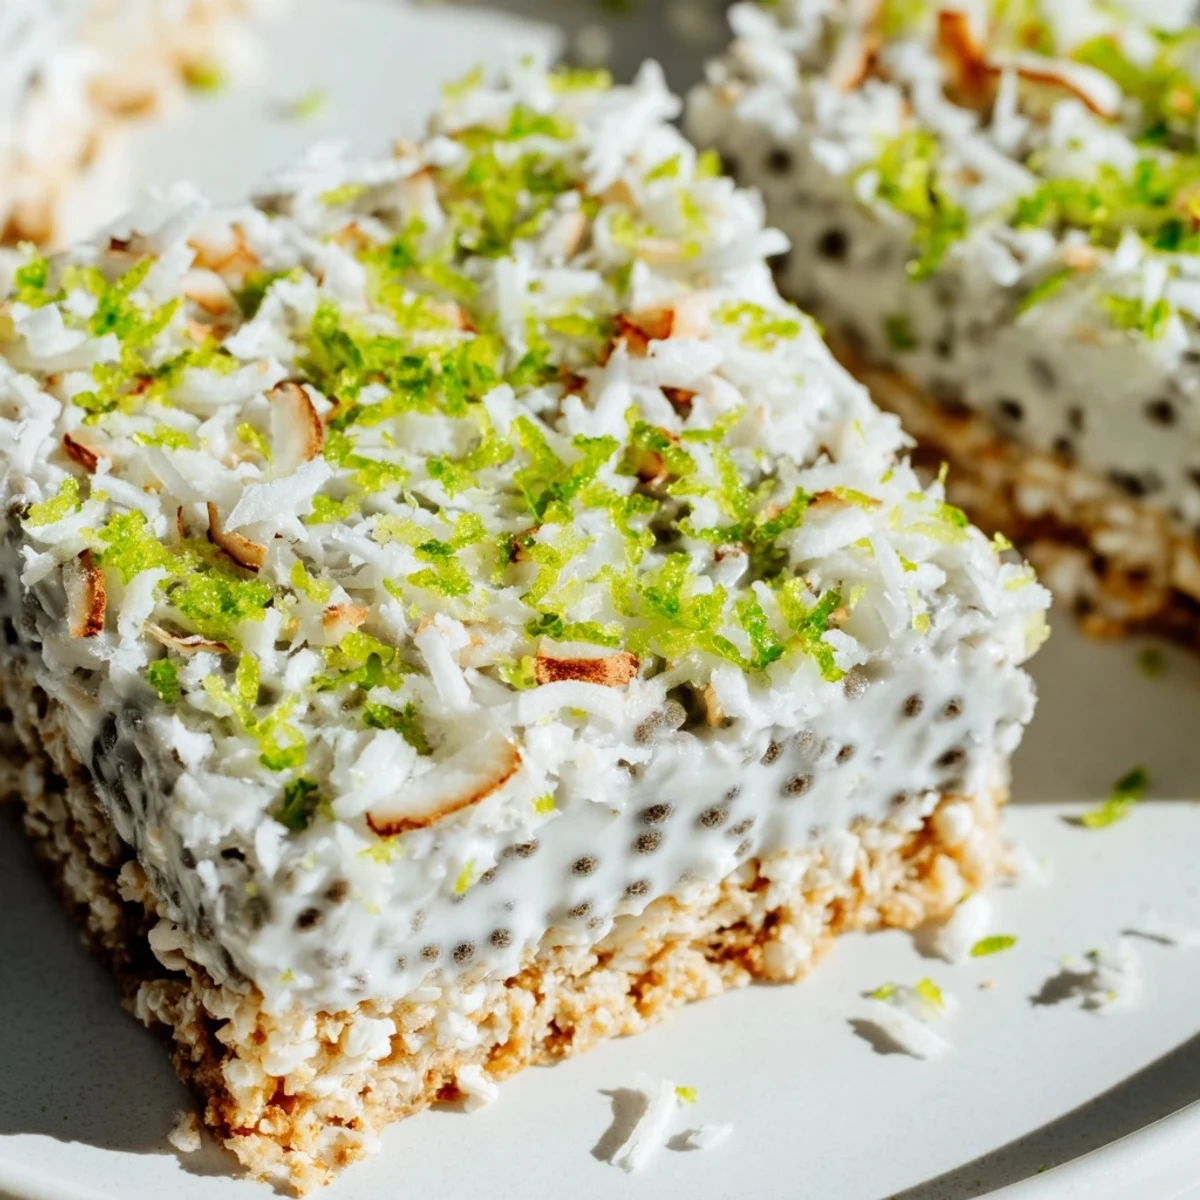
 These zesty coconut lime chia bars combine a crunchy almond-coconut crust with a silky coconut milk and chia seed filling. Fresh lime zest and juice brighten each bite, while toasted coconut topping adds delightful crunch. The no-bake method makes them simple to prepare—just mix, press, refrigerate, and slice. Perfect for meal prep, they keep well in the refrigerator for up to five days.
Last summer my sister came over complaining about how much she missed creamy desserts after going dairy-free. I had just bought a fresh bag of chia seeds and a pile of limes from the farmers market, so we started experimenting at the counter. Within twenty minutes we had these layered bars chilling in the fridge, and by evening she was messaging me about how she ate three in one sitting.
I brought these to a book club meeting last month and watched everyone try to guess what made the filling so creamy. When I finally said chia seeds, three people immediately asked for the recipe. There is something deeply satisfying about serving something that looks fancy and complicated but actually took me fifteen minutes to assemble.
Ingredients
- Unsweetened shredded coconut: Toast half of it for the topping and leave the rest raw for the base. The contrast between toasted and fresh coconut makes every bite interesting.
- Almond flour: Creates a buttery, nutty crust that holds together beautifully. If you need nut-free, oat flour works just as well though the texture becomes slightly more cakey.
- Coconut oil: Must be melted completely but not hot when you mix it into the base. I let it sit on the counter for a few minutes after melting so it does not cook the other ingredients.
- Full-fat coconut milk: The thick cream from a well-shaken can makes all the difference here. Light coconut milk leaves the pudding layer sad and watery.
- Chia seeds: They absorb about four times their weight in liquid, so that quarter cup will plump up into a proper pudding texture. Give them ten minutes to start working before you pour.
- Maple syrup: Adds a caramel undertone that plays beautifully with lime. Agave works too but tastes slightly more neutral.
- Fresh limes: Both zest and juice are non-negotiable here. Bottled lime juice has a weird metallic aftertaste that ruins the bright, fresh flavor.
Instructions
- Prep your pan like you mean it:
- Crumple a sheet of parchment paper into a ball, then smooth it out before lining your 8-inch pan. Those crinkles help the paper grip the corners, and leaving overhang on two opposite sides means you can lift the whole slab out later like a perfectly edible present.
- Build the coconut crust:
- Combine the raw coconut, almond flour, maple syrup, melted coconut oil, and sea salt in a bowl. Mix until everything is evenly coated and the mixture holds together when you squeeze a handful. Press it firmly into the bottom of your lined pan using the back of a measuring cup or your fingers. Pop it in the freezer for ten minutes while you make the filling.
- Whisk up the lime magic:
- In a separate bowl, whisk together the coconut milk, chia seeds, maple syrup, lime zest, lime juice, vanilla, and pinch of salt. Let it sit for about ten minutes, then whisk again to break up any clumps. The chia will start to thicken visibly.
- Layer and chill:
- Pour the chia mixture over your chilled crust and smooth the top with a spatula. Cover and refrigerate for at least four hours, or overnight if you have that kind of patience. The bars should be firm and set before you proceed.
- Finish with flair:
- Toast the extra coconut in a dry pan over medium heat until it is golden and fragrant, watching it like a hawk because coconut burns fast. Sprinkle the toasted coconut and fresh lime zest over the set bars. Lift the whole slab out using the parchment paper and slice into twelve squares with a sharp knife.
 Pin it
 My niece texted me from college last week saying she made these in her dorm room using a mini fridge and a single bowl. Something about a recipe that travels from a proper kitchen to a tiny dorm and still turns out perfect makes me love it even more.
Make Ahead Strategy
The entire recipe can be assembled two days before serving, which is exactly what I do when I am hosting. The crust actually benefits from that extra time to firm up. I slice them just before guests arrive so they look pristine on the platter.
Texture Troubleshooting
If your base is too crumbly, you probably did not press it firmly enough or the coconut oil was not fully melted. Warm it slightly in the pan and press again. For a pudding layer that is not setting, give it more time or add another teaspoon of chia seeds whisked in with a splash of milk.
Serving Ideas
These work for breakfast, dessert, or that weird 3pm slot when you want something sweet but not heavy. I have served them with coconut whipped cream for company and eaten them straight from the fridge in my pajamas. Both ways feel equally right.
- A drizzle of white chocolate takes these into full dessert territory.
- Mint leaves as garnish make them look professionally plated.
- Serve with chilled coconut water for the full tropical experience.
 Pin it
 Keep these tucked in the back of your fridge for emergency sweet attacks. They have saved me from drive-thru runs more times than I care to admit.
Recipe Q&A
- → How long do chia bars need to set?
-
Refrigerate for at least 4 hours until the chia layer is completely firm and set. Overnight chilling works well too.
- → Can I make these nut-free?
-
Yes, simply replace the almond flour with oat flour for a nut-free version while maintaining the same texture.
- → How should I store these bars?
-
Keep in an airtight container in the refrigerator for up to 5 days, or freeze for up to 1 month. Serve chilled.
- → What can I use instead of maple syrup?
-
Agave syrup works perfectly for vegan options. Honey also works if you don't require vegan ingredients.
- → Why do I need to whisk the chia mixture twice?
-
The first whisk combines ingredients, while the second after 10 minutes breaks up any clumps and ensures even distribution for a smooth, consistent texture.
