 Pin it
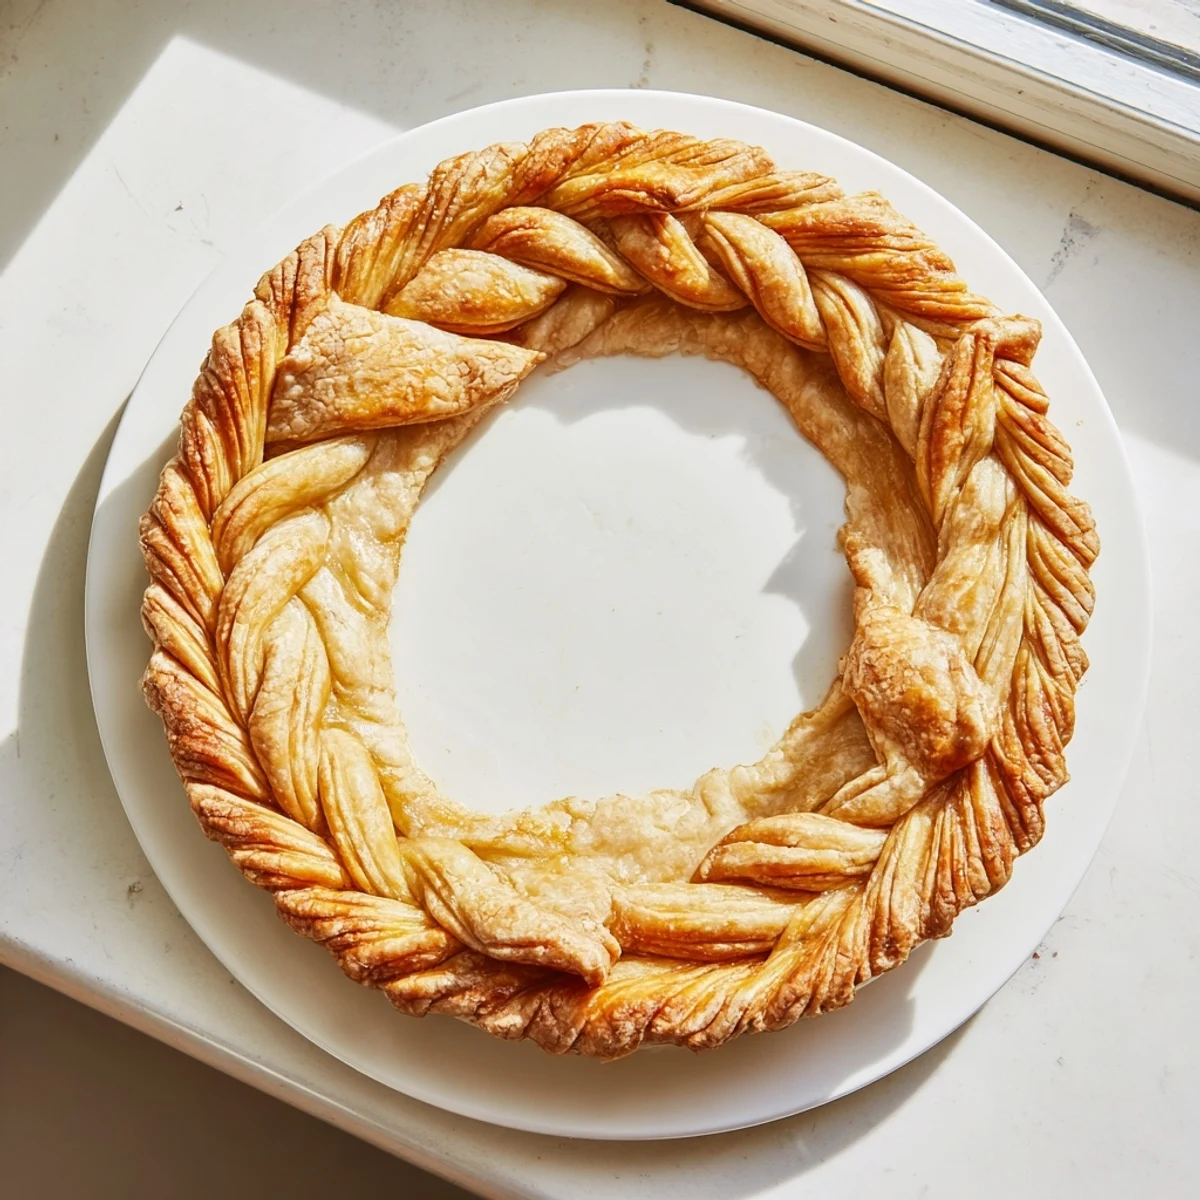
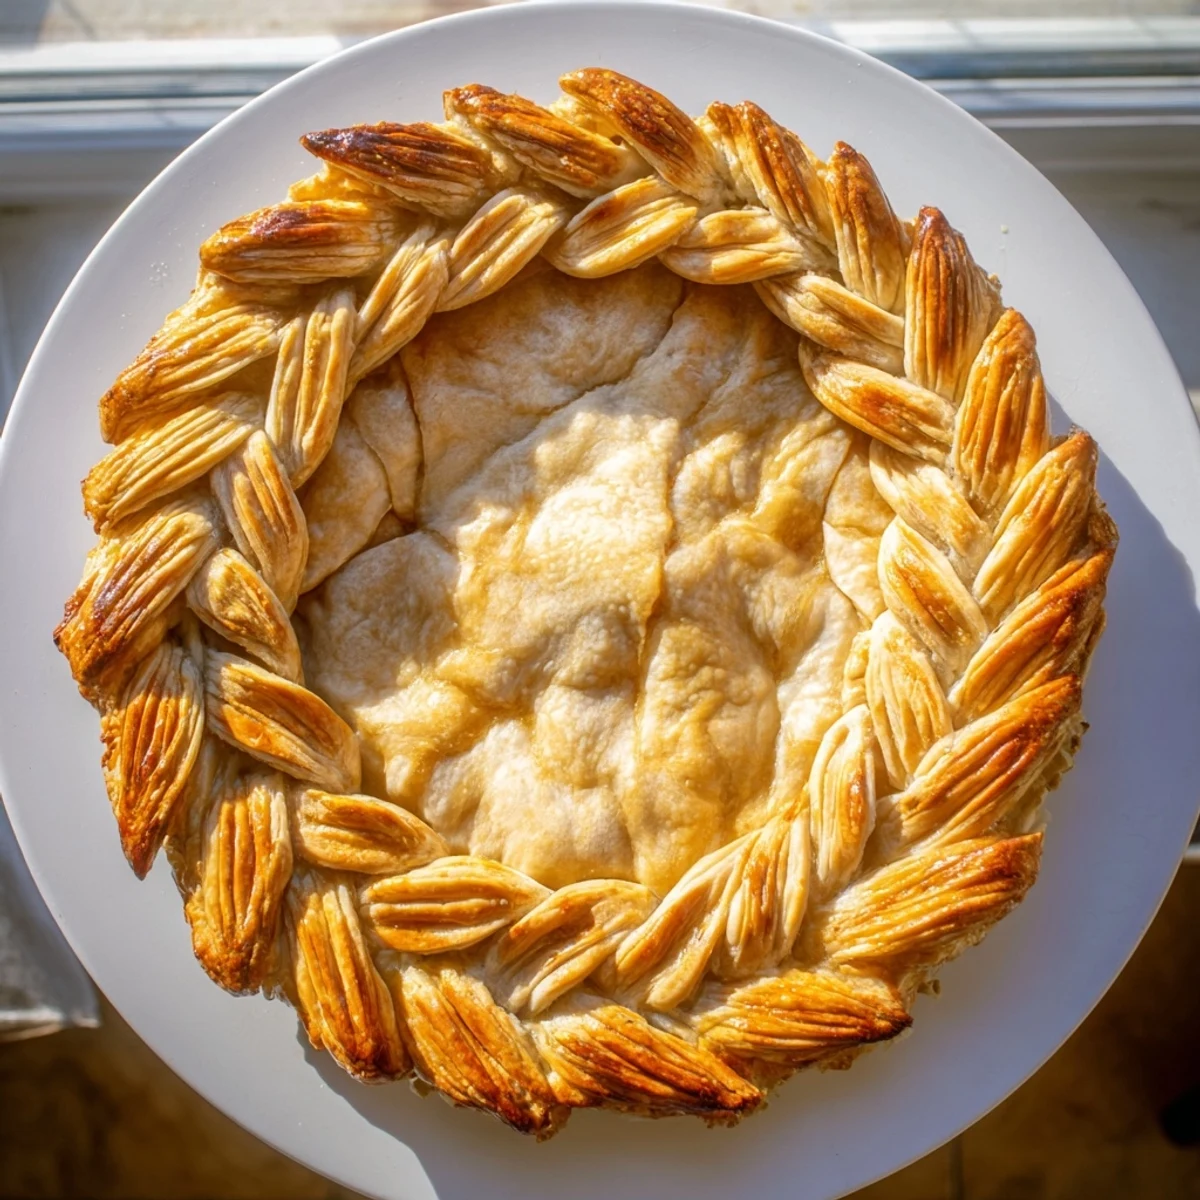
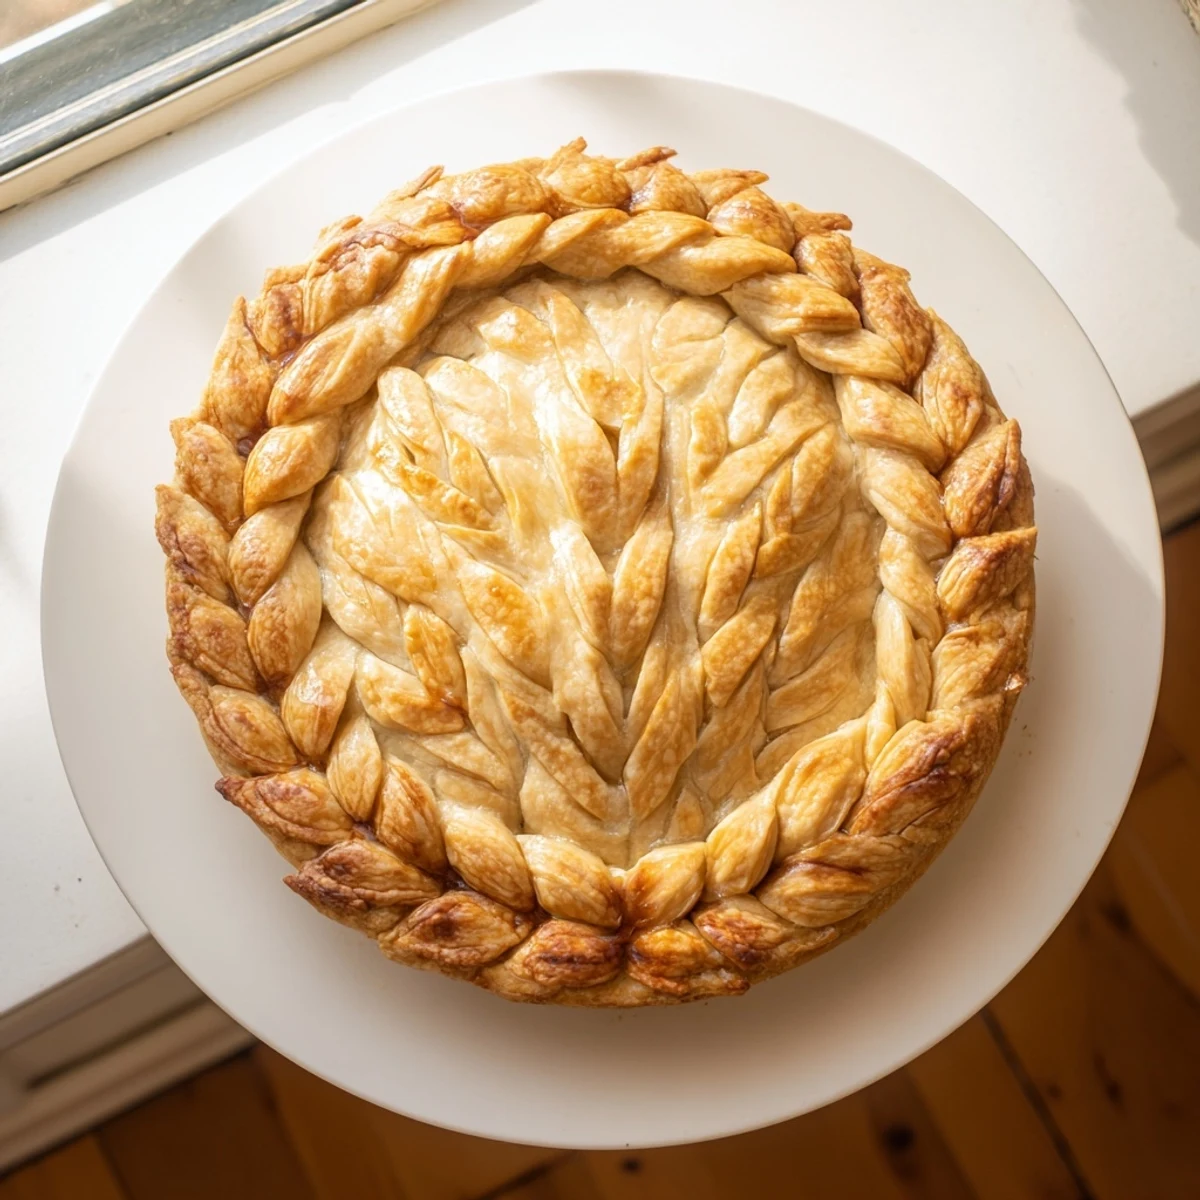
 Master the art of creating an exquisite fishtail braid pie crust that transforms ordinary baked goods into showstopping centerpieces. This technique involves weaving four strips of pastry dough into an intricate braid pattern, resulting in a professional-looking finish that impresses guests. The process requires basic pastry skills, patience during chilling times, and attention to detail when cutting and positioning the dough strips. Perfect for holiday gatherings, special occasions, or elevating everyday baking.
The summer I turned twenty-three, I spent three whole weekends perfecting a braided crust for my sister's wedding shower pie. My first attempt looked like a pretzel that had been run over by a car, but somewhere around attempt number seven, my fingers finally understood the rhythm of crossing over and under. The kitchen was ridiculously hot, my apron was dusted with flour, and I may have eaten way too much scraps dough, but when that golden braided beauty emerged from the oven, I actually did a little victory dance right there in front of the oven door.
Last Thanksgiving, I brought a pumpkin pie with this crust to my in-laws house for the first time. My father-in-law, who usually just grunts at food and keeps eating, stopped mid-fork, stared at the crust, and asked if I'd bought it from a fancy bakery. That moment of quiet shock followed by genuine appreciation made every frustrating minute of braiding practice completely worth it.
Ingredients
- 2 1/2 cups (315 g) all-purpose flour: I've learned through many sad, tough crusts that measuring by weight is absolutely worth the extra step
- 1 cup (225 g) cold unsalted butter, cut into cubes: Seriously, keep this butter icy cold, warm butter is the enemy of flaky layers
- 1 tsp (5 g) salt: This little bit makes all the difference in balancing sweet fillings
- 1 tbsp (15 g) sugar: Just enough to help with browning without making the crust taste like a cookie
- 6–8 tbsp (90–120 ml) ice water: Add this slowly, some days you need less, some days more, trust your hands
- 1 egg, beaten: For that gorgeous golden sheen that makes everyone think you're a pro
- 1 tbsp (15 ml) milk: This thins the egg wash just enough for even brushing
Instructions
- Make your dough base:
- Whisk flour, salt, and sugar in a big bowl, then work in that cold butter until you see chunks the size of peas scattered through like little flaky promises
- Bring it together with ice water:
- Sprinkle the water while you gently toss, stopping when the dough actually holds together when you squeeze a handful, then divide into two discs and wrap them up for at least an hour in the fridge
- Prep your pie canvas:
- Roll one disc into your pie plate, trim the edges neat, and pop it back in the cold while you work your magic on the braids
- Cut your strips:
- Roll the second disc to about 1/4 inch thick and cut twelve long strips, aiming for about half an inch wide, because even strips make for even braiding
- Create your fishtail braids:
- Group strips into sets of four, pinch the tops, then cross the leftmost over the second, under the third, over the fourth, keeping repeating until you reach the end
- Apply the beautiful border:
- Transfer each braid carefully to your chilled pie edge, pressing gently to seal and using a dab of water if theyre being stubborn about sticking
- Chill again before baking:
- Give the whole pie another 15 minutes in the fridge while you preheat your oven to 400°F
- Give it that golden glow:
- Brush the braids with your egg wash mixture, and if you're blind baking, line with parchment and weigh it down
- Bake until gorgeous:
- Slide it in for 12 to 15 minutes until you see that deep golden color that makes everyone's eyes light up
 Pin it
 My daughter now asks to help with the braiding every time I make pie, and her four-year-old version of the technique is somehow charming in its messiness. We started doing little mini pies just so she can practice her own braids, and honestly, those imperfect crusts taste just as wonderful as the picture-perfect ones.
Making The Dough Ahead
You can make the dough discs up to three days ahead and keep them wrapped tight in the refrigerator, which honestly saves so much stress when you're planning a big meal. I've also frozen the unbaked braided pie crust successfully, just thaw it in the fridge overnight before baking as usual.
Choosing Your Filling
This crust works beautifully with both sweet and savory fillings, but I've learned that wetter fillings need a fully blind-baked crust first to prevent any sogginess on that beautiful bottom. For custards or fresh fruit pies, I always par-bake the crust completely before adding the filling.
Troubleshooting Your Braids
If your strips keep breaking while you're braiding, the dough has probably gotten too warm, so just pop everything in the fridge for ten minutes and try again. Thinner strips are easier to work with for your first few attempts.
- Keep a small bowl of water handy to seal any stubborn spots where braids meet the crust
- Dont stress about making every braid identical, handmade character is part of the charm
- If one braid goes wrong, just eat the evidence and cut new strips
 Pin it
 Every time I slide a braided crust pie onto the table, I remember that first summer of failed attempts and how something that seemed so impossible is now second nature. Your kitchen is going to smell amazing, and everyone who sees this pie is going to assume you have secret professional training.
Recipe Q&A
- → What makes fishtail braid crust different from regular lattice?
-
Fishtail braiding uses four strips woven in an alternating over-under pattern, creating a thicker, more substantial border than traditional lattice work. This technique produces a raised decorative edge that stands out visually and adds texture to the finished presentation.
- → Can I make this crust ahead of time?
-
Absolutely. Prepare the dough discs and wrap tightly in plastic for up to 3 days in the refrigerator or freeze for up to 3 months. Thaw overnight in the refrigerator before rolling and braiding. The completed braided crust can also be assembled and chilled for several hours before baking.
- → Why does my dough keep breaking when I try to braid?
-
Dough that's too warm or overworked becomes brittle and prone to tearing. Keep ingredients chilled, work quickly, and let the dough rest in the refrigerator if it becomes soft. If strips break, simply press them back together—cold dough repairs easily and the seams won't show after baking.
- → What fillings work best with this decorative crust?
-
This versatile crust complements both sweet and savory creations. Fruit fillings like apple, cherry, or berry pair beautifully, as do custard-based options. For savory pies, try chicken pot pie, vegetable quiche, or shepherd's pie. The braid adds elegance regardless of the interior flavors.
- → Do I need special tools to create the braid effect?
-
No specialty equipment required beyond basic baking tools. A sharp knife or pastry wheel ensures clean, even strips. A ruler helps achieve consistent width, though experienced bakers can gauge by eye. The most important tools are patience and chilled dough—these create the most professional results.
- → How do I prevent the braid from burning during baking?
-
Apply egg wash carefully, avoiding excessive pooling that can create dark spots. If the braid browns too quickly, tent loosely with aluminum foil during the final minutes of baking. For filled pies that require longer baking times, consider shielding the edges with a pie crust protector or foil ring.
