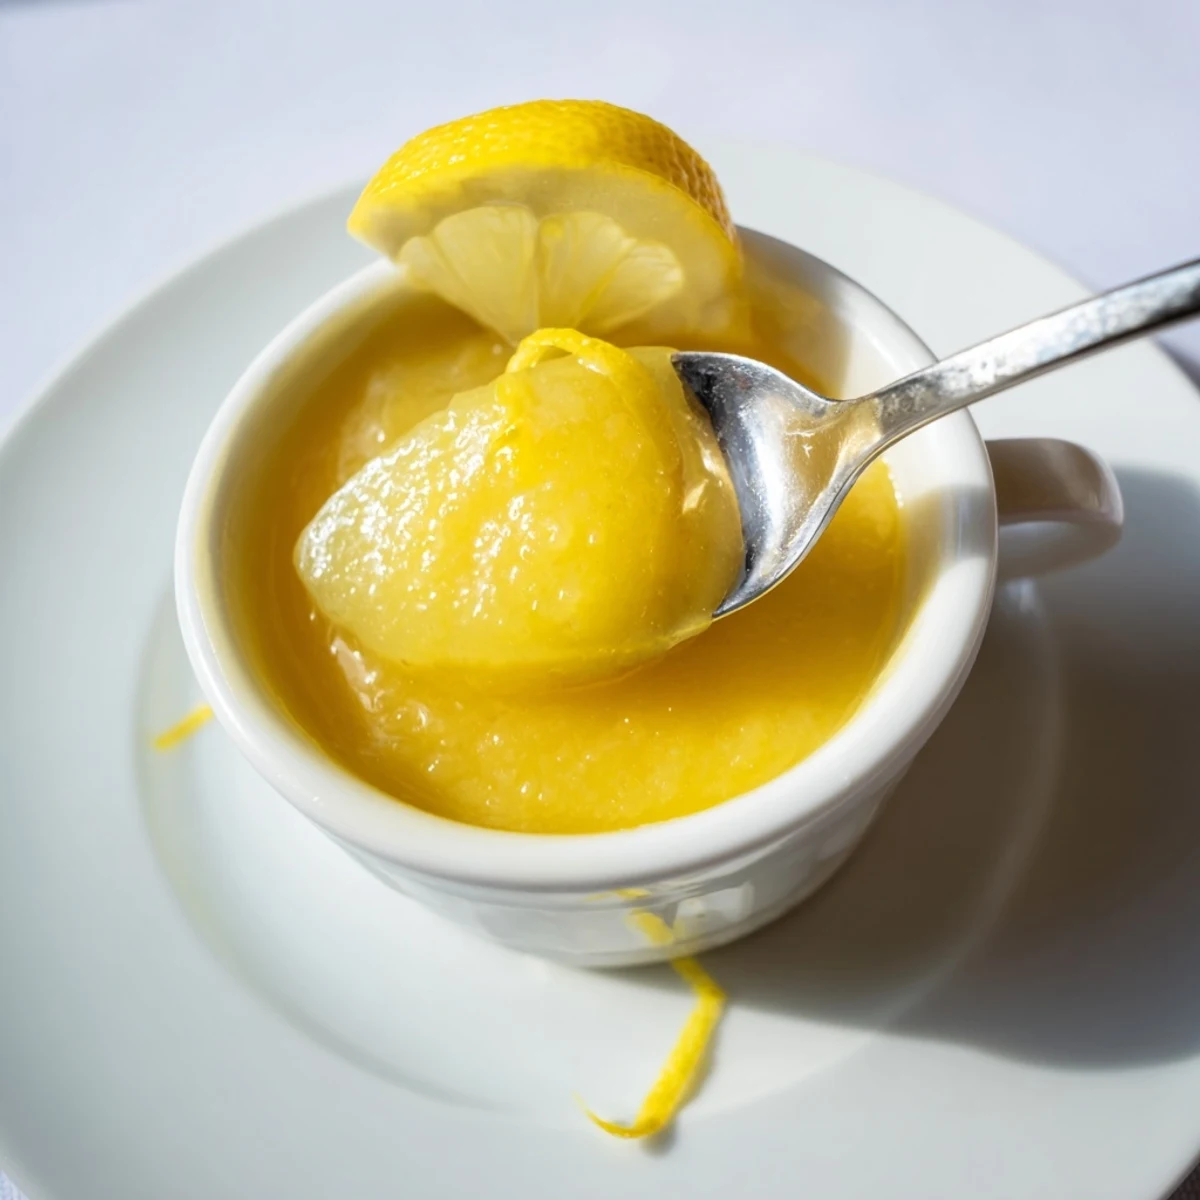
 Pin it
 Make a silky lemon curd by whisking eggs, a yolk, sugar, lemon zest and juice, then cooking gently over a simmering double boiler. Add cubed butter and whisk until the mixture thickly coats a spoon, about 10-15 minutes. Strain for extra smoothness, cover the surface to prevent a skin, and chill at least 2 hours. Stores in the fridge up to 2 weeks.
The smell of lemon zest hitting a warm whisk is one of those small kitchen pleasures that makes you stop and breathe deeper. My first batch of lemon curd happened because I had a bag of lemons no one was going to eat and an afternoon with nowhere to be. That afternoon turned into a ritual I now repeat every spring without really planning to.
I once brought a jar of this to a friend who was recovering from surgery and she told me it was the only thing that made her want to eat breakfast again. That compliment meant more than any cooking award ever could.
Ingredients
- 3 large lemons, zest finely grated and juiced (about 120 ml juice): Room temperature lemons yield more juice so pull them out of the fridge ahead of time.
- 115 g unsalted butter, cubed: Cold cubed butter melts gradually into the mixture and prevents scrambling.
- 3 large eggs plus 1 large egg yolk: The extra yolk is what gives curd its signature silky richness.
- 200 g granulated sugar: This balances the tartness perfectly but you can nudge it up or down by a spoonful to taste.
Instructions
- Combine everything in a bowl:
- Whisk the eggs, yolk, sugar, zest, and juice together in a heatproof bowl until the sugar starts to dissolve and the mixture looks uniform and sunny.
- Set up your double boiler:
- Place the bowl over a saucepan with about an inch of gently simmering water, making sure the bottom of the bowl never touches the water surface.
- Stir in the butter and wait:
- Drop in the butter cubes and whisk constantly for about 10 to 15 minutes until you feel the mixture thicken and coat the back of a spoon like a warm custard.
- Strain for silkiness:
- Pour the curd through a fine mesh sieve into a clean bowl, pressing gently with a spatula to catch any cooked egg bits or zest strings.
- Cool and chill:
- Press plastic wrap directly onto the surface of the curd so no skin forms, then refrigerate for at least two hours before diving in.
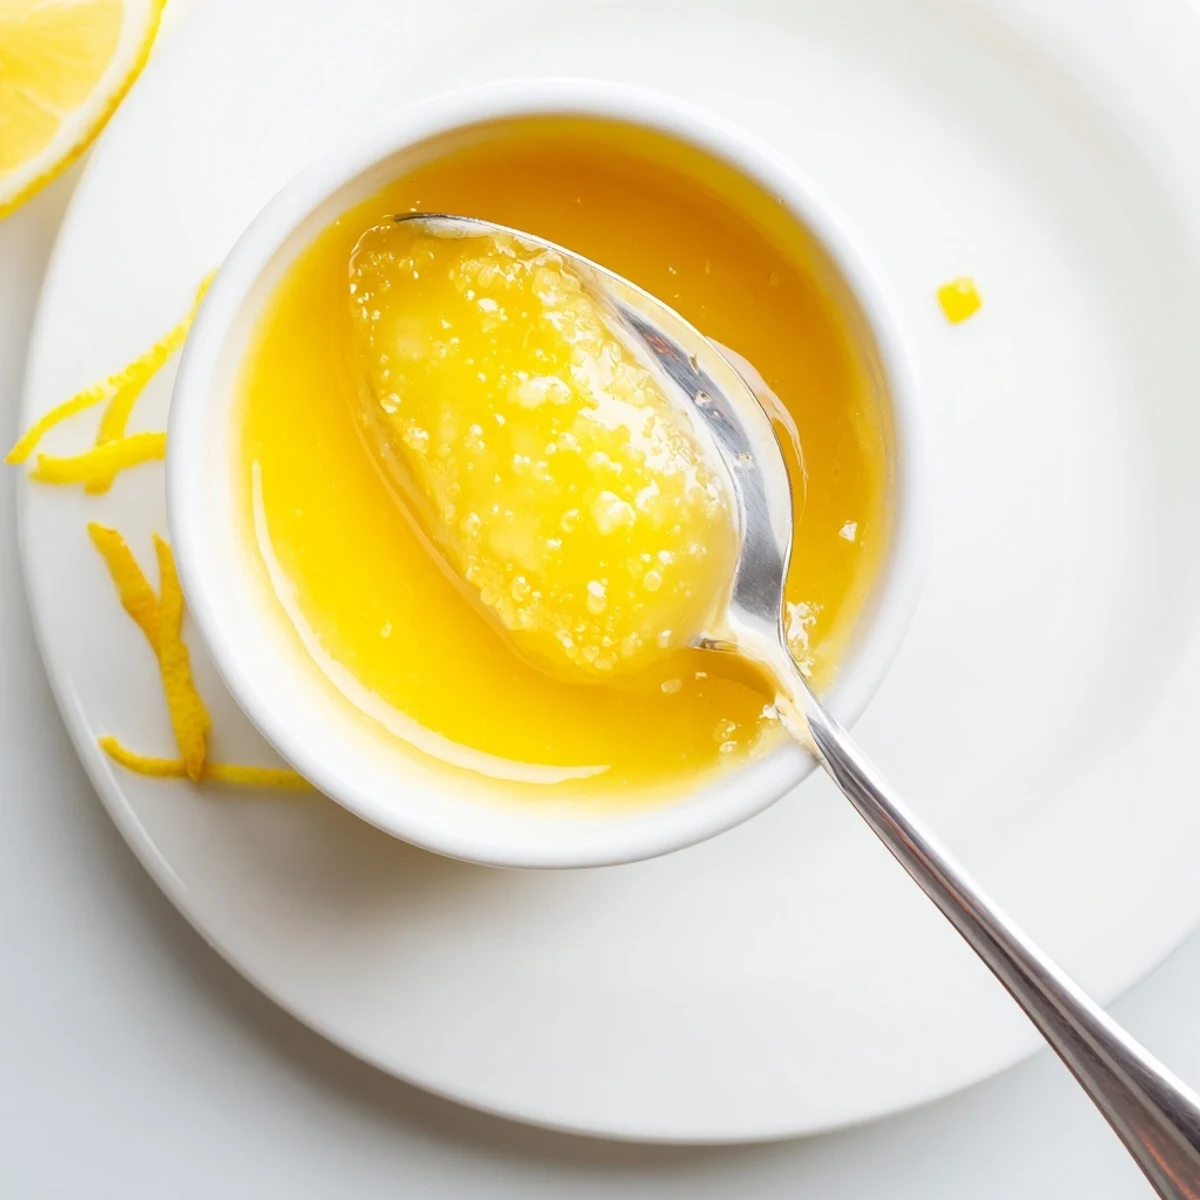 Pin it
 There is something deeply satisfying about watching a bowl of watery lemon juice and eggs transform into a glossy golden spread right before your eyes.
How to Store Your Curd
Keep it in a sealed jar in the refrigerator and it will stay vibrant and fresh for up to two weeks. I label mine with the date because jars tend to get pushed to the back and forgotten.
Favorite Ways to Use It
Spoon it over warm scones, swirl it into yogurt, spread it on toast, or use it as a tart filling when you want to impress without much effort. My personal favorite is layering it between cake and watching people try to guess what makes it so good.
What Can Go Wrong
Most problems trace back to heat that is too high or patience that is too low. Here are a few things to keep in mind as you go.
- If your curd looks runny after chilling, it likely needed a few more minutes on the double boiler.
- A slightly metallic taste usually means your bowl reacted with the acid so switch to glass next time.
- Taste it before you chill it because once cold, the flavors mute and you lose your chance to adjust.
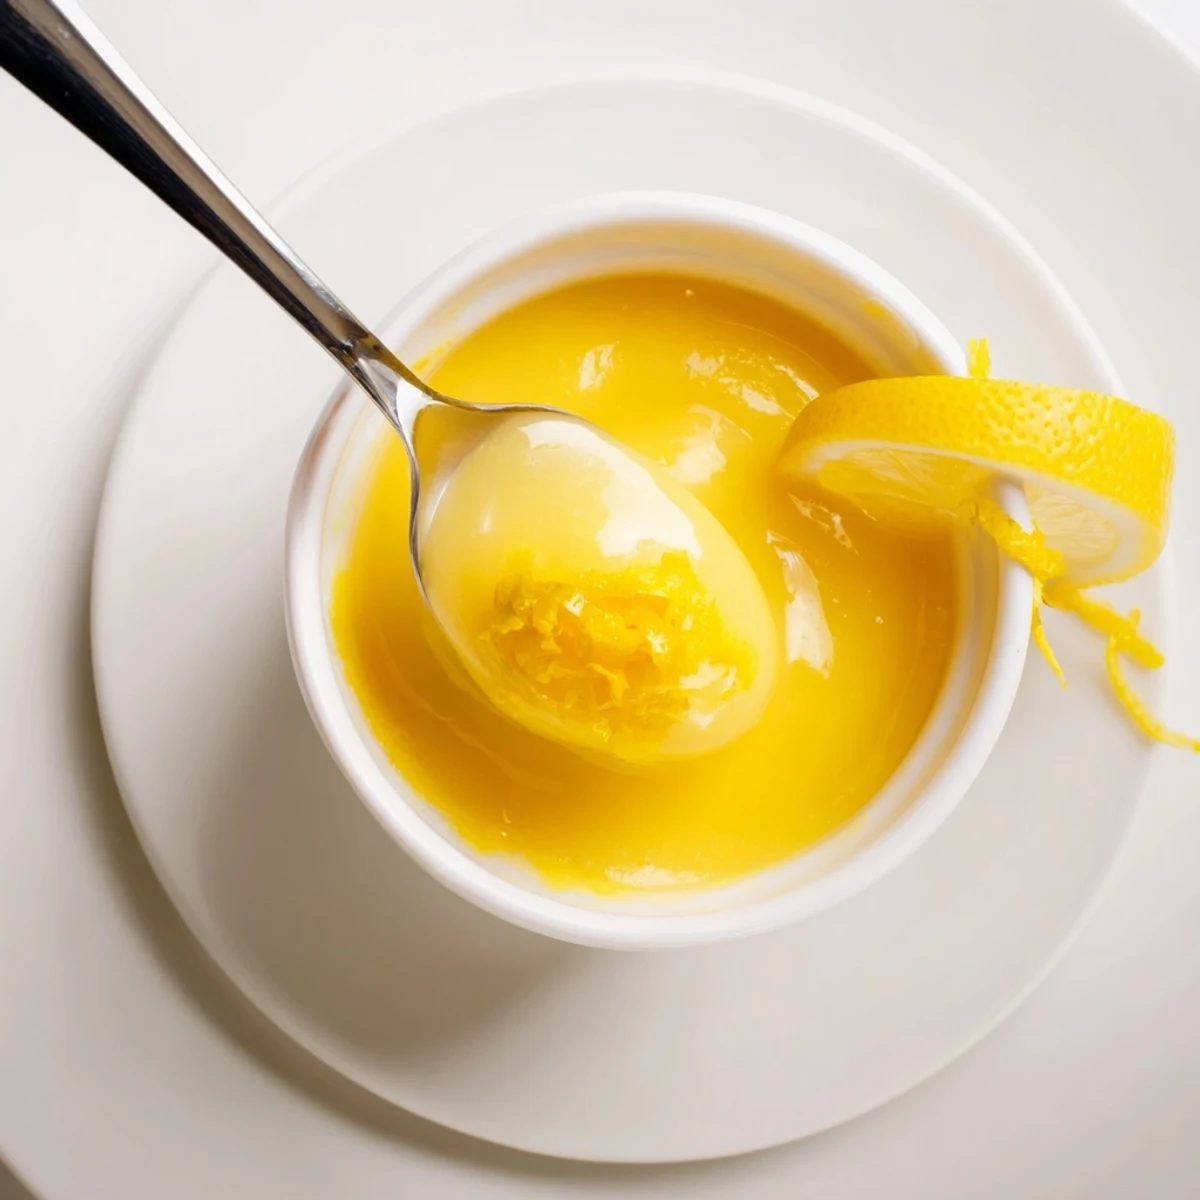 Pin it
 Once you have a jar of homemade lemon curd in your fridge, you will find excuses to put it on everything. It is one of those simple pleasures that makes ordinary moments feel a little brighter.
Recipe Q&A
- → Why use a double boiler?
-
A double boiler gives gentle, even heat so the eggs thicken without scrambling. It lets you control temperature while whisking until the curd reaches a silky, stable texture.
- → How do I know when the curd is done?
-
The curd is ready when it thickly coats the back of a spoon and holds a line when you run your finger across it. Target 170–175°F (77–80°C) for safe thickening without overcooking.
- → Can I use only egg yolks for a richer finish?
-
Yes. Using only yolks yields a richer, creamier curd with a more custard-like mouthfeel, though the texture will be denser and less set than with whole eggs.
- → My curd split or looks grainy — how can I fix it?
-
If the mixture separates, remove from heat and whisk vigorously or pass it through a sieve. Returning gently to low heat while whisking and adding a small knob of cold butter can help bring it back together.
- → How should I store lemon curd and how long does it keep?
-
Cool completely, transfer to an airtight container, and refrigerate. It keeps up to 2 weeks. Freezing is possible but may change texture; thaw slowly in the fridge and stir before using.
- → Any tips for a very smooth finish?
-
Whisk constantly while cooking, strain the finished curd through a fine-mesh sieve, and press a piece of plastic wrap directly on the surface as it cools to prevent a skin forming.
