 Pin it
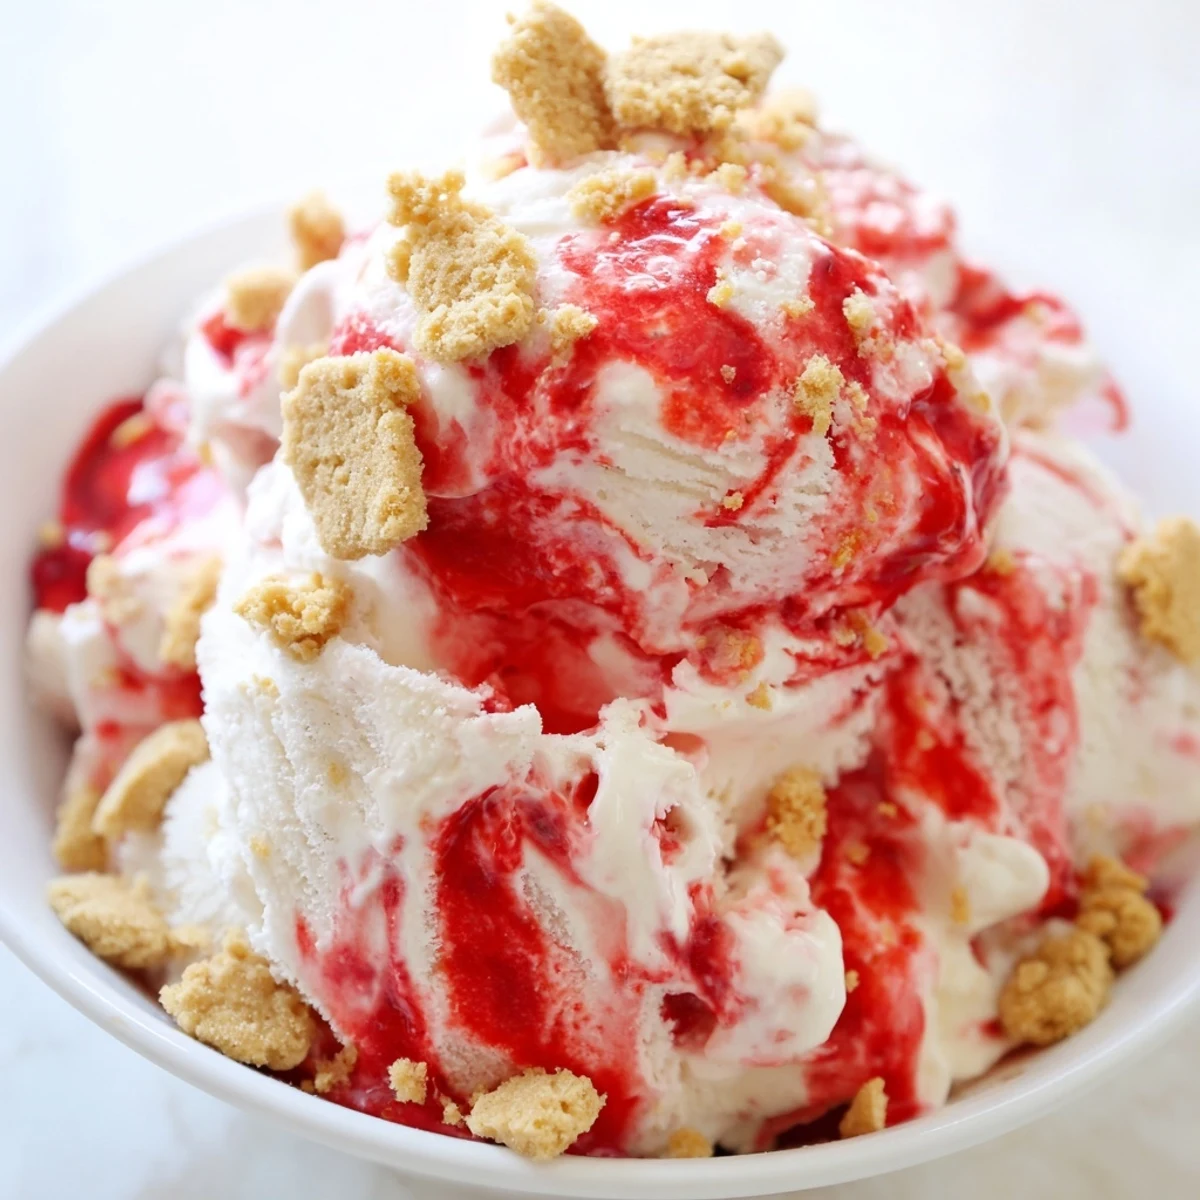
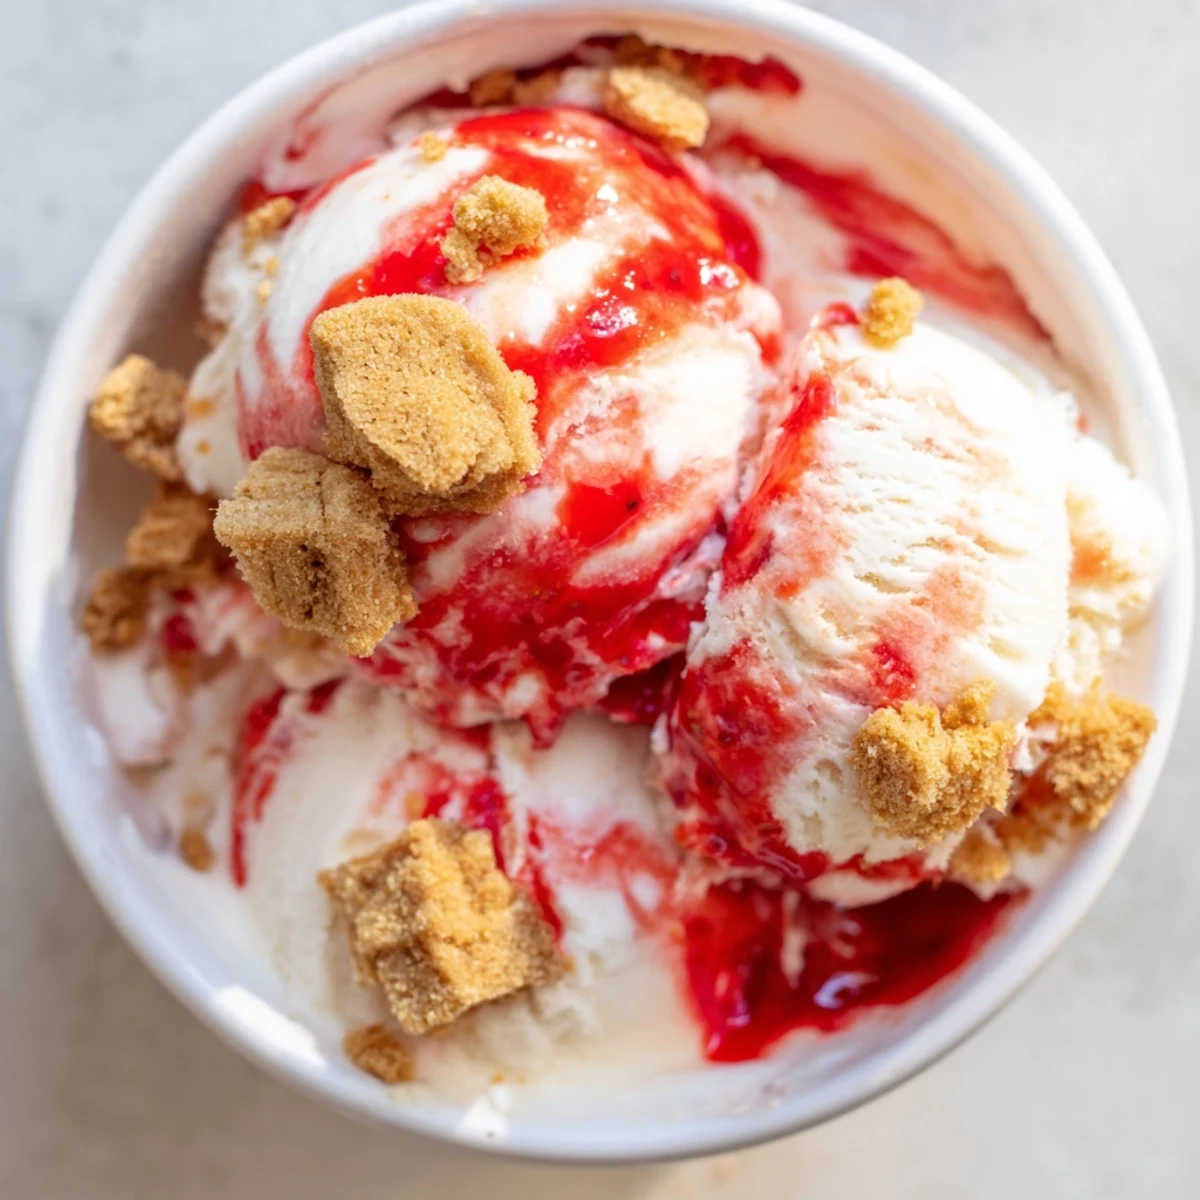
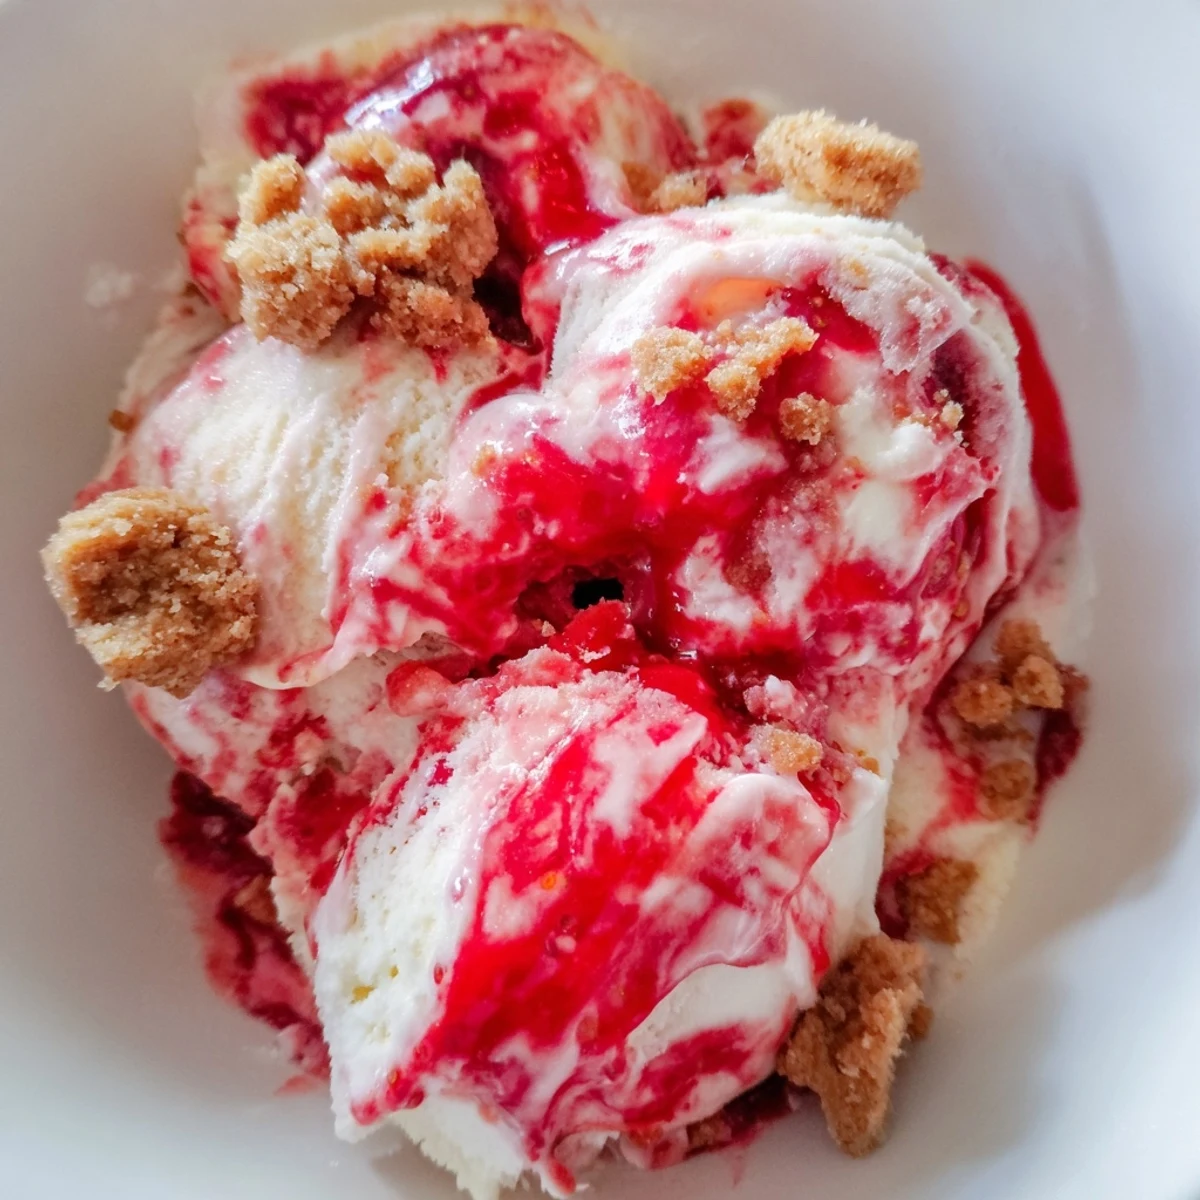
 Create a luscious frozen dessert combining the tangy richness of cheesecake with sweet strawberries. This creamy ice cream features three distinct elements: a fresh strawberry swirl made from simmered berries, a smooth cream cheese base with heavy cream and vanilla, and golden graham cracker crumble for classic crunch.
The process involves cooking strawberries until syrupy, blending a silky custard-style base, and toasting buttery crumbs. After churning in an ice cream maker, layer components for beautiful marbled ribbons throughout. The result is a velvety, scoopable treat balancing sweet fruit, tangy cream cheese, and buttery cookie notes.
Plan ahead with 6 hours total time including chilling and freezing. Perfect for summer parties or as an impressive finish to any meal.
The first time I made this cheesecake ice cream, it was a sweltering July afternoon and my kitchen AC had just given up the ghost. I stood over the stove watching strawberries bubble into this gorgeous ruby syrup, sweating but oddly committed, while my roommate kept opening the freezer every five minutes to check if it was working faster by willpower alone. When we finally scooped it that evening, eating it on the back steps as fireflies flickered in the yard, I knew all that effort had been worth every sticky, delicious moment.
I brought this to a potluck last summer, and my friend Sarah literally followed me around the party until I promised to write down the recipe. She claimed she doesnt even like cheesecake that much, but then I caught her going back for thirds, standing over the freezer container with the serving spoon like nobody was watching.
Ingredients
- Fresh strawberries: The real berries make all the difference here, giving you those bright jammy pockets throughout the cream
- Cream cheese: Use the full fat kind and let it soften completely unless you want tiny lumpy surprises in your ice cream
- Heavy cream and whole milk: The fat content is what keeps your ice cream from turning into an icy disaster in the freezer
- Graham cracker crumbs: These golden buttery bits are the crunch that makes it taste like actual cheesecake in every bite
Instructions
- Cook down your strawberry swirl:
- Combine those diced berries with sugar and lemon juice in a saucepan over medium heat, letting everything bubble and soften for about 7 minutes until it looks like thick jam, then give it a gentle mash and stash it in the fridge to get completely cold
- Whisk up the creamy base:
- Beat that softened cream cheese until its silky smooth, then gradually whisk in the milk before adding the heavy cream, sugar, vanilla, and salt until everything is combined and gorgeous
- Patience pays off:
- Cover your mixture and let it chill in the refrigerator for at least 2 hours, because warm ice cream base is a ticket to icy disappointment
- Make the crumble topping:
- Mix graham cracker crumbs with melted butter and sugar, spread on parchment paper, and bake at 350 degrees for 10 minutes until golden and smelling like pure happiness
- Churn it up:
- Pour your thoroughly chilled base into the ice cream maker and let it do its thing for about 25 minutes until its thick and creamy like soft serve
- Layer and swirl:
- Spoon the churned ice cream into your freezer container, alternating with dollops of that strawberry sauce and handfuls of crumble, then run a knife through once for that gorgeous marbled look
- The final wait:
- Freeze everything for at least 4 hours until its firm, then let it sit on the counter for a few minutes before scooping
 Pin it
 My niece declared this better than birthday cake last month, which is basically the highest compliment a seven year old can give anything. She asked if we could have it at every family gathering from now on, and honestly, I was tempted to say yes.
Making It Ahead
You can prep all three components separately up to two days in advance, keeping the strawberry swirl and crumble in airtight containers in the fridge. Just churn the ice cream base the day before you plan to serve it, and do your final layering and freezing when youre ready.
Serving Ideas
This ice cream is pretty incredible on its own, but scooping it into a crispy waffle cone or piling it into a bowl with extra graham cracker crumbs on top takes it over the edge. Sometimes I even warm up a little extra strawberry sauce to drizzle over the scoops.
Storing Your Ice Cream
Homemade ice cream freezes harder than store bought, so remember to pull it out about ten minutes before you plan to scoop. Keep it in the back of your freezer where the temperature stays most consistent, and try to use it within two weeks for the best texture.
- Press a piece of parchment paper directly onto the surface to prevent freezer burn
- Use a container with a tight sealing lid to keep those ice crystals away
- Never refreeze ice cream that has completely melted, or you will regret the texture
 Pin it
 Theres something about handmade ice cream that makes even ordinary Tuesday nights feel like a celebration. Hope this recipe brings as much joy to your kitchen as it has to mine.
Recipe Q&A
- → Can I make this without an ice cream maker?
-
Yes, though the texture will be denser. Pour the chilled base into a shallow freezer-safe container and freeze for 45 minutes. Remove and stir vigorously with a fork, breaking up ice crystals. Repeat every 30-45 minutes for 3-4 hours until firm but scoopable.
- → How long does this keep in the freezer?
-
Properly stored in an airtight container, this keeps for 2-3 weeks. For best texture, place a piece of parchment paper directly on the surface before sealing to prevent ice crystals. Let soften 5-10 minutes at room temperature before serving.
- → Can I substitute the cream cheese?
-
Mascarpone creates a milder, sweeter result. Greek yogurt (full-fat) adds tang with less richness. For a lighter version, use half cream cheese and half sour cream. Avoid substituting with soft spreadable cheese products as they contain stabilizers affecting texture.
- → Why did my ice cream turn icy?
-
Icy texture usually results from insufficient chilling time before churning, or too much sugar which lowers freezing point. Ensure the base is thoroughly chilled (at least 2 hours, ideally overnight). Also check your freezer temperature—0°F (-18°C) is ideal for proper hardening.
- → Can I use frozen strawberries instead of fresh?
-
Absolutely. Thaw partially first, then proceed with the cooking step. Frozen berries release more liquid, so simmer 2-3 minutes longer to reach syrupy consistency. The flavor will be slightly more concentrated—adjust sugar to taste if needed.
- → What other mix-ins work well with this base?
-
Fresh basil or balsamic reduction complements strawberries beautifully. White chocolate chips add sweetness. Try crushed digestive biscuits, toasted pecans, or swirls of lemon curd. For adult versions, a splash of balsamic vinegar or prosecco in the strawberry layer adds sophistication.
