 Pin it
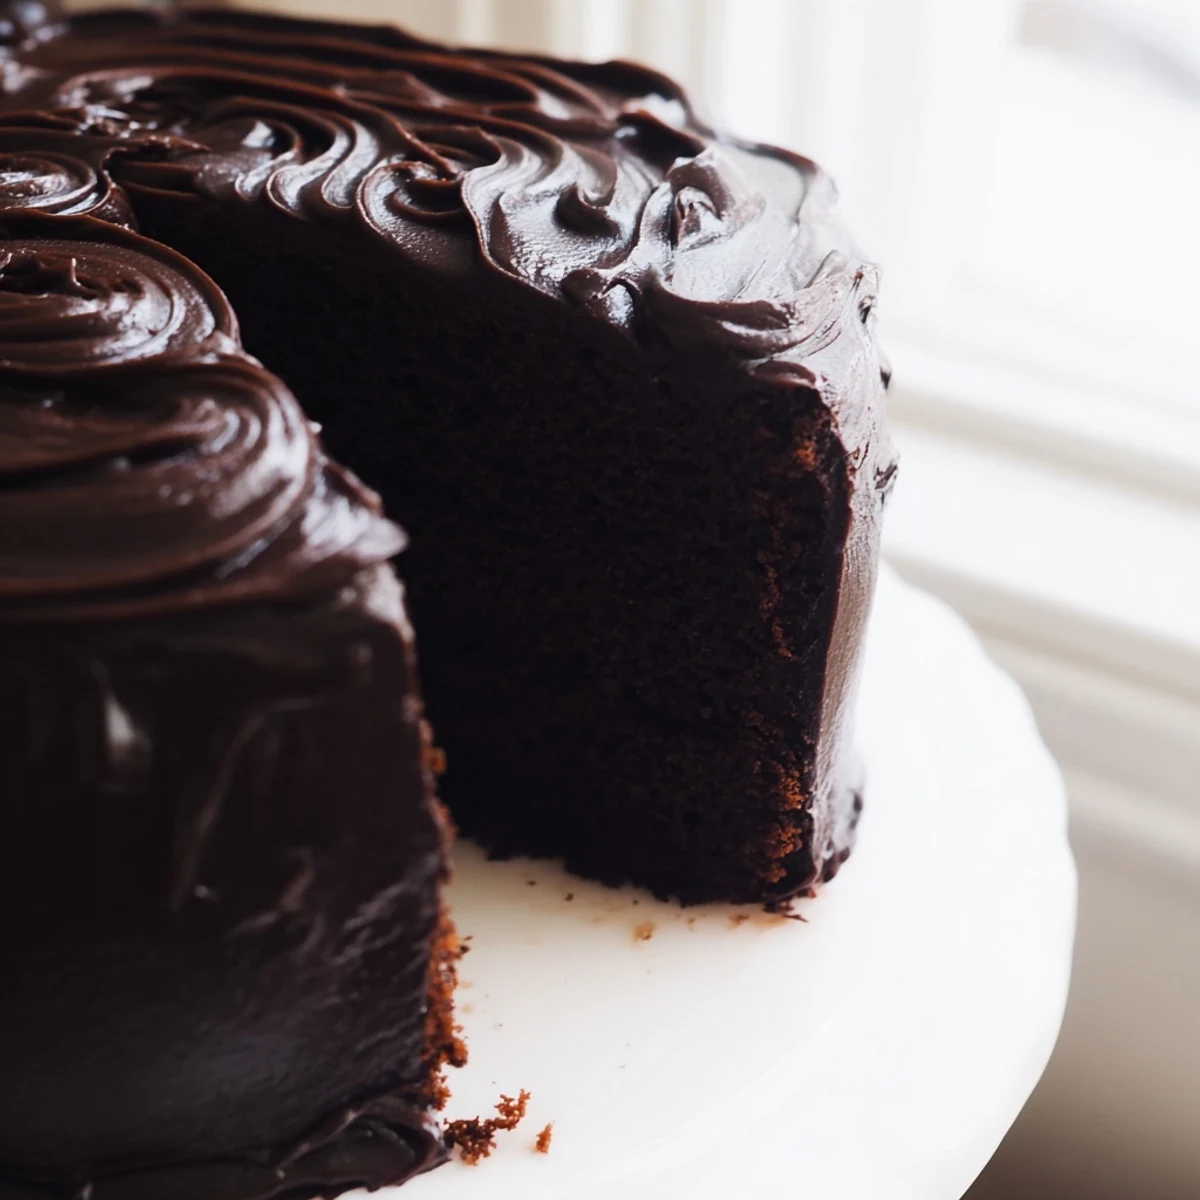
 This beloved chocolate cake brings the magic of the iconic Matilda film into your kitchen. The ultra-moist layers get their signature tenderness from boiling water, creating an incredibly tender crumb that stays fresh for days.
The luscious chocolate frosting strikes the perfect balance between sweetness and intense cocoa flavor, spreading beautifully into those signature swoops and swirls. With straightforward ingredients and clear steps, this impressive dessert delivers professional bakery results whether you're celebrating a birthday or simply treating yourself.
The smell of cocoa hitting hot water still takes me back to my tiny apartment kitchen, where I attempted this cake for my roommate's birthday. I was terrified the thin batter meant I had messed something up. That moment of doubt before opening the oven door? Pure suspense. The cakes emerged towering and moist, and I felt like I had pulled off actual magic.
My friend requested this specific cake because she remembered watching Matilda as a kid and craving that towering chocolate masterpiece. We ended up eating it straight from the pan at midnight because neither of us could wait until the actual party. The frosting was everywhere, including somehow in my hair, but nobody minded.
Ingredients
- 225 g all-purpose flour: The foundation that holds everything together without making the cake heavy
- 400 g granulated sugar: This might seem like a lot but it balances the intense cocoa perfectly
- 85 g unsweetened cocoa powder: Do not use Dutch processed, regular cocoa gives the deepest flavor
- 1½ tsp baking powder: Helps the cake rise with a nice tender structure
- 1½ tsp baking soda: Works with the boiling water to create incredible lift
- 1 tsp salt: Essential for making the chocolate taste more chocolatey
- 2 large eggs: Room temperature eggs incorporate better into the batter
- 240 ml whole milk: Adds moisture and richness to the crumb
- 120 ml vegetable oil: Keeps the cake moist for days unlike butter would
- 2 tsp pure vanilla extract: Round out the chocolate flavor beautifully
- 240 ml boiling water: The secret ingredient that blooms the cocoa and creates that signature tender texture
- 225 g unsalted butter: Must be soft enough to leave a fingerprint when pressed
- 75 g unsweetened cocoa powder: Sift it first or you will have lumpy frosting
- 425 g powdered sugar: Sifted twice for the smoothest possible frosting
- 60 ml whole milk: Adjust this to get your perfect frosting consistency
- 2 tsp pure vanilla extract: Do not skip this, it makes the frosting taste professional
- Pinch of salt: Just enough to balance the sweetness without tasting salty
Instructions
- Preheat your oven:
- Get your oven to 175°C and prepare two 23 cm round pans with parchment paper and grease
- Whisk the dry ingredients:
- In a large bowl combine flour sugar cocoa powder baking powder baking soda and salt until well blended
- Add the wet ingredients:
- Pour in eggs milk oil and vanilla then beat on medium speed until the batter is smooth
- Add the boiling water:
- Slowly stir in the hot water and do not panic when the batter becomes terrifyingly thin
- Bake the cakes:
- Divide batter evenly between pans and bake for 30 to 35 minutes until a toothpick comes out clean
- Cool completely:
- Let them rest in pans for 10 minutes then turn onto wire racks to cool entirely before frosting
- Make the frosting:
- Beat butter until creamy then sift in cocoa and mix before adding powdered sugar alternating with milk
- Finish the frosting:
- Add vanilla and salt then beat until silky smooth and spreadable
- Assemble the cake:
- Place one layer on your plate frost the top stack the second layer and cover everything generously
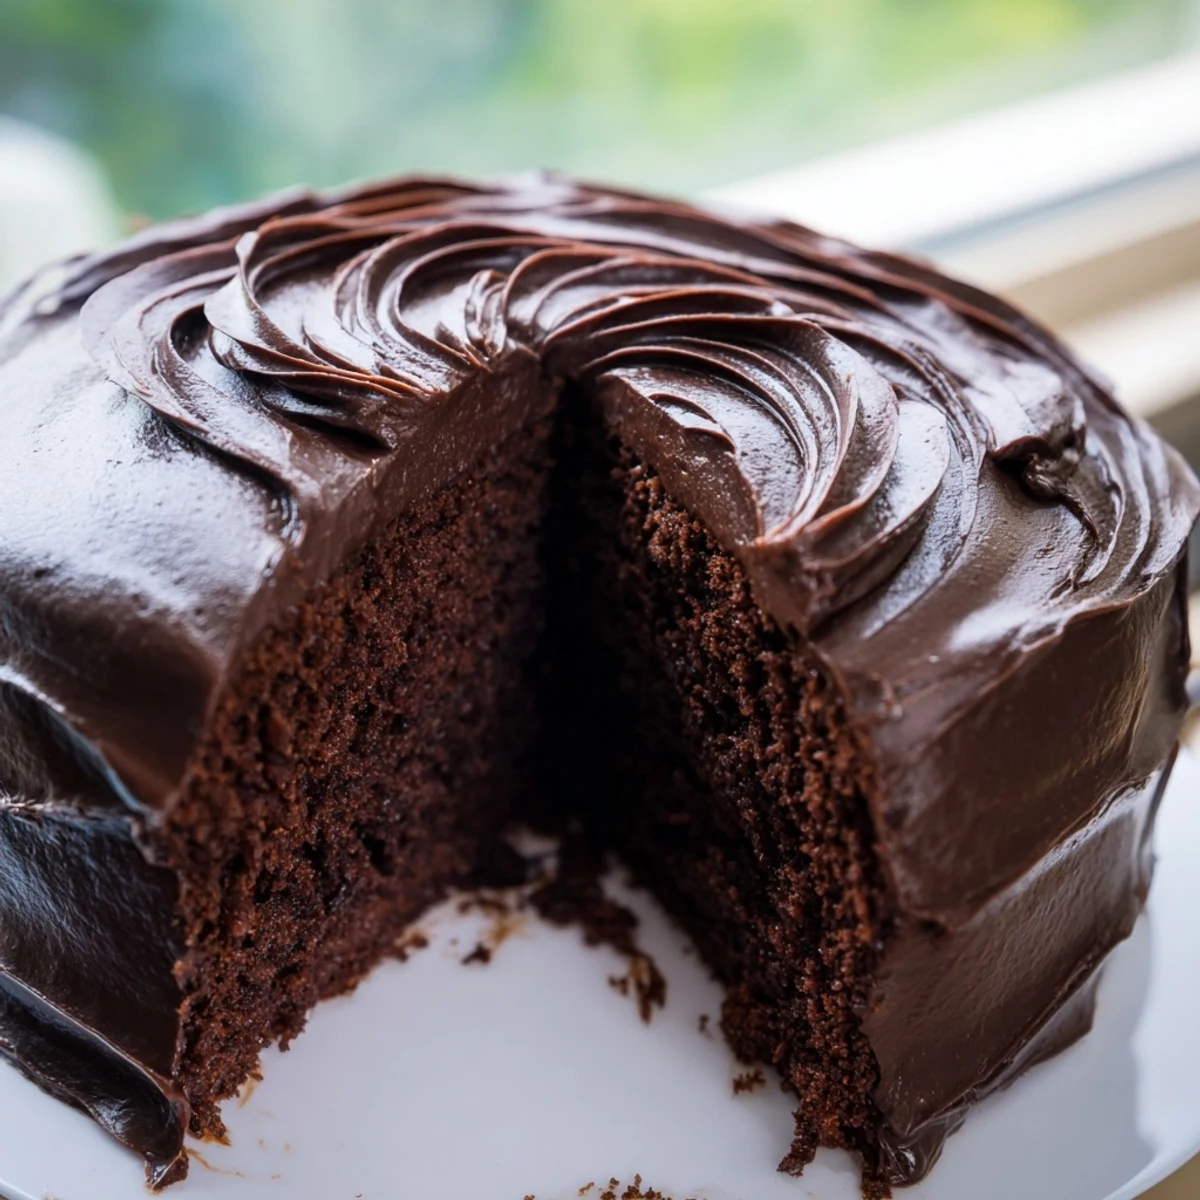
- Create the swoops:
- Use your offset spatula to make those classic Matilda style swirls all over the cake
 Pin it
 This cake has become my go to for celebrations because it never fails to impress. Last summer I made it for a neighborhood picnic and kids were actually lining up for seconds. Something about that chocolate on chocolate combination brings out the child in everyone.
Making It Your Own
Swap half the milk for sour cream when you want extra tang and richness. A layer of chocolate ganache between the cake tiers takes this from amazing to unforgettable.
Timing Everything Right
The cake layers can be baked a day ahead and wrapped tightly in plastic. Make the frosting fresh but you can assemble the cake hours before serving without any issues.
Serving Suggestions
Cold milk is non negotiable with this cake. A strong cup of coffee works beautifully too if you need a little pick me up with your chocolate.
- Let the cake sit at room temperature for 20 minutes before serving
- Use a hot knife for cleaner slices
- Store leftovers covered at room temperature for up to three days
 Pin it
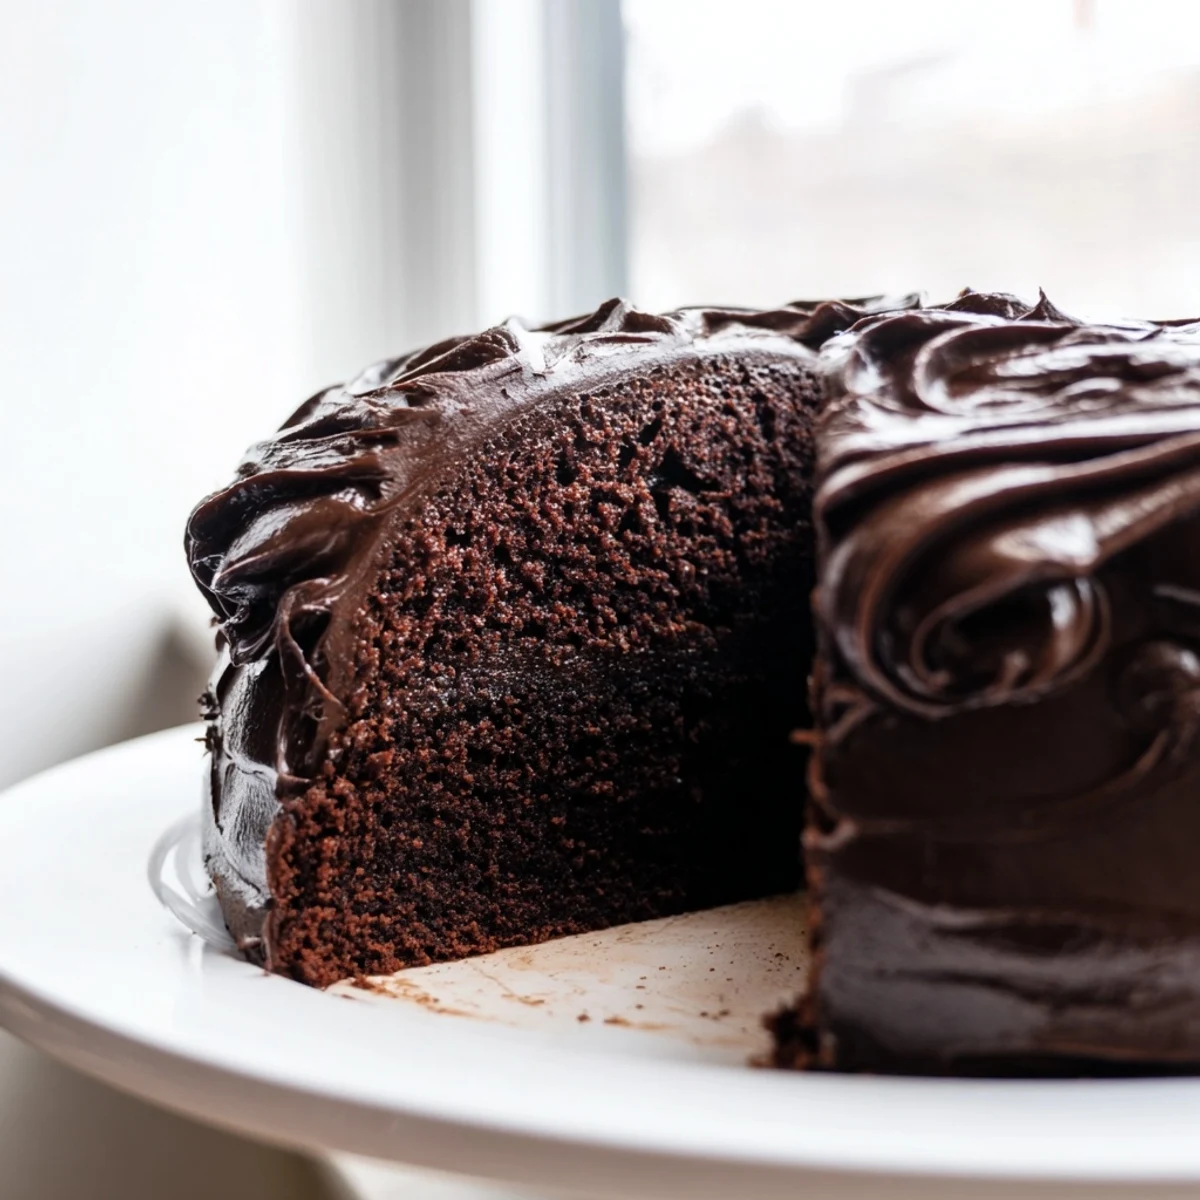
 Every slice feels like a little celebration of pure chocolate joy. Life is too short for boring cake.
Recipe Q&A
- → Why does the batter seem so thin after adding boiling water?
-
The thin batter is intentional and essential for this cake's texture. The boiling water helps bloom the cocoa powder for deeper chocolate flavor while creating an exceptionally moist, tender crumb. Don't worry—the cake sets perfectly during baking.
- → Can I make this cake ahead of time?
-
Absolutely. The baked layers can be wrapped tightly and stored at room temperature for up to 2 days or frozen for up to 3 months. The frosted cake keeps beautifully in the refrigerator for 4-5 days and actually tastes even better on day two as the flavors meld.
- → What's the secret to achieving those signature frosting swirls?
-
Let the frosted cake sit for about 15 minutes after applying the initial layer, then use an offset spatula held at a slight angle to create gentle swoops and swirls. The slight crust that forms helps the frosting hold its shape.
- → Can I substitute cake flour for all-purpose flour?
-
While all-purpose flour gives the best structure, you can use cake flour for an even more delicate texture. Reduce the amount by 2 tablespoons per cup since cake flour is more absorbent.
- → How do I know when the cake is done baking?
-
Insert a toothpick into the center of the cake—it should come out clean or with just a few moist crumbs. The edges will start pulling away from the pan slightly, and the cake will spring back when gently touched in the center.
- → What's the best way to store the finished cake?
-
Keep the frosted cake covered at room temperature for up to 3 days, or refrigerate for longer storage in humid climates. Bring chilled slices to room temperature for 30 minutes before serving for the best texture and flavor.
