 Pin it
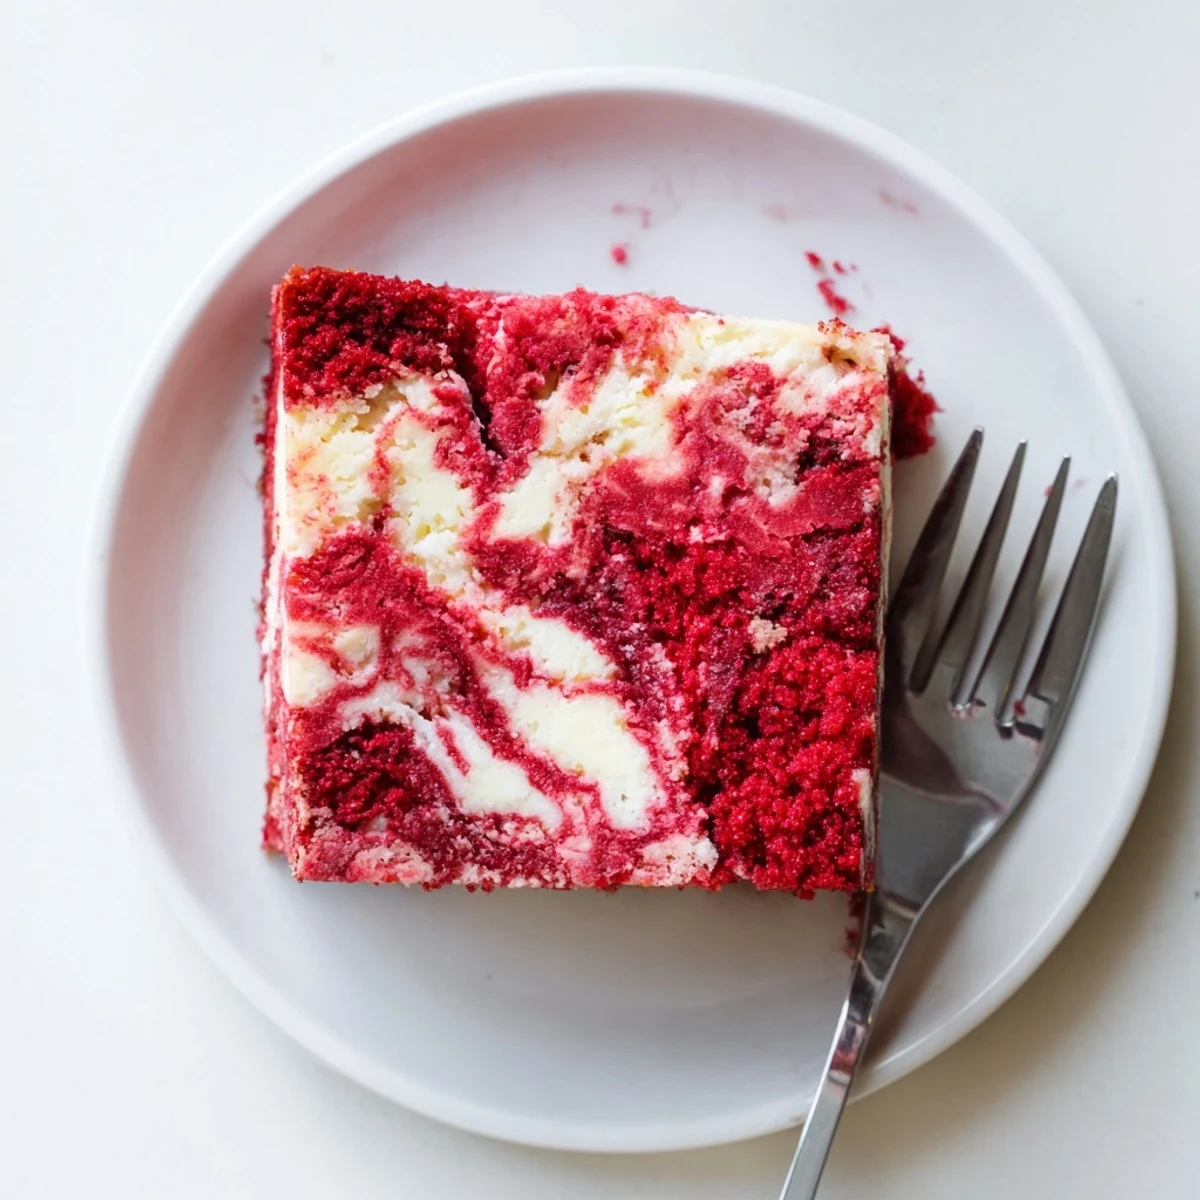
 This stunning red velvet cheesecake swirl combines two beloved desserts into one irresistible treat. The moist, tender red velvet cake features classic cocoa undertones and vibrant color, while the creamy cheesecake swirl adds rich, tangy contrast throughout every bite.
Perfect for birthdays, holidays, or any special occasion, this marble cake serves 12 generously and comes together with just 25 minutes of prep time. The swirling technique creates beautiful patterns that make each slice unique and impressive.
Best served chilled or at room temperature, this dessert keeps well in the refrigerator for up to 4 days—though it rarely lasts that long. Add powdered sugar or cream cheese glaze for extra indulgence.
The first time I brought this cake to a potluck, my friend Sarah actually gasped when I cut into it. That moment when the knife reveals the marble pattern still feels like kitchen magic every single time. Ive made it for birthdays, holidays, and Tuesdays that needed saving.
Last Christmas, my grandmother asked for the recipe after just one bite. Watching guests try to guess how I created those swirls never gets old. Someone always insists theres some secret technique involved, but honestly the hardest part is not eating the cheesecake filling straight from the bowl.
Ingredients
- All-purpose flour: The foundation that gives structure to hold those beautiful swirls
- Granulated sugar: Sweetens both layers while keeping the crumb tender
- Baking powder and baking soda: Work together to lift the cake into something fluffy and light
- Unsweetened cocoa powder: Just enough to give red velvet its subtle depth without overpowering
- Salt: Balances sweetness and enhances the chocolate undertones
- Buttermilk: Creates tenderness and that signature red velvet tang
- Vegetable oil: Keeps the cake incredibly moist for days
- Eggs: Bind everything together and provide structure
- Vanilla extract: Rounds out all the flavors with warmth
- White vinegar: Reacts with baking soda for extra lift and tang
- Red food coloring: Gives that dramatic hue that makes red velvet unforgettable
- Cream cheese: The star of the swirl, bringing rich tanginess that cuts through the sweet cake
- Cream cheese swirl sugar: Sweetens the cheesecake layer just enough without making it cloying
Instructions
- Get your oven ready:
- Preheat to 350°F (175°C) and grease a 9x13-inch pan, lining it with parchment paper so you can lift the whole cake out later
- Whisk the dry ingredients:
- In a large bowl, combine flour, sugar, baking powder, baking soda, cocoa powder, and salt until well blended
- Mix the wet ingredients:
- In another bowl, whisk together buttermilk, oil, eggs, vanilla, vinegar, and red food coloring until smooth
- Combine the batters:
- Pour the wet ingredients into the dry and fold together just until combined, some lumps are fine
- Spread the base:
- Pour the red velvet batter into your prepared pan and use a spatula to create an even layer
- Make the swirl:
- Beat the softened cream cheese until smooth, then add sugar, egg, and vanilla until creamy
- Create the marble:
- Dollop spoonfuls of cheesecake mixture over the red velvet batter, then use a knife to gently swirl through both layers
- Bake to perfection:
- Bake for 45 to 50 minutes until a toothpick comes out mostly clean
- Cool completely:
- Let the cake cool in the pan on a wire rack before slicing
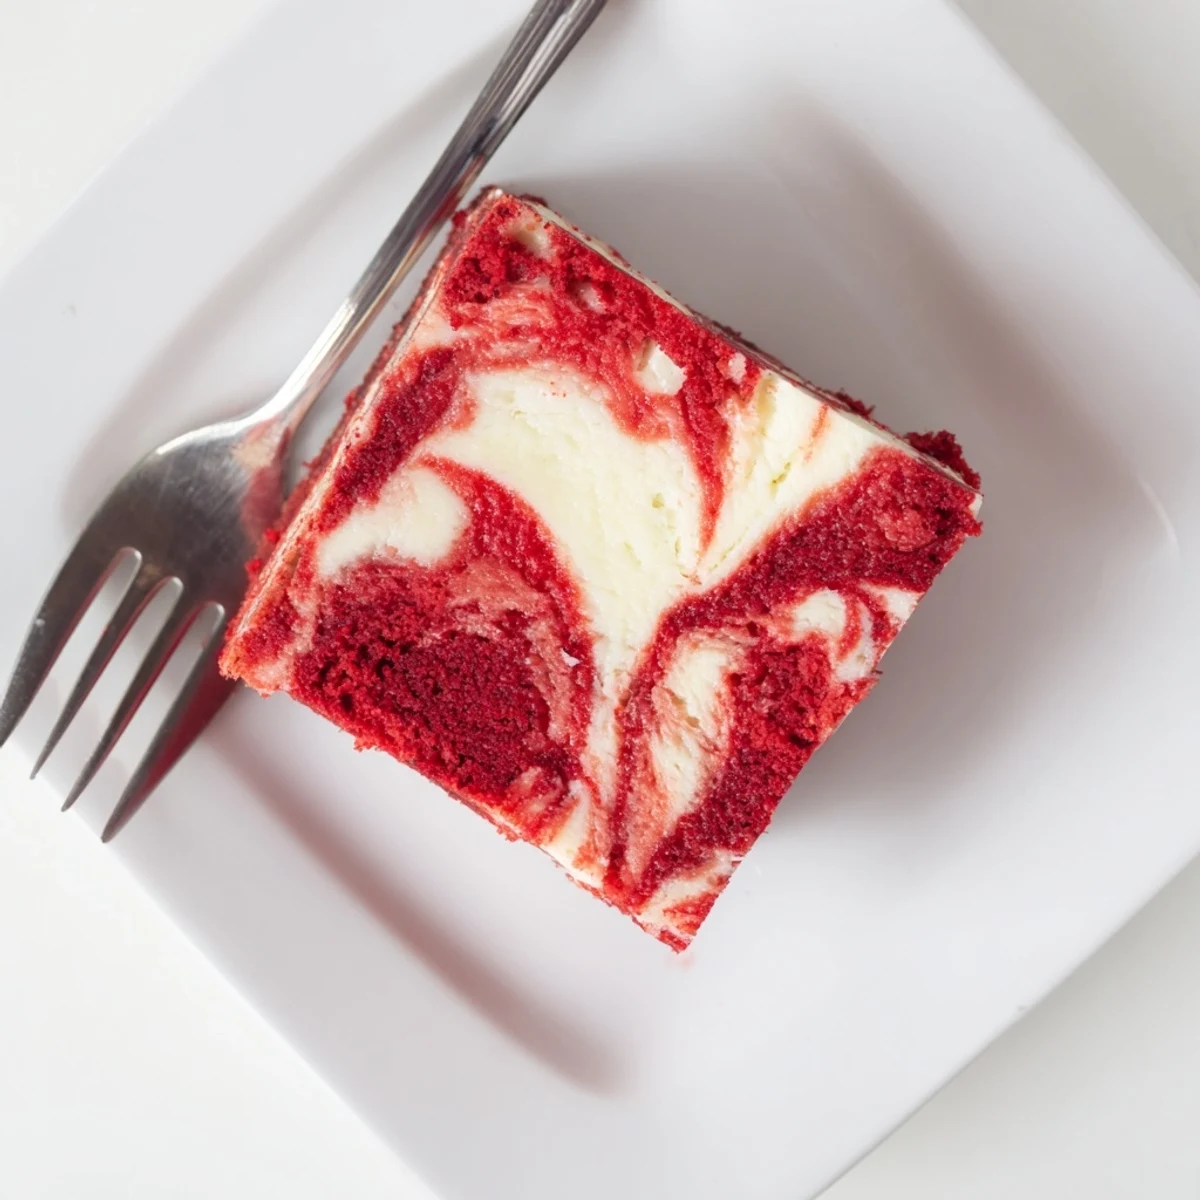 Pin it
 This cake has become my go-to when I need to show someone I care, through butter and sugar and chocolate. The way people lean in when you carry it to the table makes all the swirling worth it.
Making It Your Own
Once you master the swirl technique, you will start seeing possibilities everywhere. I have experimented with chocolate cake layers and even added a hint of orange zest to the cheesecake filling for something unexpected.
Serving Suggestions
A dusting of powdered sugar right before serving makes those red and white patterns pop even more. Sometimes I whip up a quick cream cheese glaze for extra decadence, but honestly this cake stands beautifully on its own.
Storage And Make-Ahead Tips
The flavors actually deepen after a day in the refrigerator, making this perfect for preparing ahead of parties. Store leftovers covered for up to four days.
- Let chilled cake come to room temperature for 20 minutes before serving
- Freeze individual slices wrapped tightly for up to three months
- The swirl pattern looks most dramatic when sliced with a clean knife dipped in hot water
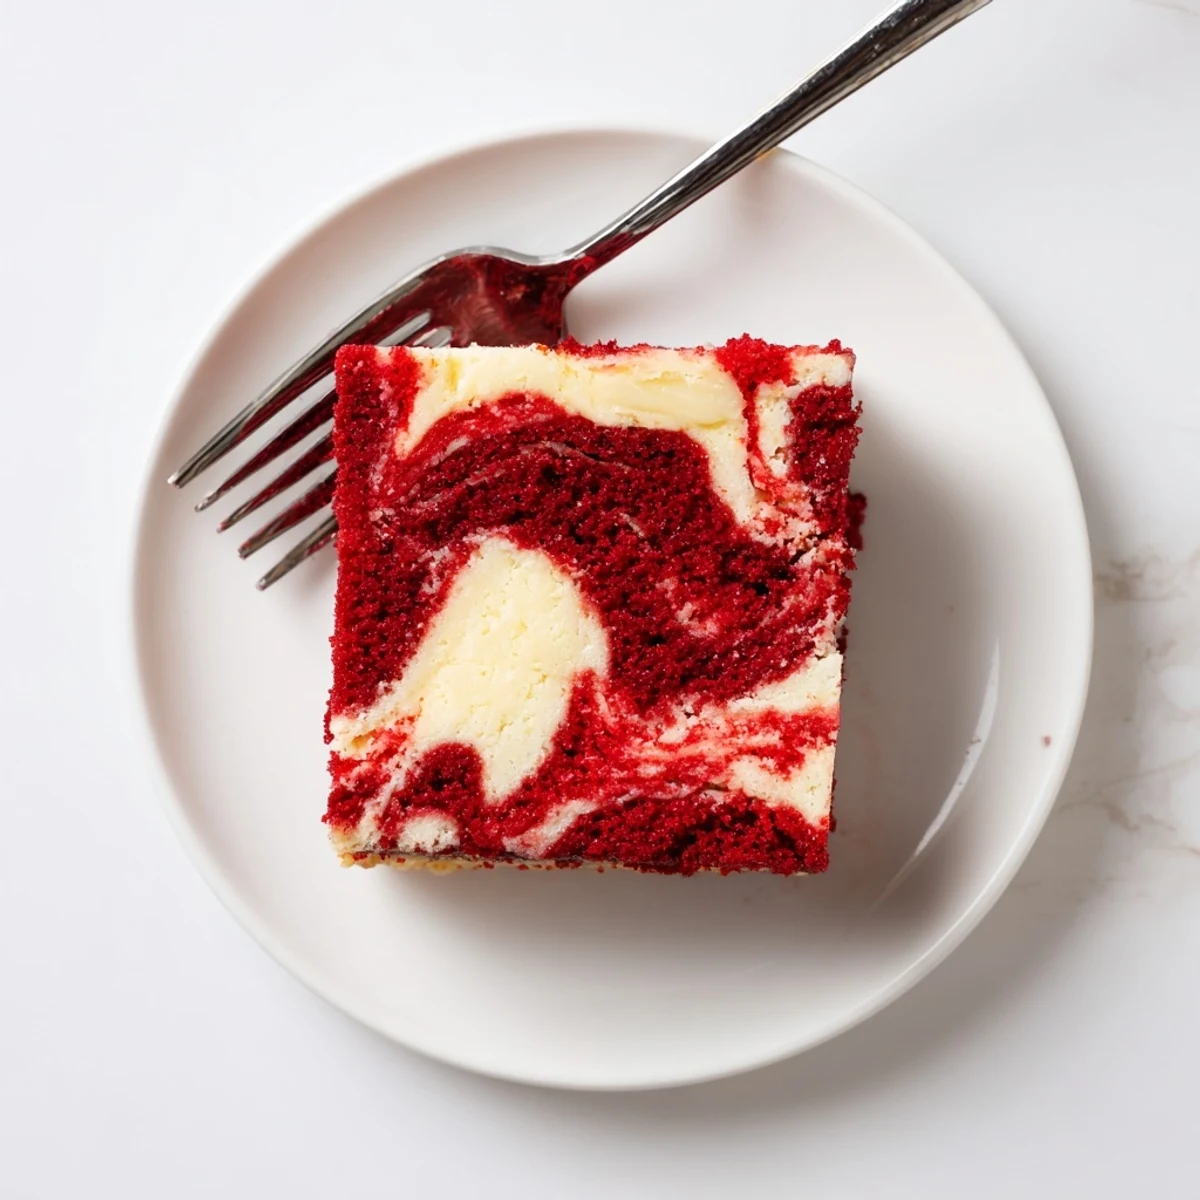 Pin it
 There is something about slicing into that marbled cake that feels like pulling off a delicious magic trick. Hope it becomes as loved in your kitchen as it is in mine.
Recipe Q&A
- → Can I make red velvet cheesecake swirl cake ahead of time?
-
Absolutely! This cake actually tastes better when made a day ahead. The flavors meld and the texture becomes more moist. Store covered in the refrigerator for up to 4 days. Bring to room temperature 30 minutes before serving for the best texture and flavor.
- → Why did my red velvet cake turn brown instead of red?
-
Natural cocoa powder can cause red velvet to develop brownish tones during baking. For vibrant red color, use gel food coloring instead of liquid—the color stays true through baking. Also, the acidic combination of buttermilk and vinegar helps maintain the red hue.
- → How do I get the perfect marble swirl effect?
-
Drop spoonfuls of cheesecake batter randomly over the red velvet base, then use a knife or skewer to gently swirl through both layers. Make figure-eight or circular motions, but avoid over-swirling—about 3-4 passes creates the best marble effect without completely mixing the batters.
- → Can I freeze red velvet cheesecake swirl cake?
-
Yes! Wrap individual slices or the whole cake tightly in plastic wrap, then foil. Freeze for up to 3 months. Thaw overnight in the refrigerator. The texture remains excellent, though the cream cheese swirl may become slightly denser—still delicious!
- → What's the difference between red velvet cake and regular chocolate cake?
-
Red velvet uses less cocoa than chocolate cake, creating a subtle chocolate flavor rather than intense. The buttermilk and vinegar create a tender, moist crumb with a slight tang. Cream cheese frosting or swirls are the traditional pairing that makes this dessert distinctive.
- → Why is my cheesecake swirl sinking to the bottom?
-
The cheesecake batter is denser than red velvet batter, so some sinking is normal and creates beautiful layers. To minimize excessive sinking, make sure both batters are at room temperature before combining, and don't over-swirl. Even if it settles, the flavor and texture remain wonderful.
