 Pin it
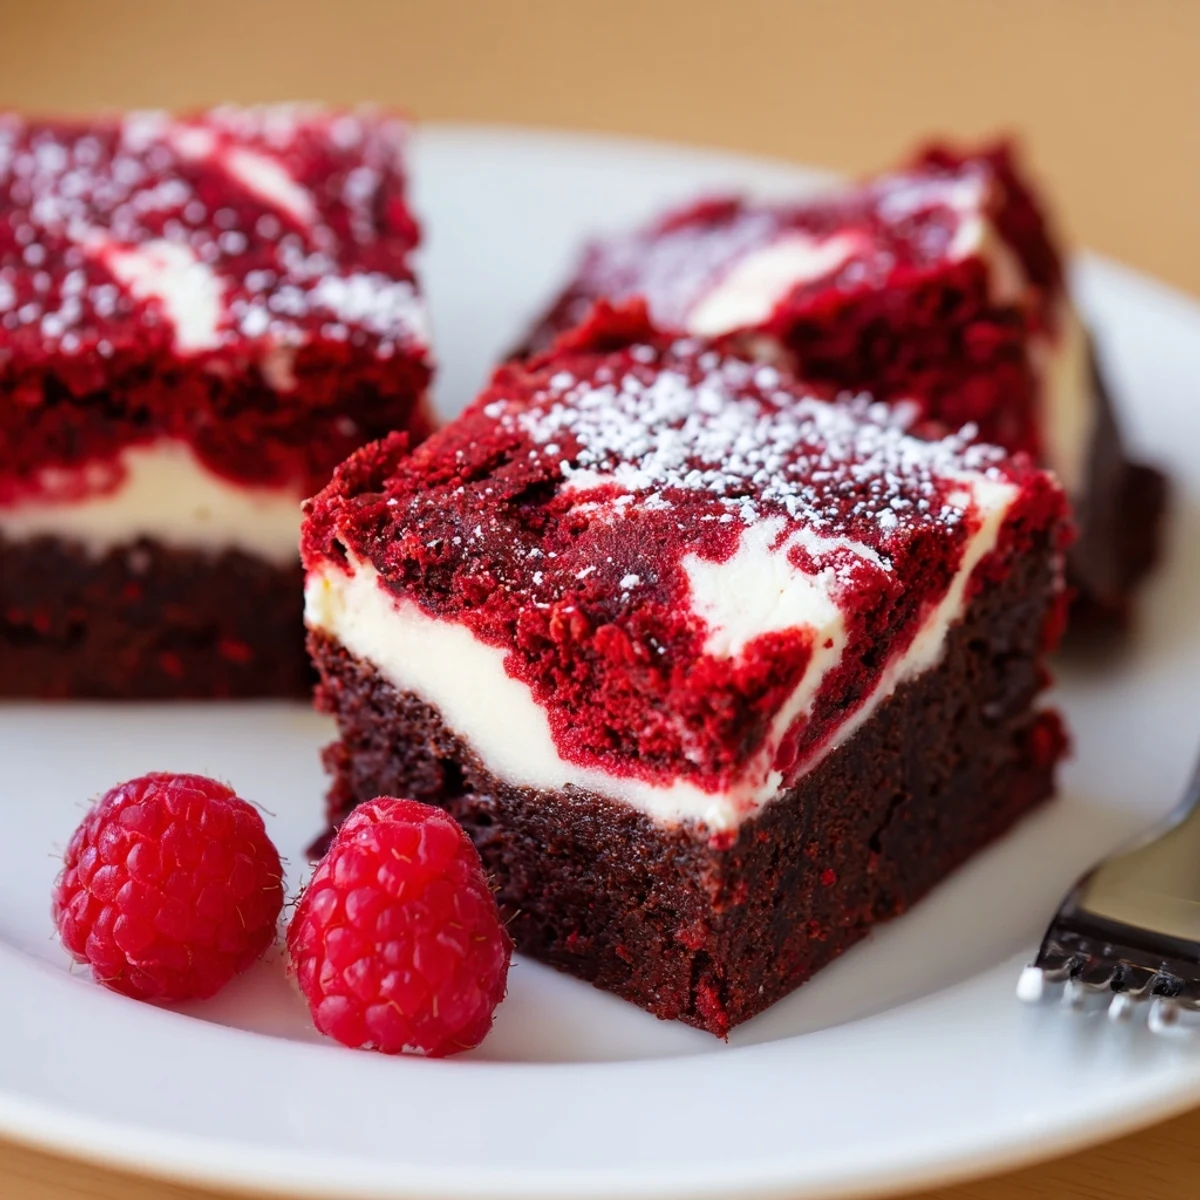
 These fudgy red velvet brownies are layered with a tangy cheesecake and swirled for a marbled top. Melt butter, whisk sugar and eggs, add vanilla and red coloring, then fold in sifted flour and cocoa. Spread most batter in an 8-inch square pan, pour the cream cheese mixture, dollop remaining batter and swirl. Bake at 175°C (350°F) for 33–37 minutes, cool completely then chill at least 1 hour before slicing for clean, tender bars.
The first time I tried combining red velvet brownies with cheesecake, there was music playing in my kitchen and a faint whiff of cocoa in the air. I remember pressing my finger into the swirling marbled top, curious if it would set as beautifully as I hoped. This dessert quickly became a go-to for parties when I wanted something that looked as dramatic as it tasted. You can practically see people’s eyes widening as they take their first bite.
Once, I brought a tray of these brownies to a friend’s birthday picnic in the park—everyone ended up skipping the cake and raving about the stripes of red and cream. They disappeared quickly, and more than one person saved a piece to sneak home for later.
Ingredients
- Unsalted butter: Melting the butter first means an extra fudgy base—it’s a little trick I picked up after noticing my brownies were sometimes dry.
- Granulated sugar: Go with regular white sugar for that classic glossy top and a perfect chew.
- Eggs: Bring them to room temperature so everything mixes evenly and you get a nice lift.
- Vanilla extract: A double hit—one for depth in the brownies, one to soften the cheesecake tang.
- Red food coloring: The vivid hue is all about presentation; adjust if you prefer a brighter or more subtle color.
- All-purpose flour: Don’t overmix once the flour goes in—it keeps things tender instead of tough.
- Unsweetened cocoa powder: Use a good quality brand because a little goes a long way in flavor.
- Salt: Just a pinch brings out all the chocolate notes and balances the sweetness.
- Cream cheese: Let it soften for smooth mixing and no lumps in your cheesecake swirl.
- Chocolate chips (optional): For extra richness, sprinkle some over the brownie batter before swirling with cheesecake.
Instructions
- Set up your pan:
- Line your 8-inch pan with parchment so you can lift the brownies out easily once they’re cool, making slicing neat and stress-free.
- Make the red velvet base:
- In a comfy mixing bowl, whisk melted butter with sugar until it’s glossy, then blend in eggs, vanilla, and that punchy food coloring.
- Mix in dry ingredients:
- Sift over flour, cocoa powder, and salt and fold gently—stop just when you can’t see streaks, for that tender texture.
- Spread and reserve:
- Smooth about 3/4 of the red velvet batter into your pan, saving the rest for your marbled topping later.
- Build the cheesecake layer:
- In a clean bowl, beat cream cheese and sugar until creamy, add egg and vanilla, and keep going until totally smooth—no lumps please.
- Layer and marble:
- Gently spread the cheesecake over the brownie base, then dollop the reserved red velvet batter on top and swirl with a knife just until it looks artfully marbled.
- Bake to perfection:
- Slide into the oven and bake for about 33 to 37 minutes—the top will look set but the center should still have a slight wobble and there’ll be moist crumbs on your tester.
- Chill and slice:
- Wait for the hardest part: cooling, chilling, and being patient before cutting into squares—the flavors are best when cold.
 Pin it
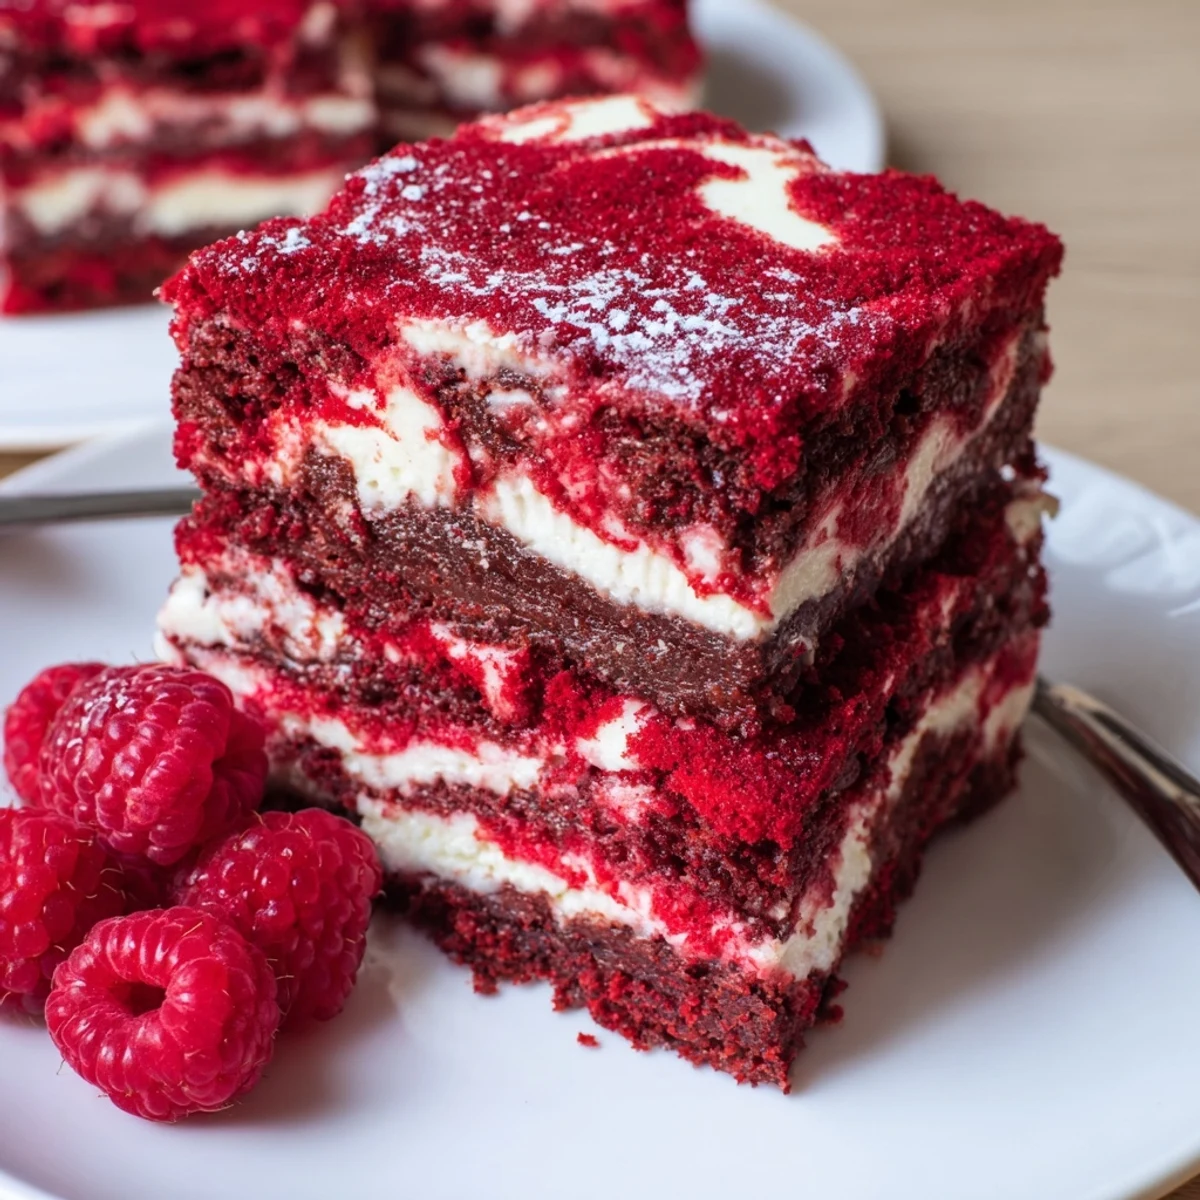
 There was a tiny celebration when my little sister declared these brownies ‘too pretty to eat’—right before she devoured two. Sometimes, a recipe draws smiles before anyone even tastes it.
How to Get the Best Swirl
Over the years, I found that using a thin skewer or the tip of a butter knife in loose figure-eights gives you a much nicer marble than over-zealous swirling. Too much stirring can muddy the colors, so a light hand makes each brownie bar gorgeous to serve.
Serving Suggestions Worth Trying
I like these best chilled, straight from the fridge, with a scatter of berries or even a dusting of powdered sugar. For parties, tiny squares on a platter always seem to go fastest—don’t be surprised if people ask for the recipe on the spot.
Red Velvet Brownie Mishaps and Fixes
Once, I forgot to soften the cream cheese and my layer turned lumpy, but a quick blitz with a hand mixer saved the day. Little kitchen fumbles are a rite of passage, and most things can be fixed with a little patience or a quick save.
- Always test for doneness with a toothpick, aiming for moist crumbs rather than completely dry.
- Reserve some batter for the top—don’t skip the marble if you want that wow effect.
- Chill for at least an hour before cutting, no matter how tempting they look straight out of the oven.
 Pin it
 Fancy or casual, these red velvet cheesecake brownies never last long in my house. If you share them, be ready to hand out this recipe—someone will definitely ask.
Recipe Q&A
- → How do I get a clear marbled swirl?
-
Dollop the reserved red batter in small spoonfuls over the cheesecake layer, then use a knife or skewer to drag gentle, shallow swirls. Avoid overworking or the layers will fully blend instead of forming distinct veins.
- → How can I tell when the center is baked?
-
Insert a toothpick at the center—remove when it comes out mostly clean with a few moist crumbs. The cheesecake top should be set but with a slight jiggle; residual heat will finish the center as it cools.
- → Can I deepen the red color without affecting texture?
-
Use gel food coloring for a more intense hue with less liquid. Add gradually to reach the shade you want; avoid excess liquid color which can slightly change batter consistency.
- → What causes a cracked cheesecake layer and how to avoid it?
-
Overbeating the cream cheese or baking at too high a temperature can cause cracks. Beat just until smooth, keep oven steady at 175°C (350°F), and avoid overbaking. Cooling gradually and chilling before slicing helps minimize surface cracks.
- → Best way to store and serve these bars?
-
Cover and refrigerate for up to 4 days; chilling helps set the cheesecake and yields cleaner slices. Serve chilled or at cool room temperature, optionally with fresh berries or a light dusting of powdered sugar.
- → Any simple swaps for dietary needs?
-
For a dairy-free option, use plant-based butter and cream cheese alternatives that set well; be mindful of texture differences. For egg-free adjustments, a commercial egg replacer can work, though texture may be slightly less fudgy.
