 Pin it
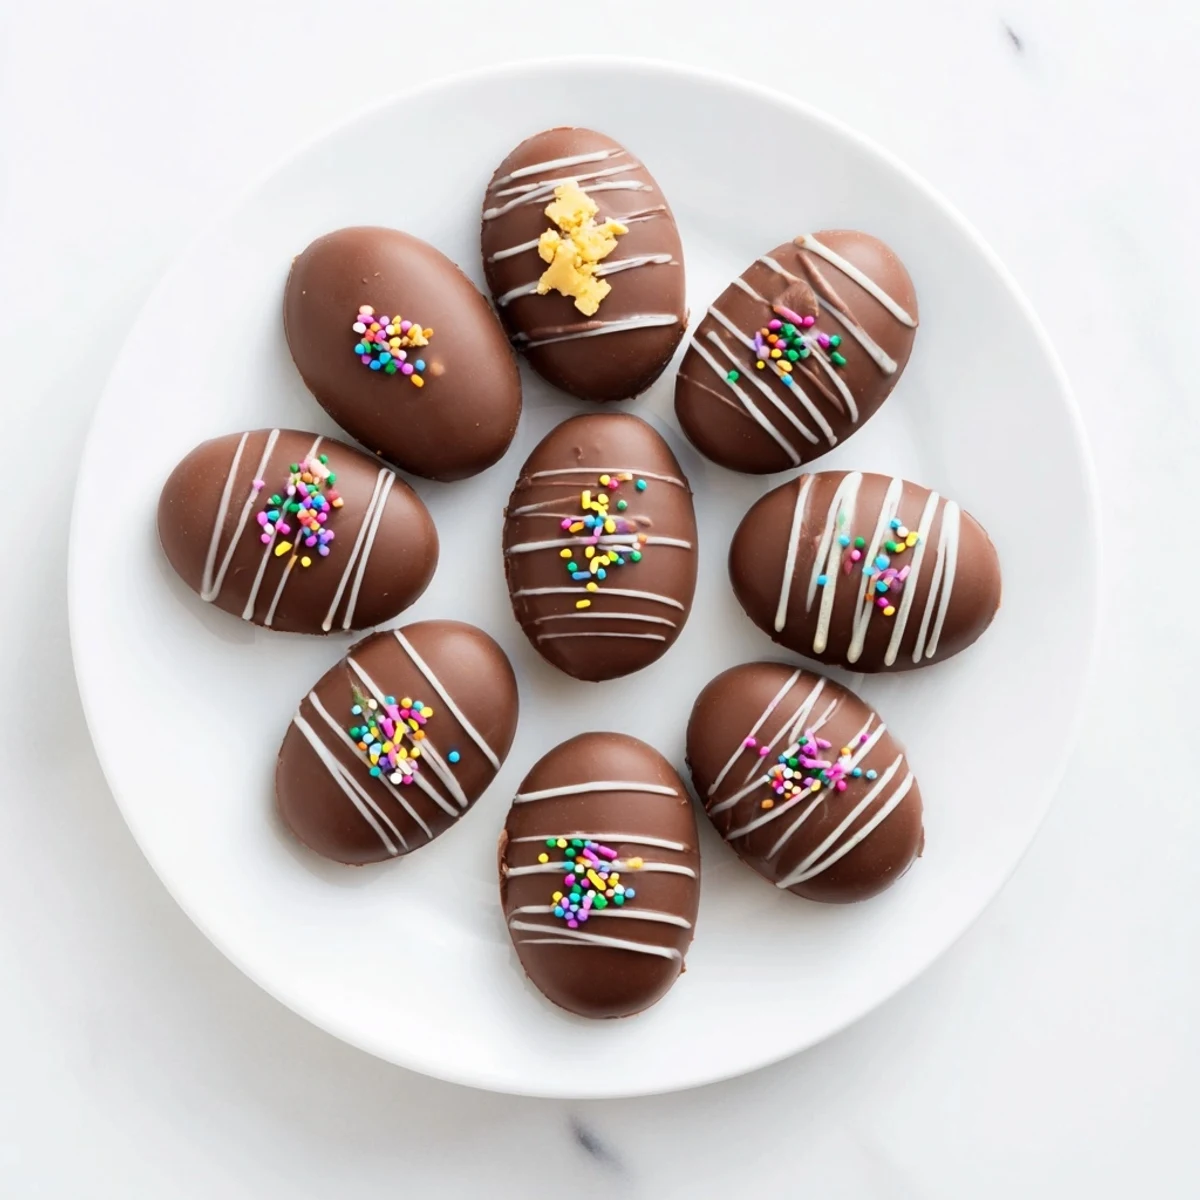
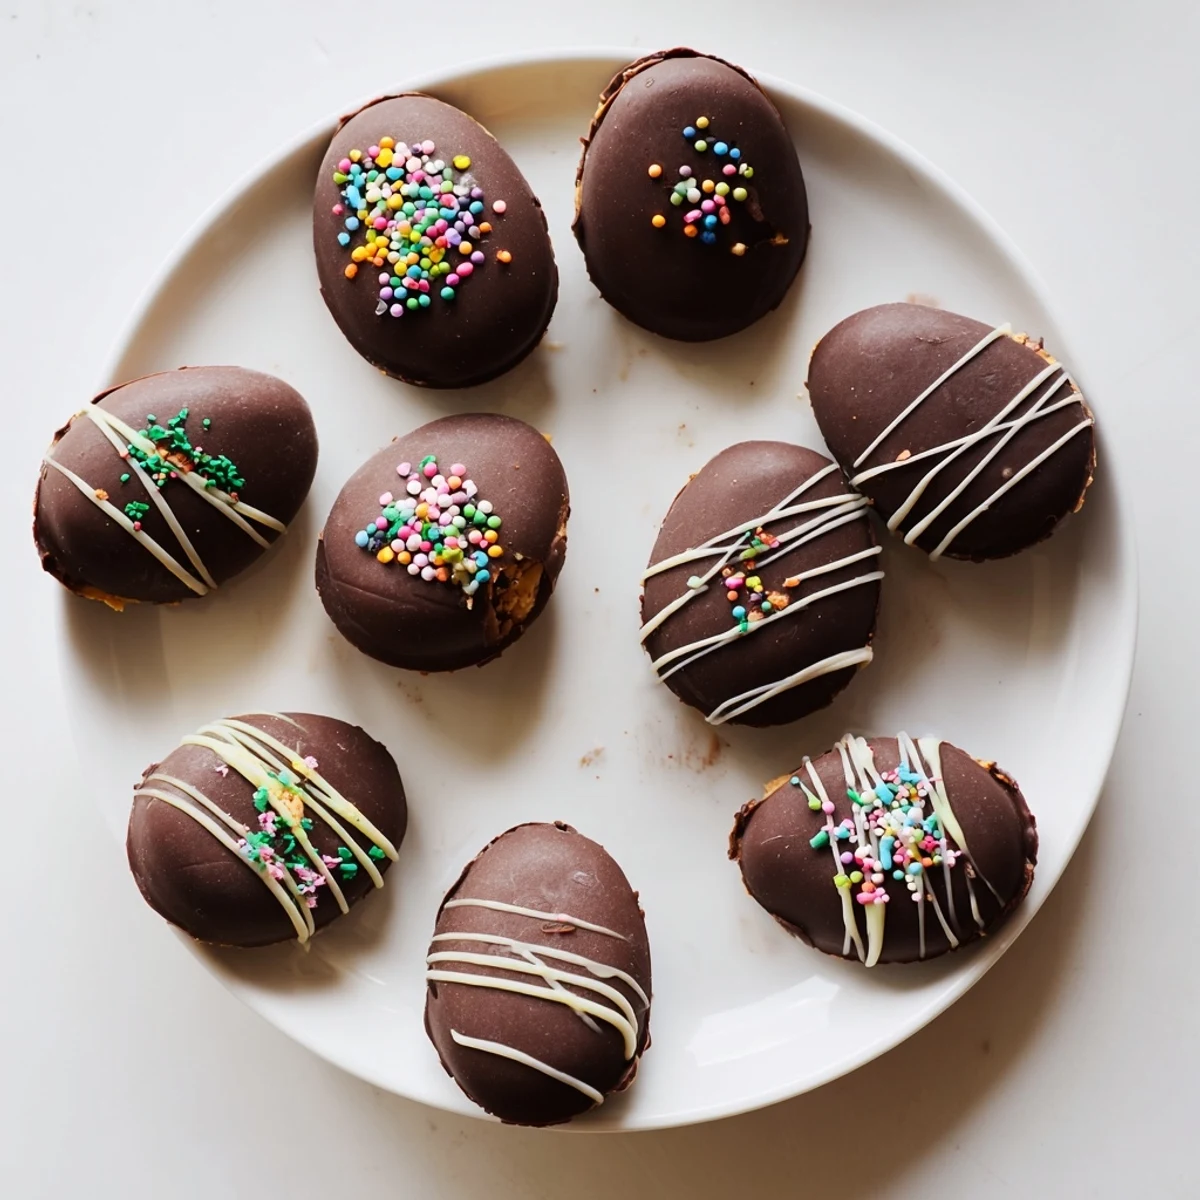
 These indulgent peanut butter Easter eggs feature a smooth, creamy filling made with peanut butter, butter, and powdered sugar, shaped into classic egg forms and dipped in velvety semisweet chocolate. The filling comes together quickly and requires freezing before coating to ensure perfectly shaped eggs that hold their form during dipping.
The chocolate coating sets beautifully with a touch of coconut oil, creating a professional-looking finish that's ideal for Easter baskets, dessert tables, or thoughtful homemade gifts. You can customize with sprinkles, white chocolate drizzle, or experiment with different nut butters for variation.
The kitchen counter was covered in chocolate splatters and my hands were sticky, but watching my niece carefully place each sprinkle on her peanut butter egg made the mess worth it. We'd decided at the last minute to make Easter treats instead of buying them, and something about shaping peanut butter into little ovals felt surprisingly satisfying. Now I make them every year, sometimes alone with music playing, sometimes with whoever happens to wander into the kitchen wanting to help.
Last spring I brought a batch to a potluck and watched them disappear within twenty minutes. Someone asked if I'd spent all day making them, and I had to laugh because the active time is so short. The best part was seeing a friend who claims she hates sweets reach for her third egg, then sheepishly ask for the recipe.
Ingredients
- 1 cup creamy peanut butter: Room temperature peanut butter mixes more smoothly and creates that silky texture that melts in your mouth
- 1/4 cup unsalted butter softened: I've learned the hard way that cold butter creates lumps, so set it out at least an hour before starting
- 2 cups powdered sugar: Sift it first if it's been sitting in your pantry for a while to avoid grainy filling
- 1/2 teaspoon vanilla extract: Pure vanilla makes a noticeable difference here since the flavors are so simple
- Pinch of salt: This tiny amount wakes up all the flavors and keeps the sweetness from becoming cloying
- 2 cups semisweet chocolate chips: I've tried expensive bars and regular chips, and honestly the chips work beautifully for coating
- 1 tablespoon coconut oil: This is the secret to getting that thin, snappy chocolate coating instead of a thick shell
Instructions
- Get your workspace ready:
- Line a baking sheet with parchment paper before you start mixing anything. Trust me, you'll thank yourself later when your shaped eggs have somewhere to go immediately.
- Make the filling:
- Beat the peanut butter and butter until they're completely smooth and no lumps remain. This takes about 2 minutes with an electric mixer, longer by hand, but don't rush this step.
- Add the flavor:
- Mix in the vanilla and salt, then gradually add the powdered sugar. The dough will seem dry at first but keep mixing until it comes together into a smooth, moldable ball.
- Shape your eggs:
- Scoop about 2 tablespoons of mixture and roll it into a ball, then gently elongate it into an oval shape. Place each one on your prepared baking sheet as you work.
- Chill until firm:
- Freeze the shaped eggs for 30 minutes. I've tried skipping this step and the filling starts melting into the warm chocolate, creating a mess instead of neat eggs.
- Prepare the chocolate coating:
- Melt the chocolate chips and coconut oil together in 30 second bursts, stirring between each interval. Stop when there are just a few small lumps left and stir until smooth.
- Coat each egg:
- Drop a chilled egg into the chocolate, use a fork to flip it over completely, then lift it out and tap the fork against the bowl to remove excess chocolate. Slide it back onto the parchment paper.
- Add finishing touches:
- Sprinkle decorations immediately while the chocolate is wet, or let set first if you're planning to drizzle white chocolate on top.
- Set completely:
- Refrigerate for 15 to 20 minutes until the chocolate is firm. The contrast between the cool chocolate and creamy filling is worth the wait.
 Pin it
 My grandmother never made sweets like this, but I think she would have loved that these bring people into the kitchen. Last Easter my usually silent teenage nephew spent forty minutes carefully decorating each egg with different sprinkle patterns, talking the whole time about his day. Sometimes food is just food, but sometimes it's an excuse for connection.
Making Them Your Own
I've started experimenting with different fillings based on what my family enjoys. Adding crushed pretzels to the peanut butter mixture creates this incredible salty crunch that people can't quite identify but keep reaching for. A friend mixes in mini chocolate chips, though I find those can make dipping trickier since they create bumps in the surface.
Chocolate Choices
The type of chocolate you choose really does matter here. White chocolate creates a beautiful contrast and feels more like traditional Easter candy, while milk chocolate is what most people expect from peanut butter cups. I've even made dark chocolate versions for friends who prefer less sweet desserts, and they disappeared just as quickly.
Storage and Gifting
These keep beautifully in the refrigerator for up to a week, though in my house they rarely last more than three days. When gifting, I place each egg in a small paper candy cup and arrange them in a box with waxed paper between layers. The presentation makes them feel like something from a fancy chocolate shop.
- Bring them to room temperature for 10 minutes before serving for the creamiest texture
- Package them in clear bags tied with pastel ribbons for instant Easter gifts
- Make a double batch because they disappear faster than you'd expect
 Pin it
 There's something deeply satisfying about making candy that looks this impressive with such simple ingredients. Whether you're making them for Easter or just because Tuesday needs more chocolate, these eggs have a way of making any day feel like a celebration.
Recipe Q&A
- → How long do peanut butter eggs keep fresh?
-
Store in an airtight container in the refrigerator for up to one week. The chocolate coating remains firm and the filling stays perfectly creamy when chilled.
- → Can I freeze peanut butter Easter eggs?
-
Yes, freeze before or after chocolate coating for up to 2-3 months. Thaw in the refrigerator overnight before serving for best results.
- → Why is my peanut butter mixture too soft to shape?
-
Add more powdered sugar, one tablespoon at a time, until the dough becomes firm enough to hold its shape. Chilling the mixture for 15-20 minutes also helps.
- → What's the best way to melt the chocolate?
-
Use a double boiler for gentle, even heating, or microwave in 30-second intervals stirring between each. The coconut oil helps create a smooth, pourable consistency.
- → Can I make these without peanut butter?
-
Substitute with almond butter, sunflower butter, or cashew butter. The texture and sweetness may vary slightly, so adjust powdered sugar accordingly.
