 Pin it
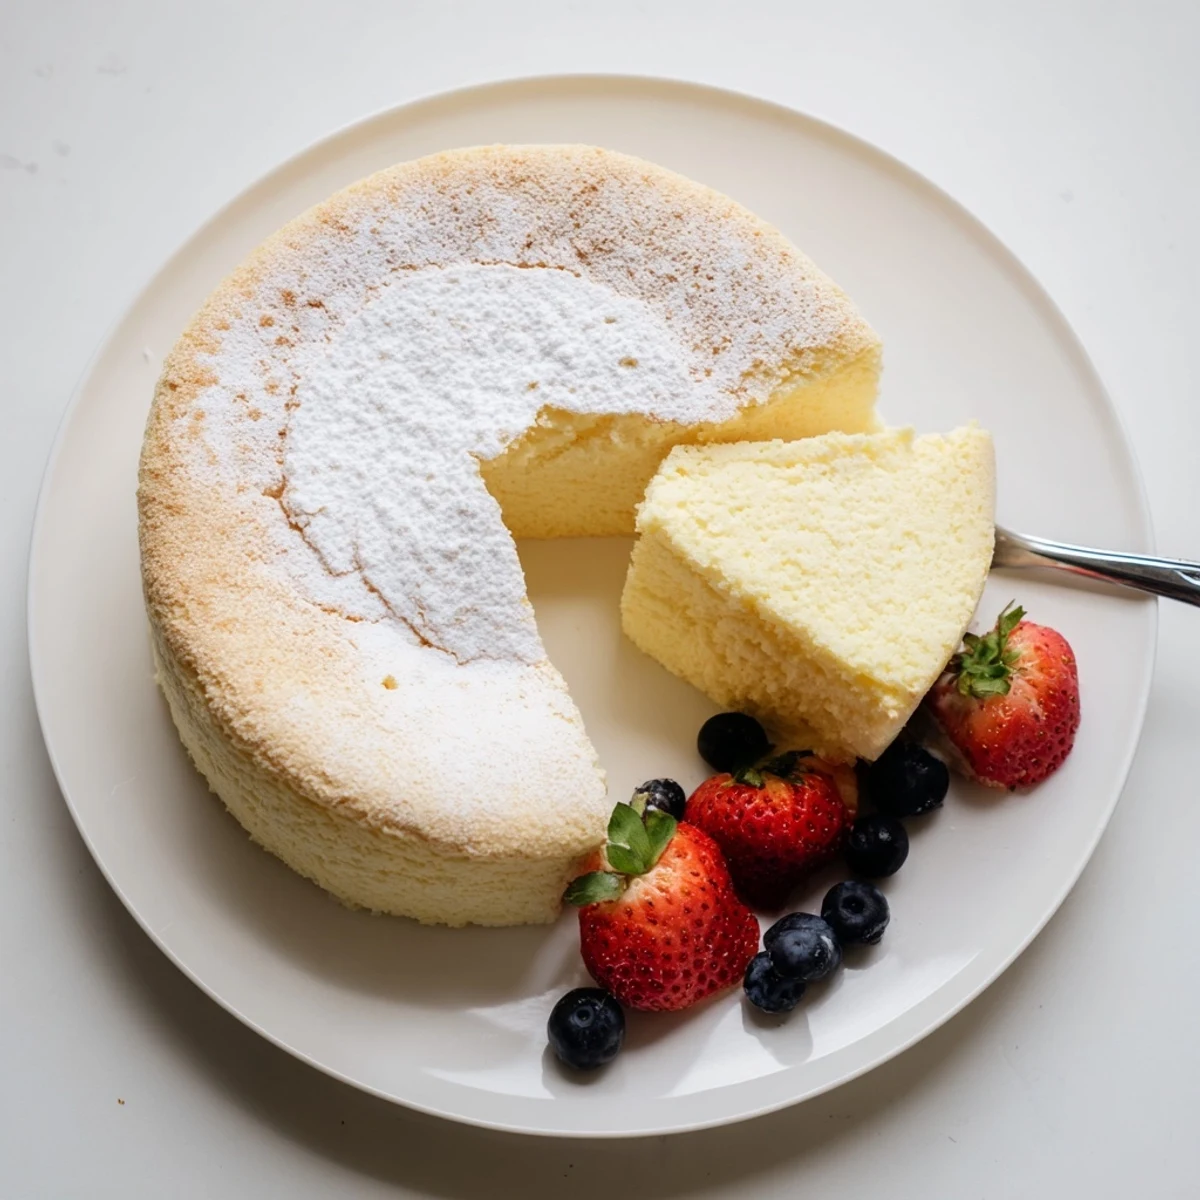
 This Japanese-style cheesecake delivers an incredibly light, soufflé-like texture that practically melts on your tongue. Unlike dense American versions, this fluffy creation relies on properly beaten egg whites and a gentle water bath technique to achieve its signature cloudlike consistency. The result is a delicate, less-sweet dessert that balances richness with ethereal lightness.
Success depends on room temperature ingredients, proper meringue formation, and the crucial water bath method. Though the process requires patience—especially during the cooling phase—the reward is an impressive dessert that tastes like eating a sweet cloud. Perfect topped with fresh berries and a dusting of powdered sugar.
I spent three failed Sundays trying to master this Japanese cheesecake, watching each one deflate like a sad balloon. Then I finally understood what makes it special, it's not just about technique but patience and respect for the egg whites. The moment it rose tall and wobbly in my kitchen, I knew I had something worth sharing with you.
My mother-in-law took one bite and asked how many days I had practiced to get something so delicate. We served it after Sunday dinner and nobody spoke for five whole minutes, just happy sighs around the table.
Ingredients
- Cream cheese at room temperature: This needs to be completely softened or you will get lumps in your batter and nobody wants that
- Unsalted butter: Keep it at the same temperature as your cream cheese for smooth incorporation
- Cake flour: This is non-negotiable, all-purpose flour makes it heavy and dense
- Cornstarch: Works with the cake flour to create that signature pillow-like crumb
- Sugar divided: You will use most of this for the meringue which provides structure
- Six eggs separated: Room temperature eggs whip up better and hold their peaks longer
- Lemon juice and vanilla: These brighten the rich cream cheese without making it tart
- Lemon zest: Adds a lovely aromatic touch but it is optional if you prefer pure cream cheese flavor
Instructions
- Getting ready to bake:
- Preheat your oven to 320°F and line an 8-inch pan with parchment, then wrap the outside in foil like you are tucking it in for bed
- Melting the base:
- Set a heatproof bowl over simmering water and melt the cream cheese, butter, and milk together until completely smooth, then let it cool a bit so it does not cook your eggs
- Adding the dry ingredients:
- Sift the cake flour, cornstarch, and salt into the warm mixture and whisk until you cannot see any dry pockets anymore
- Making the batter:
- Whisk in the egg yolks, lemon juice, vanilla, and zest until everything is one silky, pale yellow mixture
- Creating the meringue:
- Beat your egg whites until foamy, then gradually add the sugar and keep going until you have stiff glossy peaks that stand up straight when you lift the beaters
- Folding together:
- Gently fold one-third of the meringue into your batter to lighten it, then carefully fold in the rest in two batches so you do not knock out all the air you just worked so hard to create
- Preparing for the oven:
- Pour the batter into your prepared pan and tap it firmly on the counter several times to release any trapped air bubbles
- The water bath:
- Place the cake pan inside a larger roasting pan and carefully pour hot water until it reaches halfway up the sides
- Baking time:
- Bake for 60 to 70 minutes until the top is golden brown and a skewer comes out clean, but do not open the door too often or you will make it fall
- Cooling gradually:
- Turn off the oven but leave the cheesecake inside with the door cracked open for 15 minutes, which helps prevent cracking from sudden temperature change
- Chilling completely:
- Let it cool completely in the pan before removing, then refrigerate for at least 2 hours because the texture improves significantly when fully chilled
 Pin it
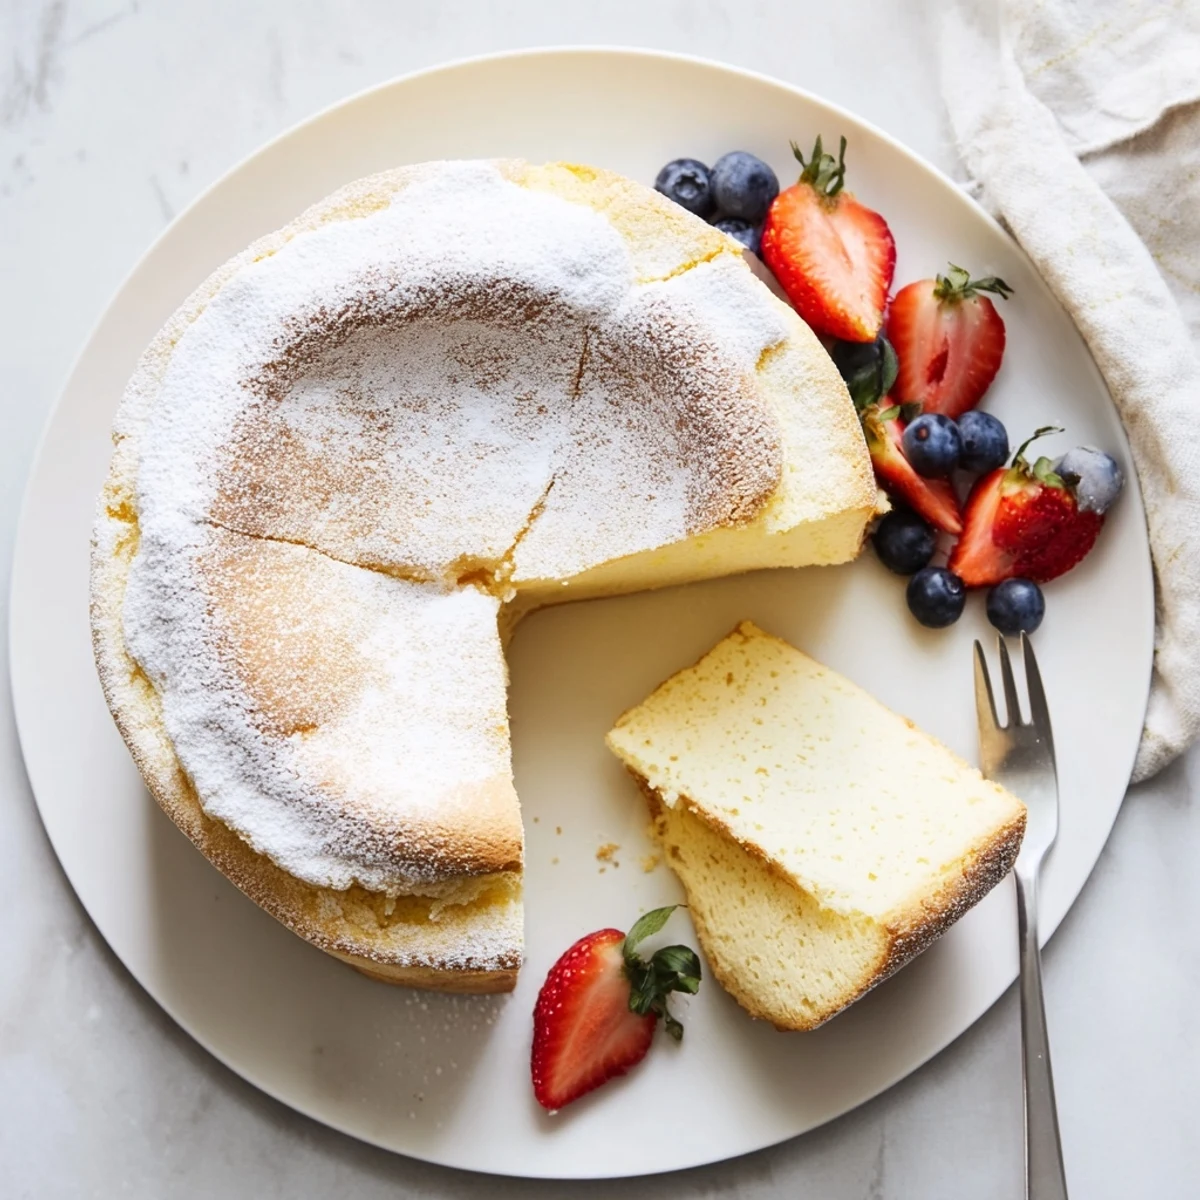
 When I finally served a perfectly risen cheesecake to my family, my daughter said it looked like a sunny-side-up egg with its golden top. That became our little joke every time I make it now.
Getting The Most Fluff
Egg whites that are even slightly warm will not hold peaks properly, so separate your eggs when they are cold then let everything come to room temperature together. Patience at this stage makes all the difference between a cloud and a pancake.
Understanding The Water Bath
The gentle, humid heat from the water bath allows the cheesecake to cook evenly without developing a tough outer layer. Think of it as creating a mini spa environment for your cake while it bakes.
Serving Suggestions
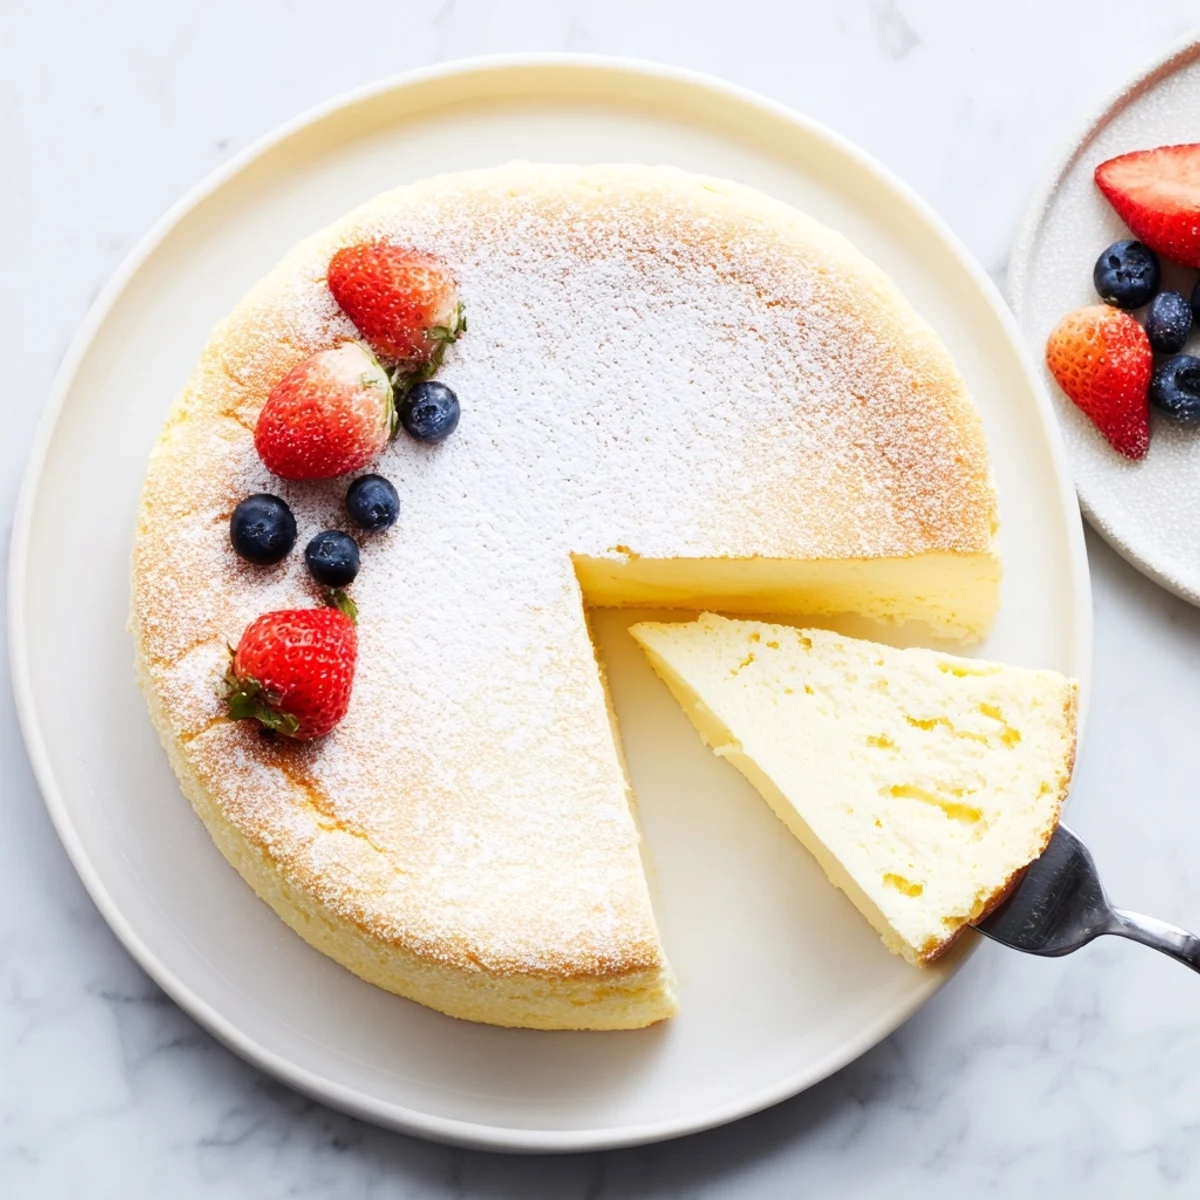
A light dusting of powdered sugar right before serving makes it look professionally finished, though the cake is beautiful on its own. Fresh berries or a drizzle of fruit compote complement the delicate flavor without overwhelming it.
- Let it sit at room temperature for 15 minutes before serving
- Use a serrated knife with a gentle sawing motion to cut clean slices
- Store any leftovers in the refrigerator covered loosely with foil
 Pin it
 This cheesecake rewards the patient baker with something truly magical, a dessert that feels like eating a sweet, lemony dream.
Recipe Q&A
- → What makes this cheesecake fluffy?
-
The fluffiness comes from incorporating stiffly beaten egg whites into the batter, creating a meringue-based structure. Combined with cake flour instead of all-purpose flour and baked in a water bath, these elements produce the signature airy, soufflé-like texture.
- → Why does it crack?
-
Cracking typically occurs from temperature shock or overbaking. Prevent this by using a water bath for gentle heat distribution, not opening the oven door during baking, and letting it cool gradually with the door slightly ajar before removing.
- → Can I substitute cake flour?
-
Cake flour is essential for the delicate texture. Its lower protein content creates a tender crumb. Substituting all-purpose flour will result in a denser, heavier final product that loses the characteristic fluffiness.
- → How long should I chill before serving?
-
Refrigerate for at least 2 hours, though overnight chilling improves texture and flavor. The cheesecake sets completely as it cools, making it easier to slice cleanly and allowing flavors to meld.
- → What's the purpose of the water bath?
-
The water bath creates steam and gentle, even heat distribution. This moisture prevents the cheesecake from drying out, reduces cracking, and allows the custard to cook slowly without developing a rubbery texture.
