 Pin it
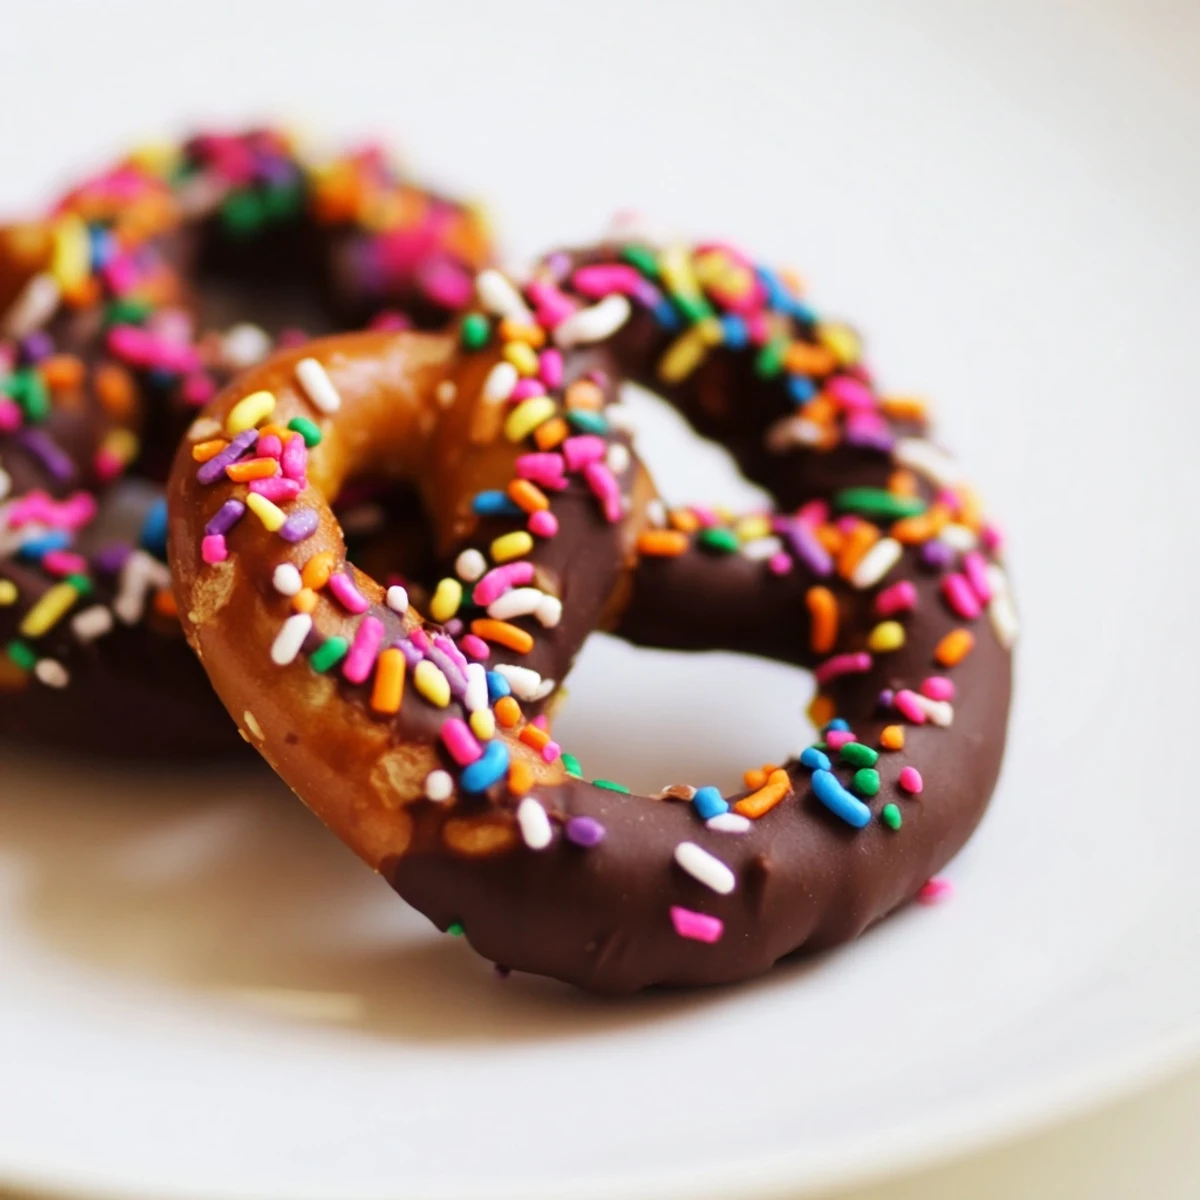
 Prepare delightful chocolate-coated pretzels with ease. Begin by melting your preferred chocolate with a touch of coconut oil for extra smoothness. Once melted, dip each pretzel halfway, allowing any excess to drip off naturally. Arrange the coated pretzels on a parchment-lined baking sheet. Before the chocolate sets, sprinkle them generously with your choice of toppings, such as colorful sprinkles, chopped nuts, or shredded coconut.
Allow the chocolate to firm up at room temperature or in the refrigerator for about 20 minutes. These sweet and salty treats are perfect for parties, gifting, or simply enjoying as a delightful snack. They store well in an airtight container for up to a week, offering a convenient and satisfying indulgence.
I remember one blustery Saturday afternoon, the kind where the grey skies just beg you to stay indoors, when a sudden sweet-and-salty craving hit me with full force. I had some leftover baking chocolate tucked away in the pantry and a bag of mini pretzels that were *just* begging for a purpose beyond their usual snacking duty. It was purely an impulse, a little kitchen experiment born out of boredom and a sweet tooth, but the result was so unexpectedly delightful. From that day on, these became my go-to for a quick, satisfying treat.
The first time I brought a platter of these to a holiday potluck, I nearly had to guard them with a spatula! I’d tried a mix of dark chocolate with sea salt flakes and milk chocolate with festive sprinkles, arranging them artfully on a vintage tray. Hearing people exclaim about how surprisingly addictive they were, and seeing a few sneak back for seconds (and thirds!), made all of five minutes of effort completely worth it. It’s a guaranteed crowd-pleaser that looks like you put in so much more work than you actually did.
Ingredients
- Mini Pretzels: Whether you choose twists for that classic pretzel shape or rods for easier dipping and topping, the crunch is absolutely essential for the perfect sweet-and-salty contrast.
- Semisweet or Milk Chocolate: Opt for good quality chocolate here, as it truly makes a difference in flavor and meltability; semisweet offers a nice balance, while milk chocolate brings a nostalgic sweetness.
- Coconut Oil or Vegetable Shortening (optional): Just a tiny bit of this magic ingredient will help your chocolate melt smoother, stay fluid longer, and give your finished pretzels a beautiful, glossy sheen.
- Colorful Sprinkles: These add a festive pop of color and a touch of whimsy, making your pretzels instantly more appealing for parties or gifting.
- Chopped Nuts: For a delightful textural contrast and a hint of nutty flavor, finely chopped almonds, pecans, or peanuts are fantastic additions.
- Shredded Coconut: Toasted or plain, shredded coconut lends a lovely tropical aroma and a chewy texture that pairs beautifully with chocolate.
- Crushed Candy Canes: Especially during the holidays, these provide a refreshing minty burst and a vibrant red-and-white sparkle that’s utterly charming.
Instructions
- Prep Your Station:
- Line a baking sheet with parchment paper or a silicone baking mat; this makes cleanup a breeze and ensures your beautiful creations won’t stick.
- Melt the Magic:
- In a microwave-safe bowl, combine your chosen chocolate with the optional coconut oil, then gently melt in short, 20-second bursts, stirring patiently until it’s a smooth, glossy river, or use a double boiler for a more controlled melt.
- Dip & Drip:
- Carefully dip each pretzel, holding it by its dry end and twirling it slightly to ensure an even coating, letting any excess chocolate gracefully drip back into the bowl.
- Adorn with Sparkle:
- While the chocolate is still gloriously wet and tacky, quickly shower your pretzels with your favorite toppings, pressing gently if needed to help them adhere.
- Set the Stage:
- Let your beautiful creations rest at room temperature until the chocolate firms up, or pop them in the fridge for about 20 minutes for a quicker set if you’re eager to taste.
- Store for Later:
- Once fully set, transfer them to an airtight container, where they’ll happily wait to be devoured for up to a week at room temperature.
 Pin it
 I recall one quiet evening, curled up on the sofa with a good book and a small bowl of these salty-sweet wonders, sharing them absentmindedly with my partner. It wasn't a grand occasion, just a simple, comfortable moment, but the act of enjoying something homemade and utterly satisfying together felt deeply comforting. It reminded me that the best treats are often those shared in the most ordinary moments.
The Art of the Dip
Mastering the perfect chocolate dip is less about speed and more about a gentle rotation. Hold the pretzel by its dry end, submerge it about halfway, then slowly twirl it, allowing gravity to do its job and shed any extra chocolate back into the bowl. Don't be afraid to gently tap the pretzel against the side of the bowl to encourage drips, ensuring a neat and even coating. This little trick prevents messy puddles on your parchment paper and gives a professional finish.
Choosing Your Chocolate Canvas
The type of chocolate you choose really dictates the final experience; a rich dark chocolate offers a sophisticated bitterness, while creamy milk chocolate brings a nostalgic sweetness. Don't shy away from using white chocolate either, especially if you want to tint it with food coloring for themed events. Just remember that white chocolate can be a little trickier to melt smoothly, so go extra slow and gentle with it.
Elevating Your Topping Game
Don't be shy with your toppings; this is where your personality truly shines through! A little sprinkle of flaky sea salt on dark chocolate is a game-changer, and finely crushed freeze-dried raspberries add a beautiful tartness and vibrant color. The key is to have your toppings ready and waiting before you start dipping, because once that chocolate is on, you've got to act fast!
- Make sure to apply toppings immediately after dipping, while the chocolate is still very wet, otherwise they won’t stick.
- For something extra special, try a light dusting of cocoa powder or edible glitter just before serving.
- If you're making a big batch, organize your toppings in small bowls for quick and easy access.
 Pin it
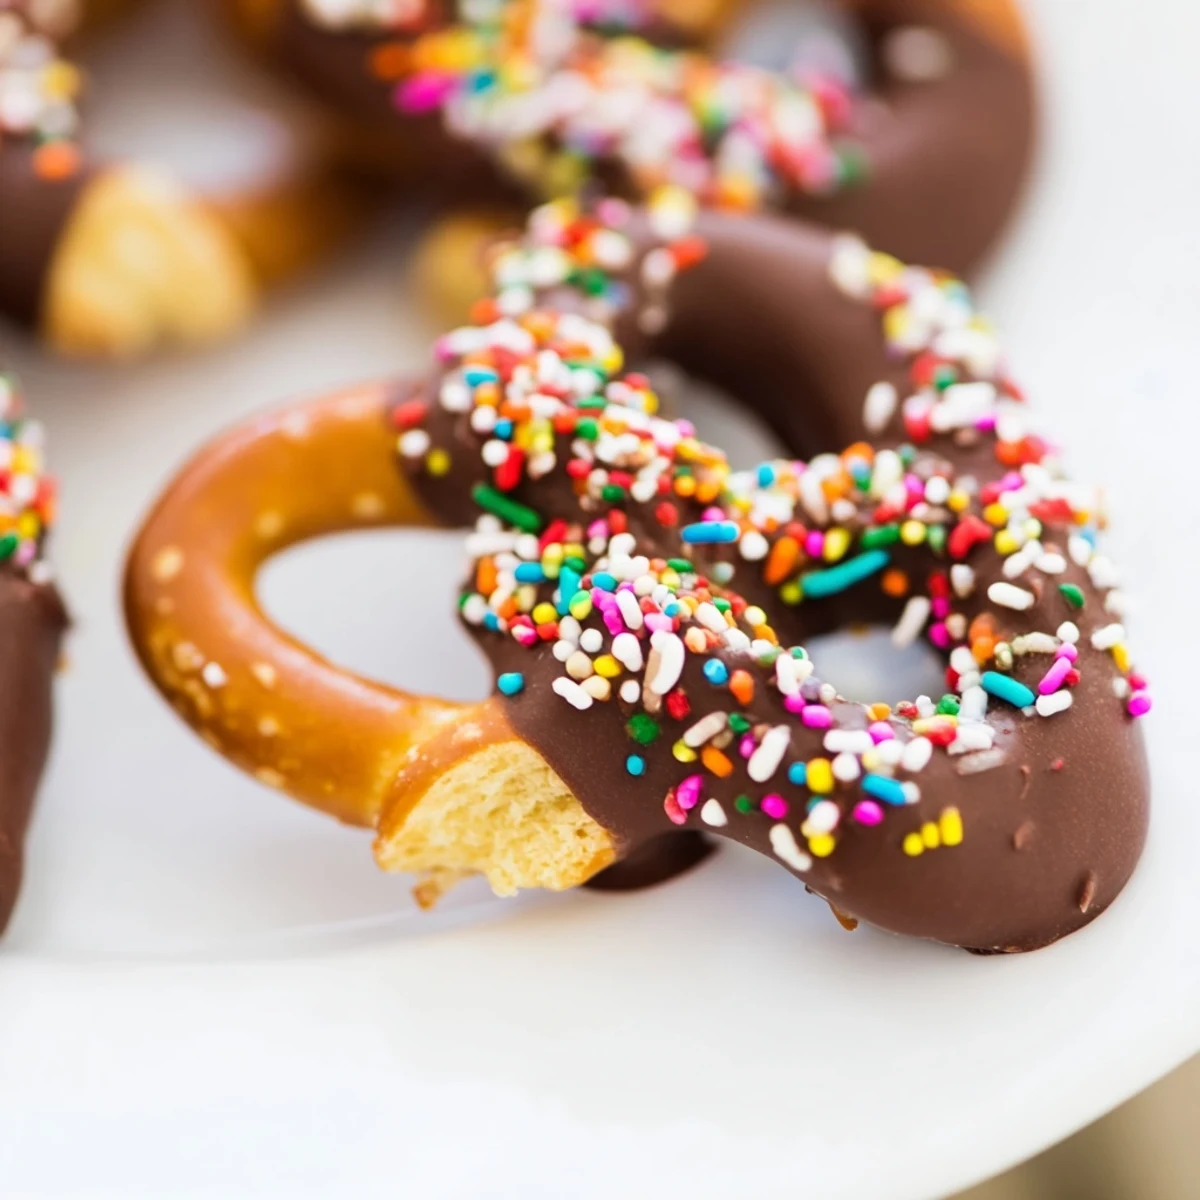
 These chocolate-covered pretzels are more than just a snack; they're a delightful little indulgence that brings a smile to any face. Whip up a batch for your next gathering, or simply for yourself, and savor that perfect sweet-and-salty crunch.
Recipe Q&A
- → What kind of chocolate works best for dipping?
-
Semisweet or milk chocolate chips or chopped bars work wonderfully. You can also experiment with white or dark chocolate varieties for different flavor profiles and appearances.
- → Why is coconut oil or shortening sometimes added to the chocolate?
-
Adding a small amount of coconut oil or vegetable shortening helps to thin the melted chocolate slightly. This makes it smoother and easier to dip the pretzels, resulting in a more even and attractive coating.
- → How long does it take for the chocolate to set?
-
The chocolate typically sets within 20 minutes at room temperature. If you're in a hurry, refrigerating the pretzels can speed up the setting process considerably.
- → What are some good topping ideas for these treats?
-
Popular toppings include colorful sprinkles, finely chopped nuts (like peanuts, almonds, or pecans), shredded coconut, or crushed candy canes. For an extra touch, drizzle with a contrasting chocolate once the first layer is set.
- → How should I store finished chocolate-covered pretzels?
-
Store your chocolate-covered pretzels in an airtight container at room temperature. They will maintain their freshness and crunch for up to one week.
