 Pin it
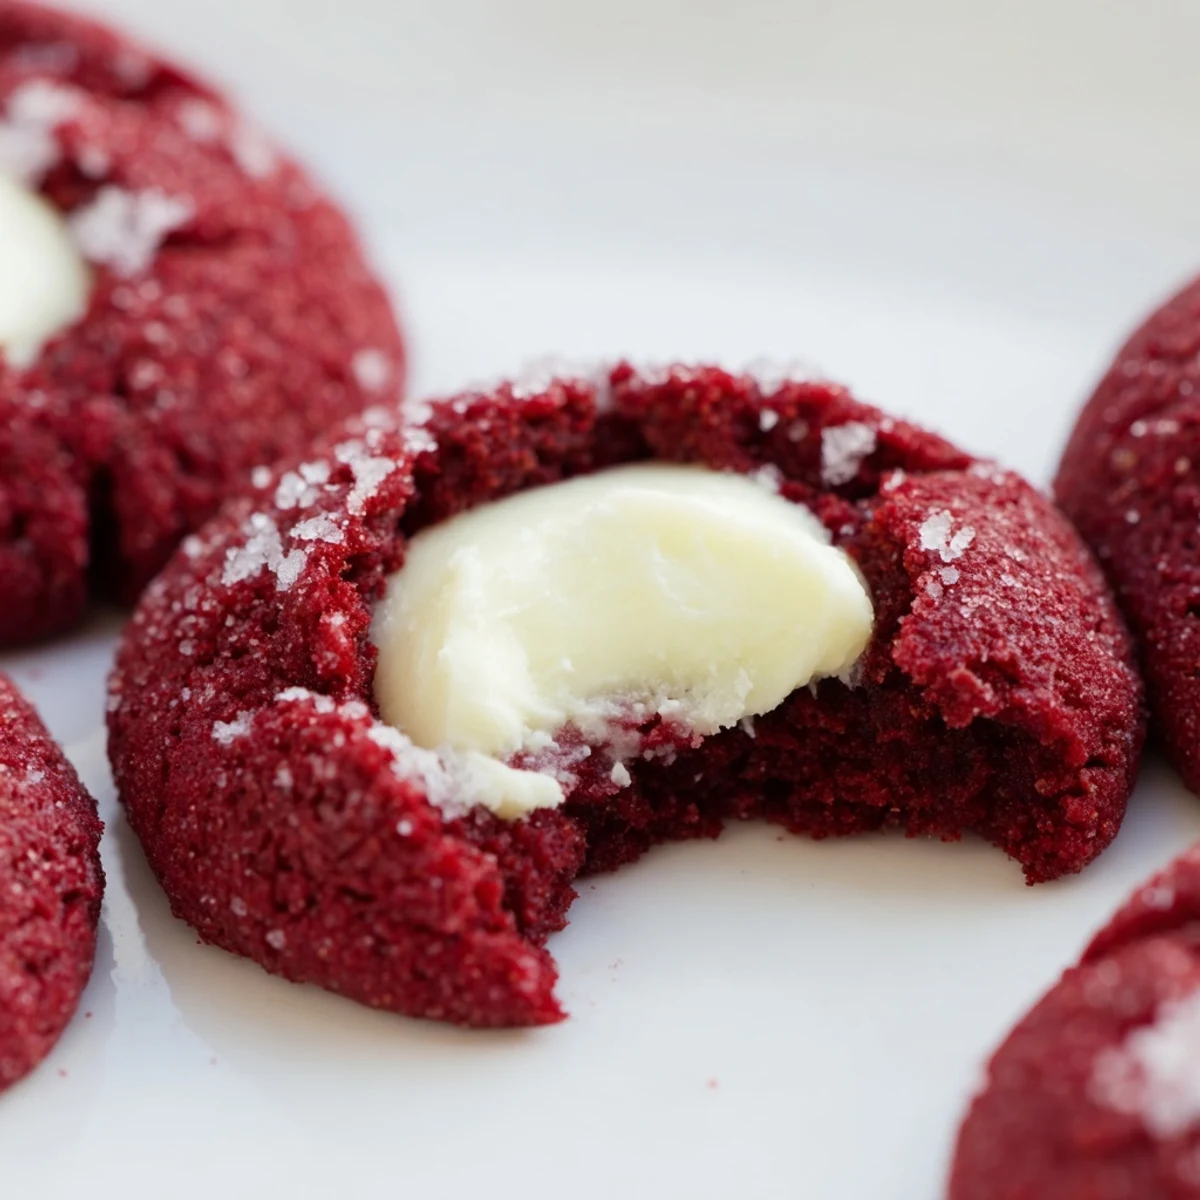
 These elegant red velvet thumbprint cookies feature a soft, tender crumb with deep cocoa flavor and a striking crimson hue. Each cookie is hand-pressed and filled with a smooth, tangy cream cheese center that complements the chocolate notes perfectly.
The dough comes together quickly with basic pantry staples, requiring just 20 minutes of prep before a short 12-minute bake. The thumbprint indentation creates the perfect vessel for the creamy filling, which sets beautifully in the oven.
Customize these versatile treats by swapping the cream cheese for white chocolate ganache, or add festive sprinkles for holiday celebrations. They store beautifully in the refrigerator for up to four days, making them ideal for advance preparation.
My sister called them 'grown-up thumbprints' when I first brought these to a Christmas potluck, shocked that something so sophisticated came from my tiny apartment kitchen. The deep cocoa flavor hits you first, then that tangy cream cheese center melts into something almost celestial. I've since learned the trick is pressing gently into the dough before baking, creating that perfect little well that keeps the filling from spilling over.
Last winter during that terrible ice storm, my neighbor and I spent an entire afternoon baking batch after batch, our kitchen filled with flour dust and laughter while the world outside turned gray and frozen. Something about these cookies, with their jewel-like centers, made everything feel warmer and more festive.
Ingredients
- All-purpose flour: The backbone that gives these cookies their tender structure, and sifting it first prevents any lumps in the cocoa mixture
- Unsweetened cocoa powder: Dutch-processed works best here for that deep mahogany color and mellow chocolate flavor
- Baking soda: Just enough to lift the dough into those perfect puffy cookies without spreading too thin
- Salt: Don't skip this, it makes the chocolate flavor sing and balances the sweet cream cheese filling
- Unsalted butter: Room temperature is non-negotiable, and I promise it makes the difference between cookies that spread and ones that hold their shape
- Granulated sugar: Creaming this properly with the butter creates those little air pockets that make the texture so tender
- Egg yolk: Using just the yolk adds richness without making the dough too soft to handle
- Whole milk: Just enough to bring everything together without making the dough sticky
- Vanilla extract: Pure vanilla makes such a difference here, especially since it appears in both cookie and filling
- Red food coloring: Gel coloring gives the most vibrant red without adding extra liquid to your dough
- Cream cheese: Full-fat, softened to room temp so it whips into that silky filling that holds its shape
- Powdered sugar: Sift this first to avoid any grittiness in your smooth cream cheese filling
Instructions
- Preheat your oven:
- Set it to 350°F and line two baking sheets with parchment paper so nothing sticks and cleanup becomes a breeze
- Whisk the dry ingredients:
- In a medium bowl, combine flour, cocoa powder, baking soda, and salt until everything looks evenly distributed
- Cream the butter and sugar:
- Beat them together for about 2 minutes until they're pale and fluffy, scraping down the bowl once halfway through
- Add the wet ingredients:
- Mix in the egg yolk, milk, vanilla, and red food coloring until you have this gorgeous magenta batter
- Combine everything:
- Gradually fold in the dry ingredients just until no flour streaks remain, being careful not to overmix
- Make the filling:
- Whisk together the cream cheese, powdered sugar, and vanilla in a small bowl until completely smooth
- Shape the cookies:
- Roll the dough into 1-inch balls and arrange them 2 inches apart on your prepared baking sheets
- Create the wells:
- Use your thumb or the back of a teaspoon to gently press a little indentation into each ball, going deep but not through to the bottom
- Fill the centers:
- Spoon about 1/2 teaspoon of the cream cheese mixture into each well, being careful not to overfill
- Bake to perfection:
- Bake for 11-13 minutes until the edges are set but the centers still look slightly soft
- Cool completely:
- Let them rest on the baking sheet for 5 minutes before moving them to a wire rack, otherwise they'll crumble
 Pin it
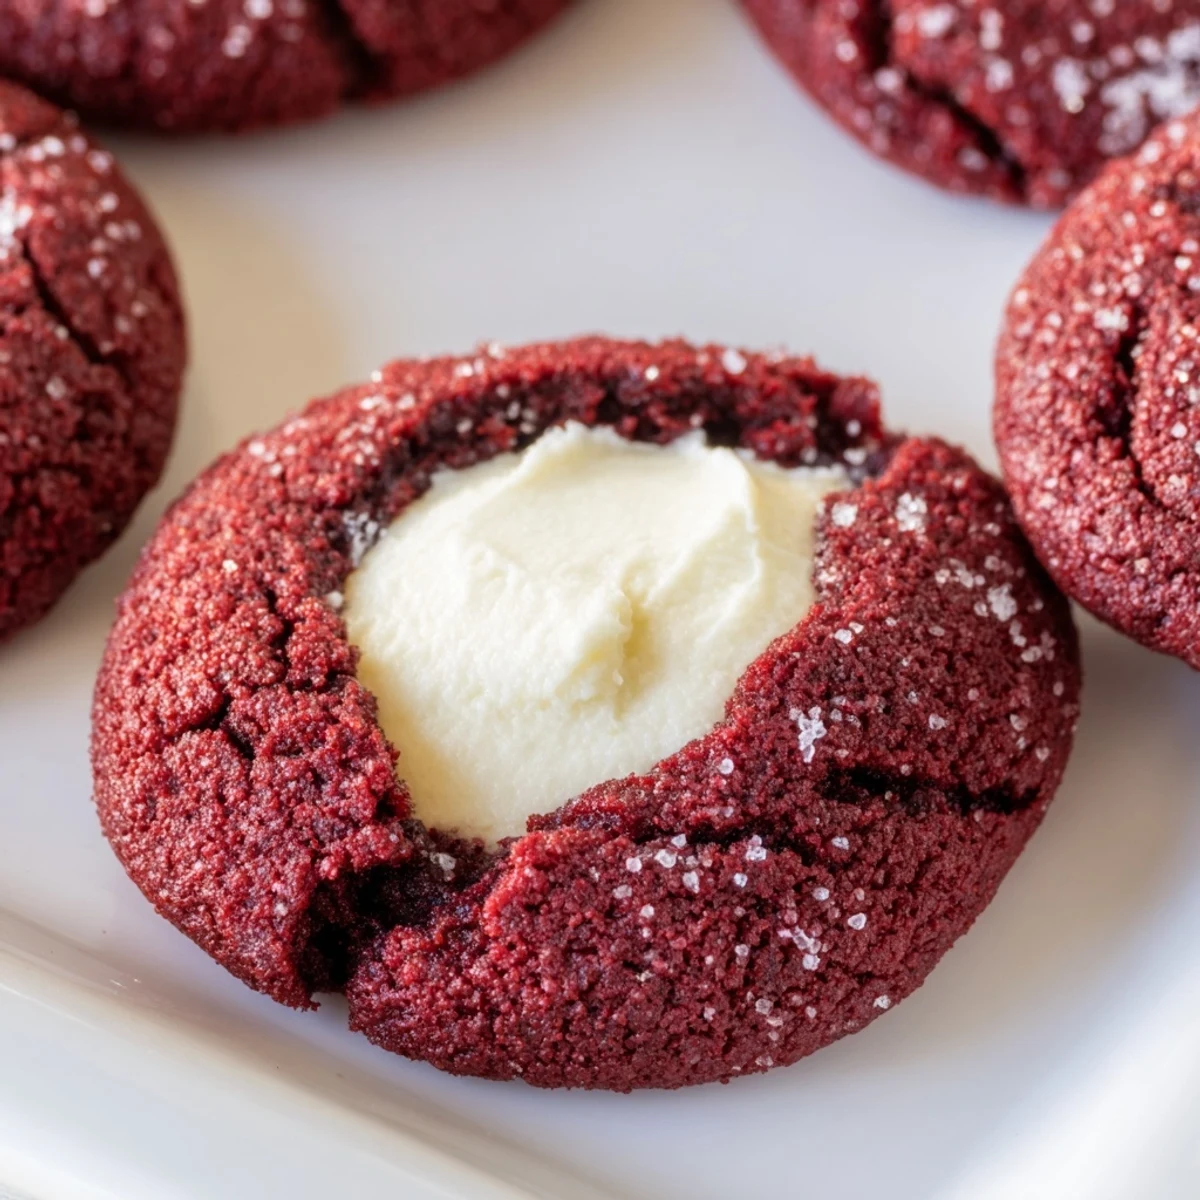
 These became my daughter's birthday tradition after she declared regular thumbprints too boring for her sixth birthday party, and honestly, I haven't looked back since.
Getting That Perfect Red
Gel food coloring is absolutely worth the extra trip to the baking aisle, as liquid coloring can throw off your dough consistency and leave you with cookies that spread into thin puddles instead of holding that classic thumbprint shape.
Filling Variations
While cream cheese creates that perfect tangy contrast, I've discovered white chocolate ganache is divine for anyone who finds the cream cheese too tart. Just melt equal parts white chocolate and heavy cream, let it cool until thick, then spoon it into the centers before baking.
Storage And Make-Ahead Tips
The dough actually freezes beautifully, so I often double the batch and keep balls of dough in the freezer for emergency cookie situations. Bake them straight from frozen, adding just 1-2 minutes to the baking time.
- Once baked, these keep in the refrigerator for up to 4 days, though they rarely last that long in my house
- For gifting, layer them between parchment paper in a tin with a tight seal
- The cream cheese filling softens at room temperature, so serve them chilled if you want that firmer texture
 Pin it
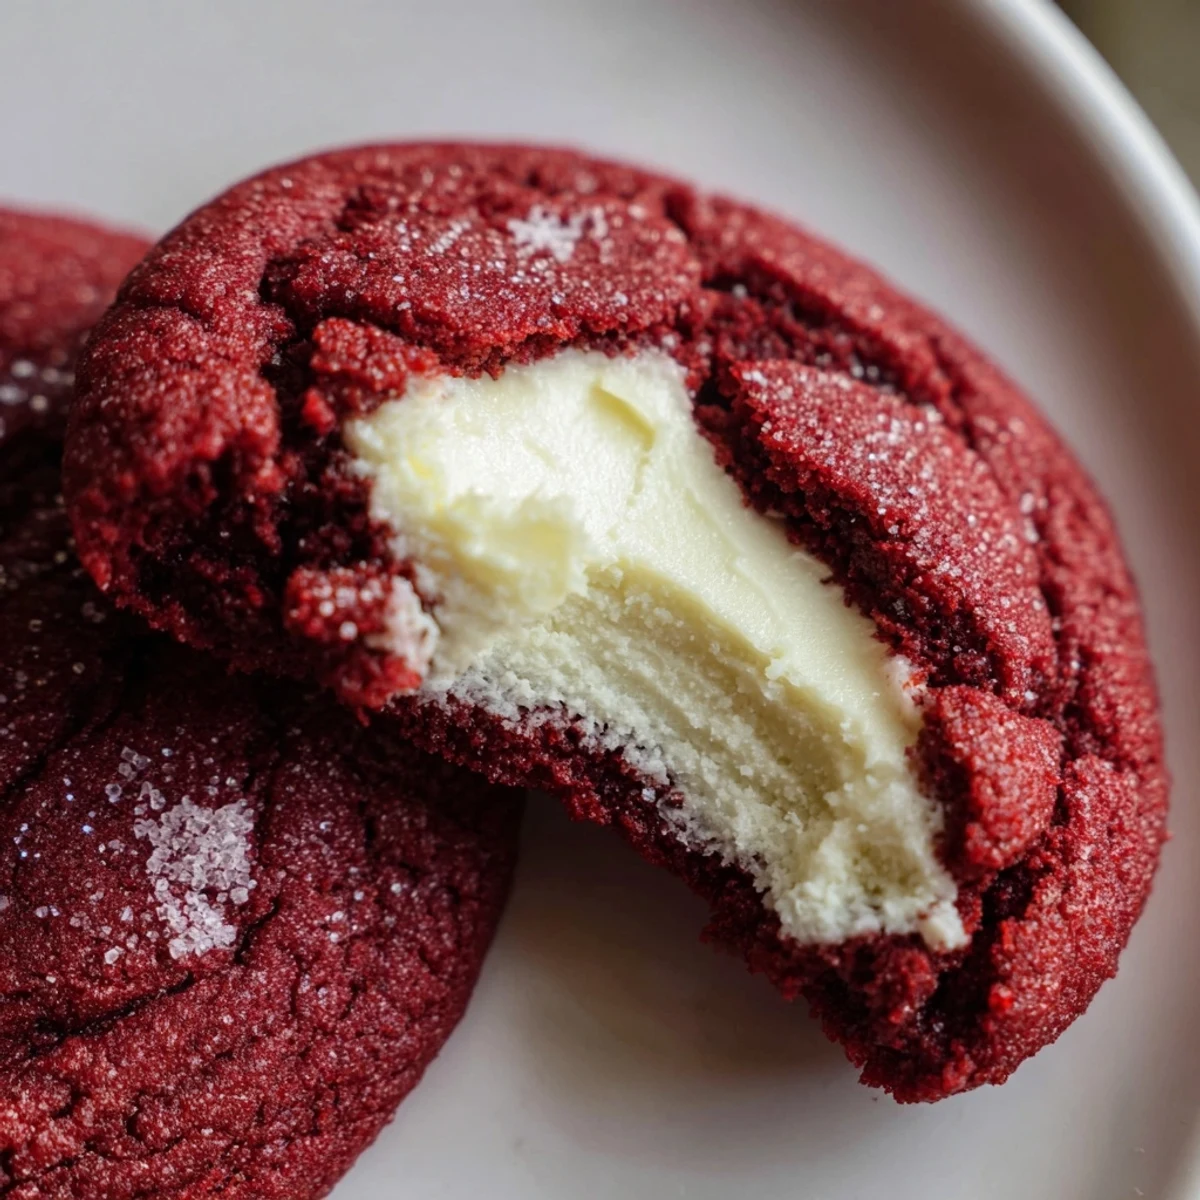
 There's something so satisfying about pressing your thumb into soft dough, creating that perfect little vessel for something sweet and creamy inside.
Recipe Q&A
- → What makes these cookies red?
-
The vibrant red color comes from food coloring added to the dough. One teaspoon of red gel or liquid coloring creates that classic velvet hue that makes these treats visually stunning.
- → Can I use different fillings?
-
Absolutely. While cream cheese filling is traditional, white chocolate ganache, dark chocolate, or even fruit preserves work beautifully. Just ensure any filling is firm enough to hold its shape during baking.
- → Why do my cookies spread too much?
-
Overly soft butter or warm dough can cause excessive spreading. Chill the dough for 15-20 minutes before rolling if your kitchen is warm. Also, ensure you're measuring flour correctly by spooning it into the measuring cup rather than dipping.
- → How do I know when they're done baking?
-
The edges should appear set and slightly firm while the centers may still look soft. They'll continue to firm up as they cool on the baking sheet. Avoid overbaking, which can make them dry.
- → Can I freeze the dough or baked cookies?
-
Yes, both freeze well. Freeze shaped dough balls on a tray first, then transfer to a freezer bag for up to 3 months. Bake from frozen, adding 1-2 minutes. Baked cookies freeze well for up to 2 months; thaw in the refrigerator.
- → What's the best way to get perfect thumbprints?
-
Use your thumb to gently press into the center, or the back of a rounded measuring spoon. If the dough cracks, simply smooth the edges with your fingers. Don't press too deep or the filling might overflow during baking.
