 Pin it
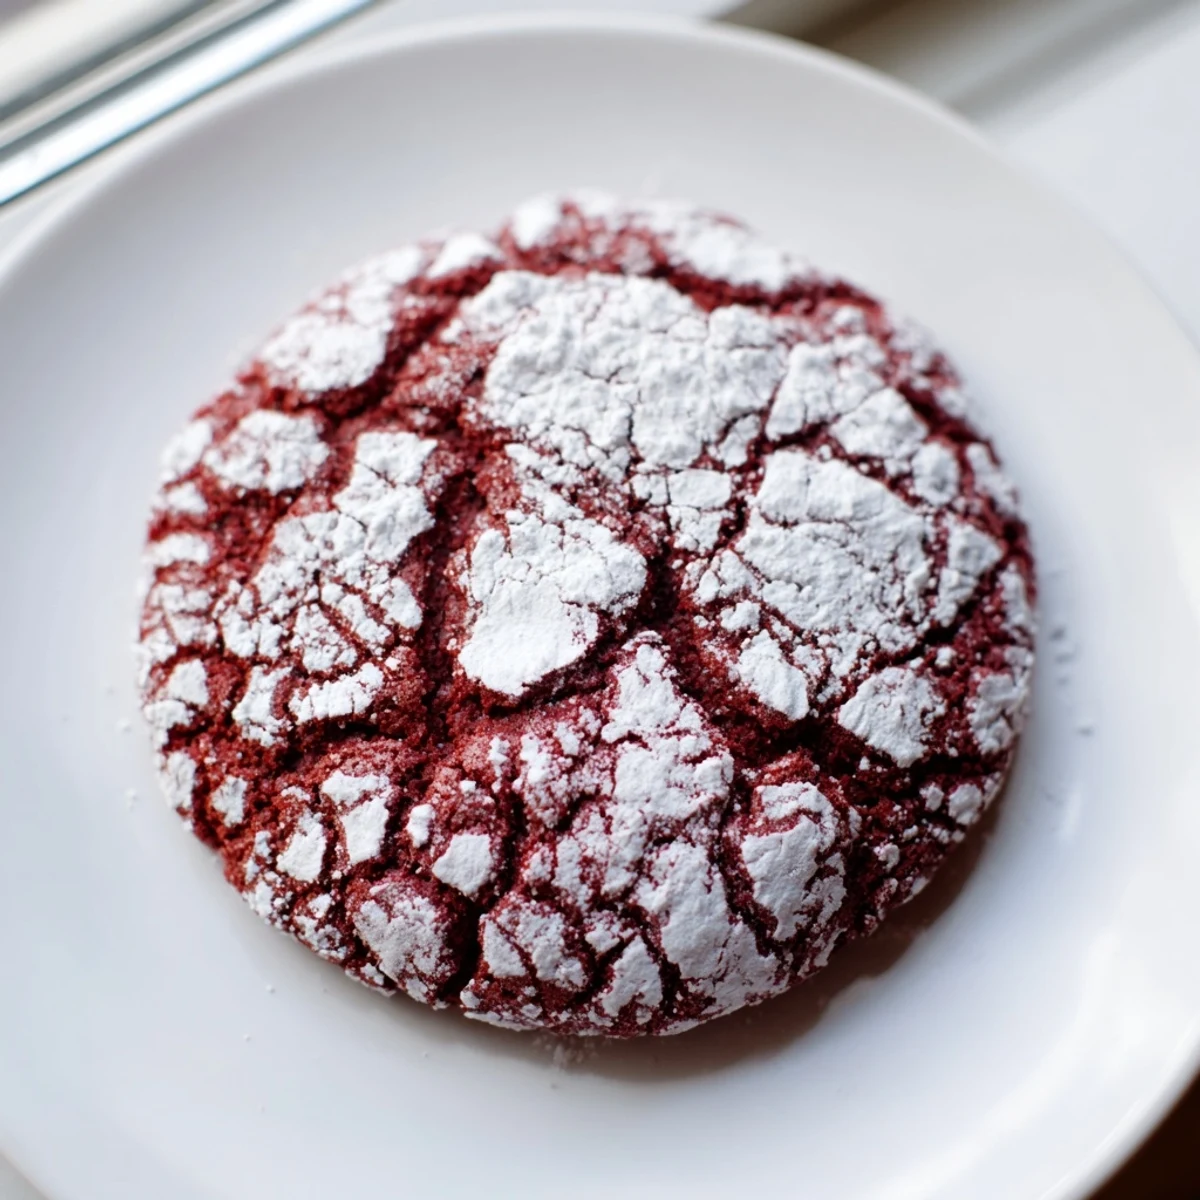
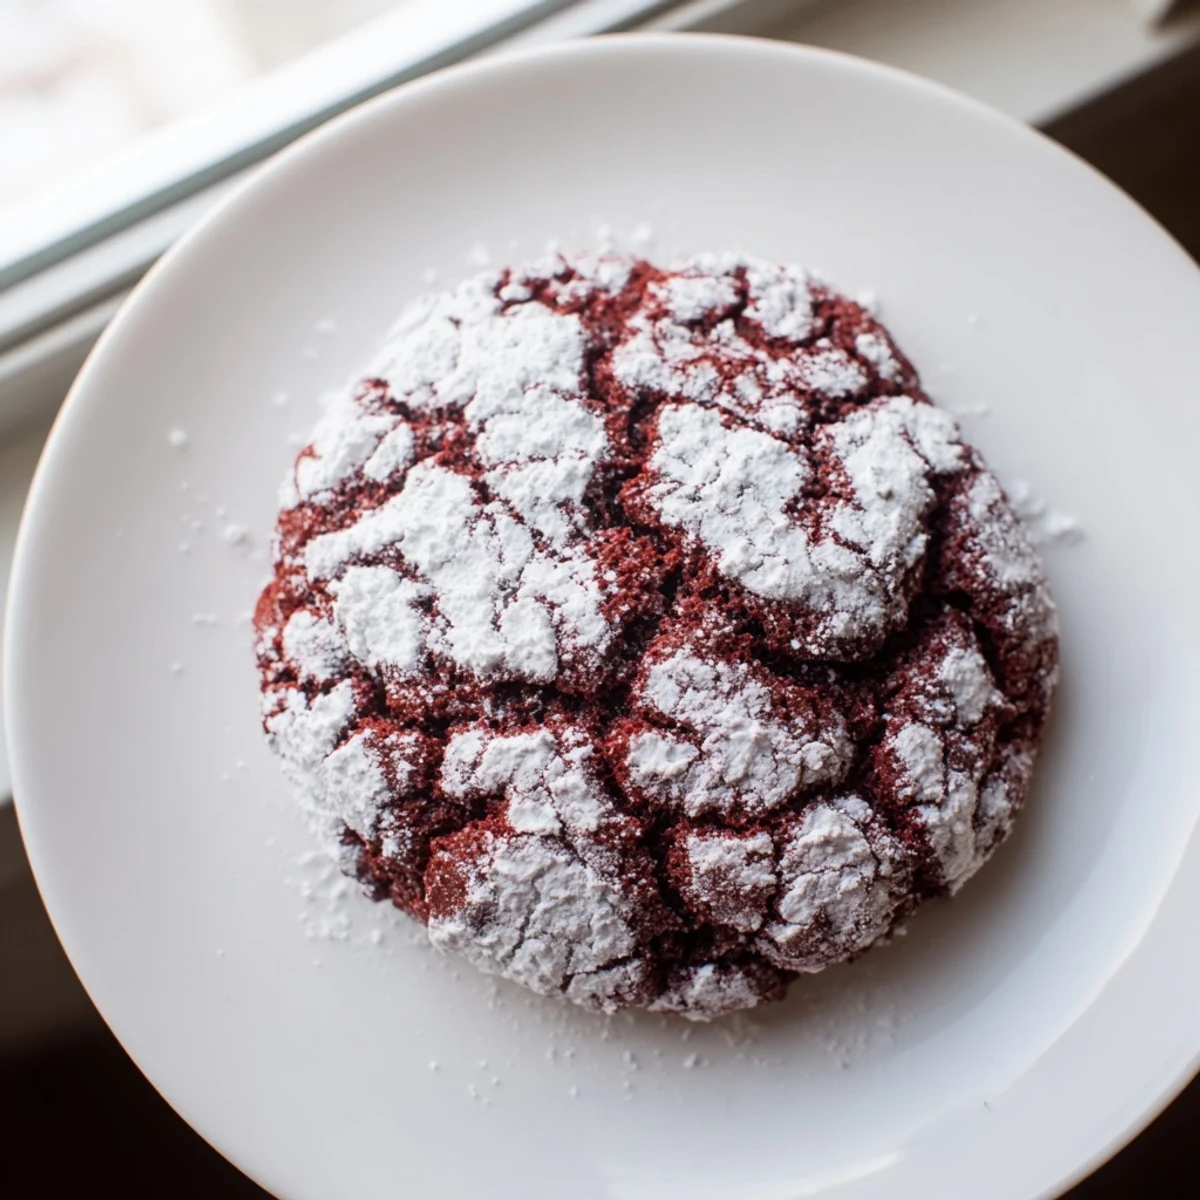
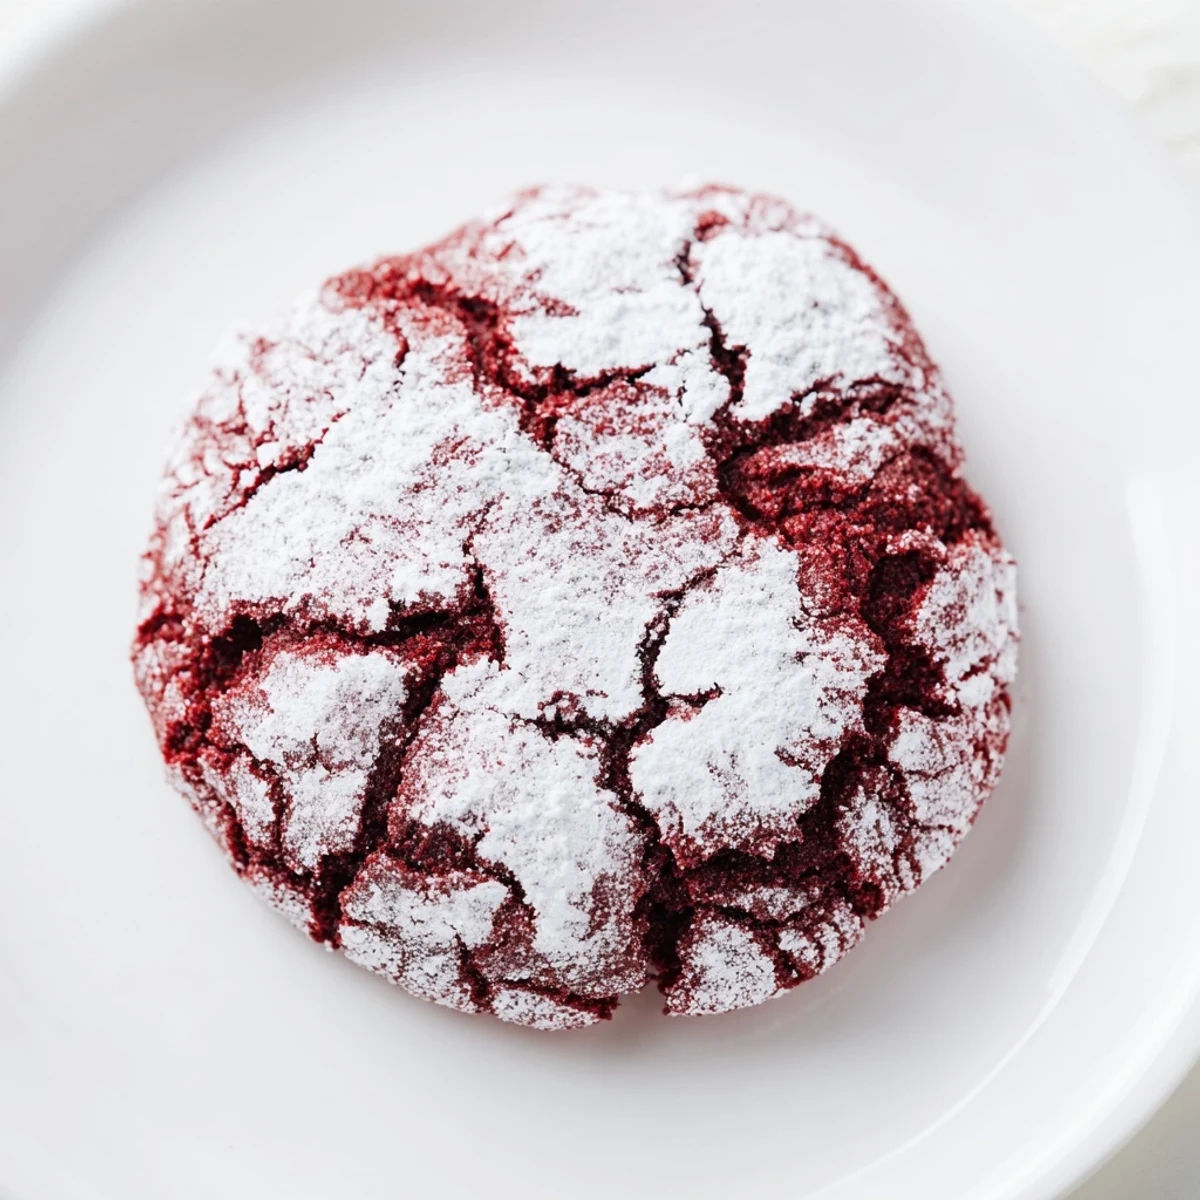
 These soft and chewy red velvet cookies combine a subtle cocoa flavor with a rich red hue, coated generously in powdered sugar for a festive crinkle effect. Easy to prepare and bake, they offer a tender texture and a balanced sweetness ideal for holidays or casual enjoyment. The dough chills before baking to perfect the chewy consistency, and slight variations like extra food coloring or white chocolate chips can customize the flavor. Nutritious and satisfying, these treats bring delight to every bite.
The kitchen was already covered in a fine layer of white dust before the first tray even went into the oven. My youngest had somehow managed to dip both elbows in the powdered sugar bowl while helping me roll the dough balls, leaving adorable ghostly prints all over her shirt. Those red velvet crinkle cookies became an instant holiday tradition that year, not just because they looked like little snow-dusted jewels, but because making them together felt like pure magic in the middle of a chaotic December afternoon.
I brought these to a cookie exchange last winter and watched three different people ask for the recipe before they even finished their first bite. Something about that dramatic crackled white exterior giving way to moist red velvet cake interior makes people assume you spent hours perfecting them.
Ingredients
- All purpose flour: The structure builder here measure correctly by spooning and leveling for tender cookies that spread just right
- Unsweetened cocoa powder: This provides that signature red velvet chocolate undertone without overpowering the delicate vanilla balance
- Baking powder and baking soda: This dynamic duo creates the beautiful crinkled effect as the cookies rise then sink slightly while cooling
- Unsalted butter: Softened to room temperature this creates the perfect creamed base for chewy not cakey texture
- Granulated sugar: Cream this thoroughly with butter to incorporate tiny air pockets that keep cookies soft
- Eggs: Room temperature eggs emulsify better creating smoother dough and more consistent texture
- Red food coloring: Gel coloring gives the most vibrant red but liquid works perfectly fine for that classic festive look
- White vinegar: The secret acid that activates the baking soda and deepens the red color naturally
- Powdered sugar: Roll generously and thickly this creates the stark white contrast that makes those crinkles pop
Instructions
- Prep your baking space:
- Preheat oven to 350°F and line two baking sheets with parchment paper while the oven warms up completely
- Whisk the dry team:
- In a medium bowl combine flour cocoa powder baking powder baking soda and salt until everything is evenly distributed
- Cream butter and sugar:
- Beat softened butter and granulated sugar for 2 to 3 minutes until the mixture looks pale fluffy and almost doubled in volume
- Add the wet ingredients:
- Beat in eggs one at a time then mix in vanilla red food coloring and vinegar until the dough turns that gorgeous uniform red
- Combine everything:
- Gradually add dry ingredients mixing just until you no longer see white flour streaks overworking makes tough cookies
- Chill the dough:
- Refrigerate for at least 30 minutes or up to 2 hours this step is non negotiable for perfect crinkle formation
- Roll and coat:
- Scoop tablespoon portions roll into smooth balls then coat each one completely in powdered sugar until no red shows through
- Bake to perfection:
- Place cookies 2 inches apart and bake 11 to 13 minutes until edges are set but centers still look slightly soft
- Cool completely:
- Let them rest on the baking sheet for 5 minutes before moving to a wire rack they finish cooking and firm up during this crucial cooling time
 Pin it
 My sister called me halfway through her first batch last year completely panicked that her dough looked too pink. I told her to trust the process bake them anyway and send me a photo. She texted back twenty minutes later with a picture of perfectly crinkled ruby cookies declaring these the most impressive thing shes ever pulled from her oven.
Making Them Ahead
The dough actually freezes beautifully for up to three months if you scoop it into balls first. I roll half in powdered sugar and bake immediately then freeze the remaining naked dough balls in a sealed container. Fresh baked cookies in twelve minutes flat whenever the craving hits or unexpected guests drop by.
Getting That Perfect Crinkle
The contrast between white powdered sugar and deep red velvet happens because the sugar coating creates a surface crust that cracks as the cookie expands in the oven. Too little sugar and you lose the effect too much and the cookies taste like sweet chalk. Find that generous but reasonable coating balance.
Serving And Storing
These cookies stay soft and chewy for five days in an airtight container at room temperature though they rarely last that long in my house. Layer them between parchment paper to prevent sticking and maintain that powdery white exterior.
- They travel well making them perfect for cookie exchanges or holiday gift plates
- Freeze baked cookies for up to three months and thaw at room temperature
- Serve with a glass of cold milk or hot cocoa for the ultimate comfort experience
 Pin it
 There is something deeply satisfying about pulling that first tray out of the oven and seeing those perfect crackles forming right before your eyes. Happy baking friends
Recipe Q&A
- → What gives the cookies their red color?
-
The vibrant red color comes from red food coloring added to the dough, which can be adjusted for deeper hues.
- → Why are the cookies rolled in powdered sugar?
-
Rolling the dough balls in powdered sugar creates a crackled, festive appearance and adds a sweet outer layer.
- → How do I achieve the chewy texture?
-
Chilling the dough before baking and baking just until edges are set but centers remain soft helps achieve the chewy texture.
- → Can these cookies be made vegetarian-friendly?
-
Yes, these treats are vegetarian as they contain no meat products but do include eggs and dairy.
- → How should I store the cookies?
-
Store the cookies in an airtight container at room temperature to keep them fresh for up to five days.
