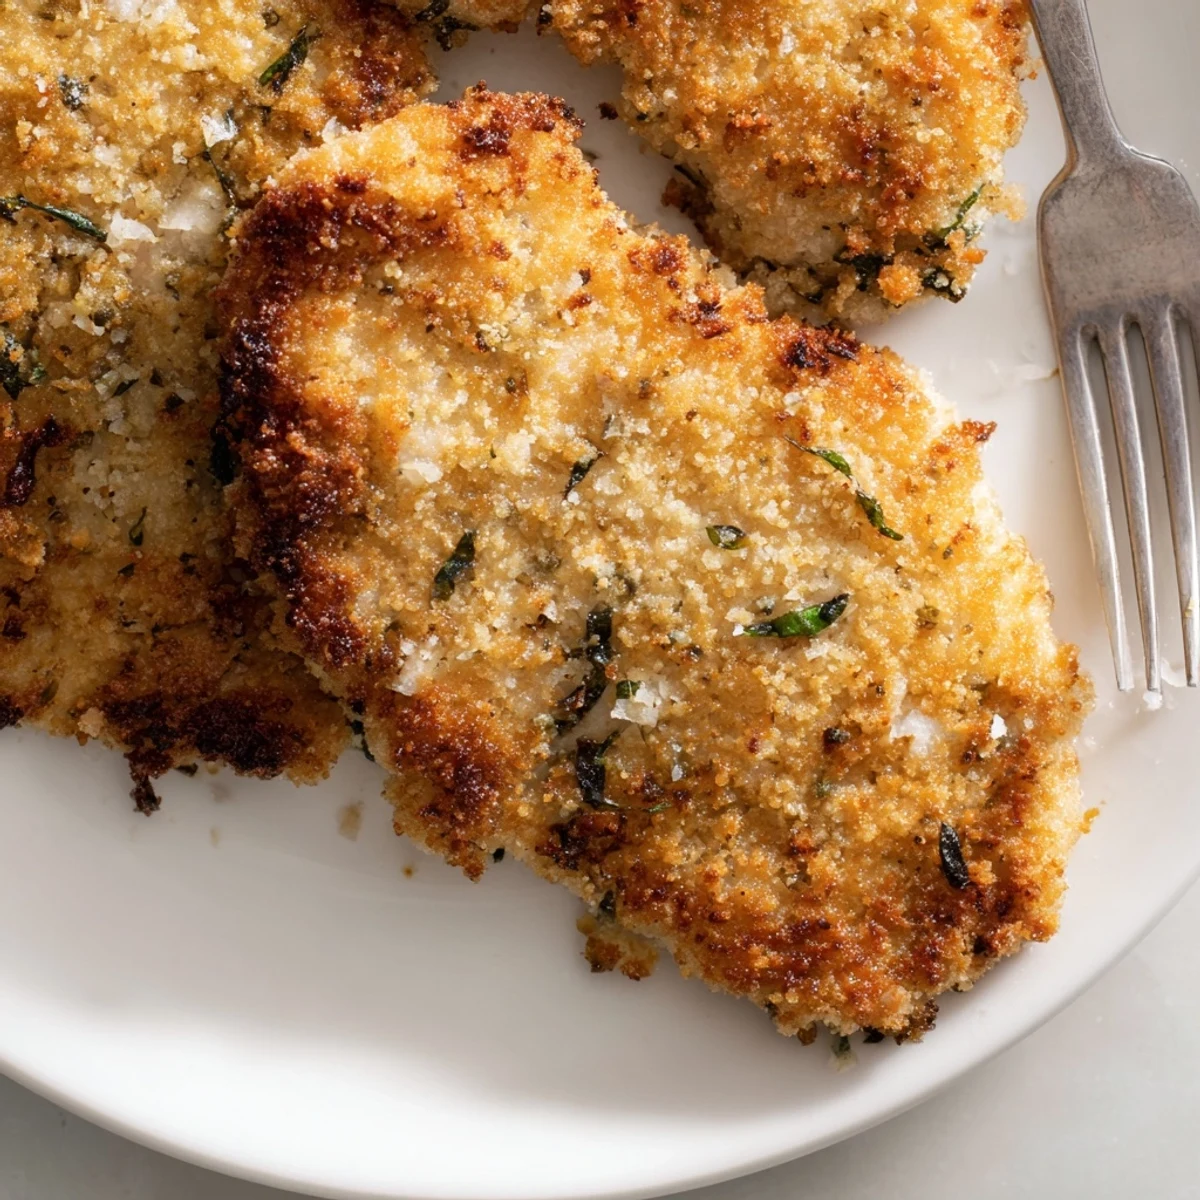
 Pin it
 These crispy chicken cutlets combine the classic Italian flavors of fresh basil and aged Parmesan in a golden, crunchy coating. The preparation is straightforward: pound chicken breasts to even thickness, dredge through a simple three-step breading process, then pan-fry until golden brown. The result is juicy, tender chicken with a perfectly crisp exterior that delivers satisfying texture in every bite.
The breading starts with a light flour coating, followed by an egg wash, then finishes with a mixture of panko breadcrumbs, grated Parmesan, chopped basil, garlic powder, and paprika. Panko creates an extra-crispy crust while the Parmesan adds savory depth. Fresh basil brings bright, herbaceous notes that complement the mild chicken beautifully.
Total cooking time is just 30 minutes from start to finish, making this an excellent choice for busy weeknights. The cutlets pair wonderfully with simple sides like pasta, salad, or steamed vegetables. For a lighter version, you can bake them at 425°F instead of frying—the result is still delicious with significantly less oil.
The smell of Parmesan crisping in hot oil always pulls me into the kitchen like nothing else. I started making these cutlets during a particularly hectic season when takeout had become too frequent and my wallet was protesting. Now they are my weeknight savior, turning frantic evenings into something that feels intentional and cared for.
My sister accidentally called them chicken Parmesan without the sauce once, and the name stuck. These cutlets have become my go-to when friends drop by unexpectedly because they look impressive but require almost zero mental energy to execute.
Ingredients
- Chicken breasts: Pounding them to an even thickness means they cook uniformly and stay tender
- Flour: Creates the first layer that helps the egg mixture stick
- Eggs and milk: The milk loosens the eggs slightly for better coating coverage
- Panko breadcrumbs: These Japanese breadcrumbs stay crunchier longer than traditional options
- Grated Parmesan: Buy a wedge and grate it yourself for better melting and sharper flavor
- Fresh basil: Chop it finely so it distributes evenly through the crust
- Garlic powder and paprika: This combo adds depth without competing with the basil
- Olive oil: You need enough oil to come halfway up the cutlets for even crisping
Instructions
- Pound the chicken:
- Place each breast between plastic wrap and use steady even pressure to reach half inch thickness
- Set up your breading station:
- Arrange three shallow bowls with flour first then whisked eggs and milk then the panko Parmesan mixture
- Coat each cutlet:
- Press the flour into the chicken then let excess drip off before coating with egg then press the crumb mixture firmly
- Fry until golden:
- Heat oil until shimmering then cook cutlets three to four minutes per side until deeply golden
- Rest and serve:
- Let cutlets drain briefly on paper towels while you squeeze lemon over the top
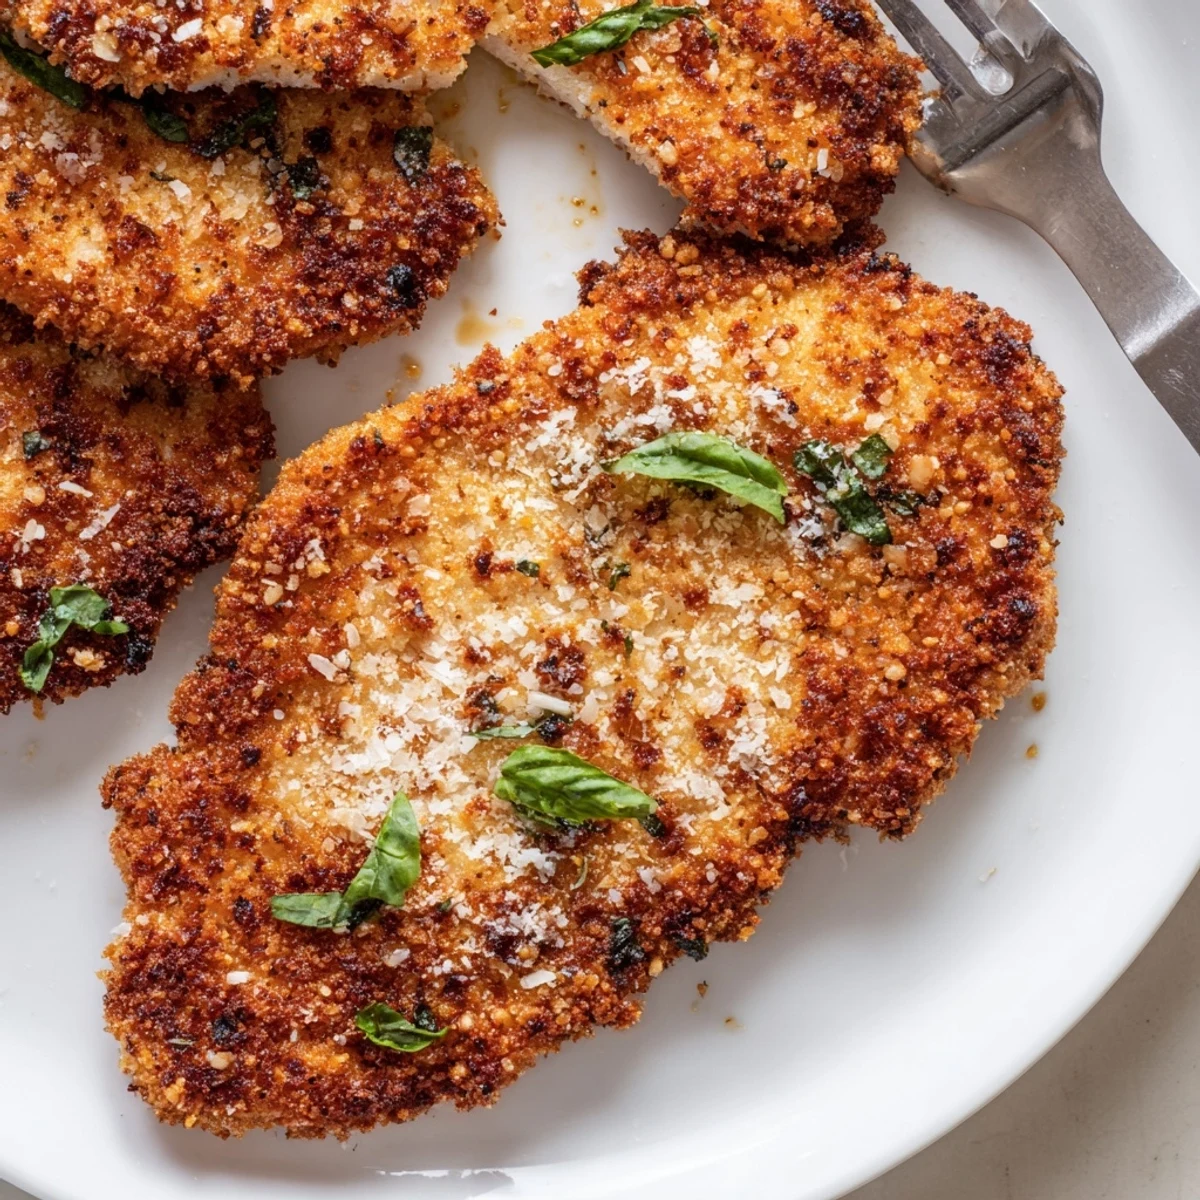 Pin it
 The first time I made these for my mother she asked for the recipe before even finishing her first bite. That is when I knew these cutlets were something special.
Choosing The Right Pan
A wide skillet lets you cook two or three cutlets at once without them touching. I have found that a twelve inch pan is the sweet spot for most home cooks.
Making This Dish Ahead
You can bread the cutlets in the morning and keep them layered between parchment paper in the refrigerator. They will fry up perfectly after work and taste just as fresh.
Serving Suggestions
A simple arugula salad with lemon vinaigrette cuts through the richness beautifully. I also like roasted broccoli or green beans on the side.
- Red pepper flakes add a nice kick if you want some heat
- Leftovers reheat surprisingly well in a toaster oven
- Freeze cooked cutlets between parchment paper for easy meals later
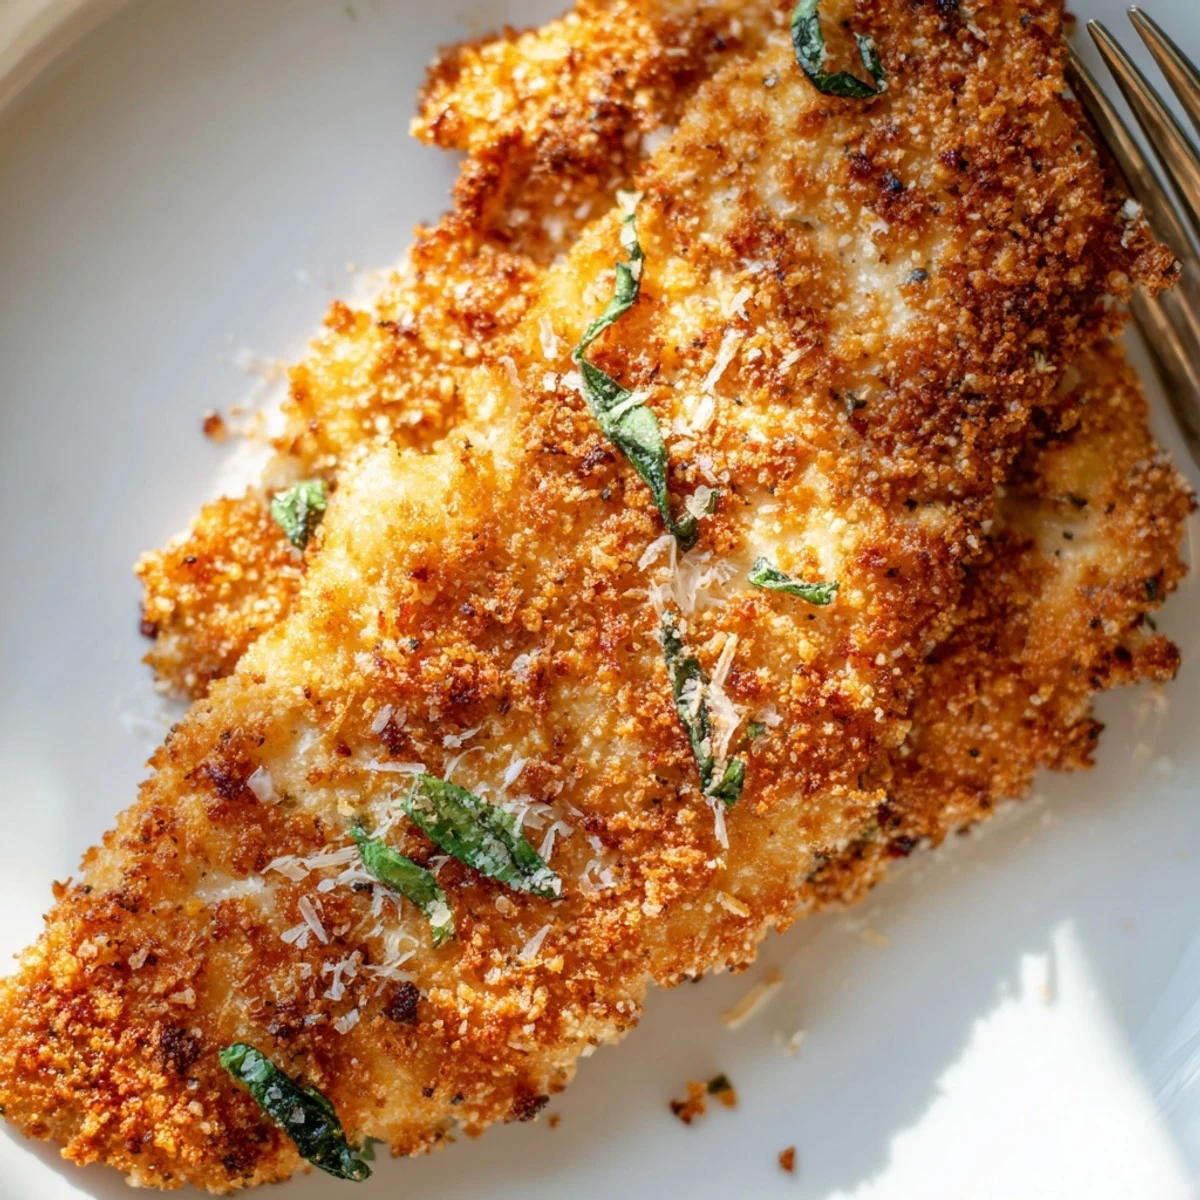 Pin it
 These cutlets have saved more weeknights than I can count. Simple fast and always satisfying.
Recipe Q&A
- → Can I use chicken thighs instead of breasts?
-
Yes, boneless skinless chicken thighs work well and tend to stay juicier. Pound them to even thickness just like breasts, though they may need an extra minute or two of cooking time per side.
- → What's the best way to tell when the cutlets are done?
-
The most reliable method is using a meat thermometer—the internal temperature should reach 165°F (74°C). Visually, the coating should be golden brown and the cutlet should feel firm when pressed gently.
- → Can I prepare these ahead of time?
-
You can bread the cutlets up to 4 hours ahead and refrigerate them on a parchment-lined baking sheet. Fry them just before serving for the crispiest results. Leftovers reheat well in a 350°F oven for 10 minutes.
- → What can I serve with these cutlets?
-
These cutlets pair beautifully with pasta, either with a simple tomato sauce or just olive oil and garlic. They're also excellent with a crisp green salad, roasted vegetables, or mashed potatoes. A light white wine like Pinot Grigio complements the flavors perfectly.
- → Can I freeze uncooked breaded cutlets?
-
Absolutely. Arrange breaded cutlets in a single layer on a baking sheet and freeze until firm, then transfer to a freezer bag. They'll keep for up to 3 months. Fry from frozen, adding 2-3 minutes to the cooking time.
- → Why use panko instead of regular breadcrumbs?
-
Panko creates a lighter, airier, and crispier coating than traditional breadcrumbs. Their flaky texture doesn't absorb as much oil during frying, resulting in a cutlet that stays crunchy rather than becoming soggy.
