 Pin it
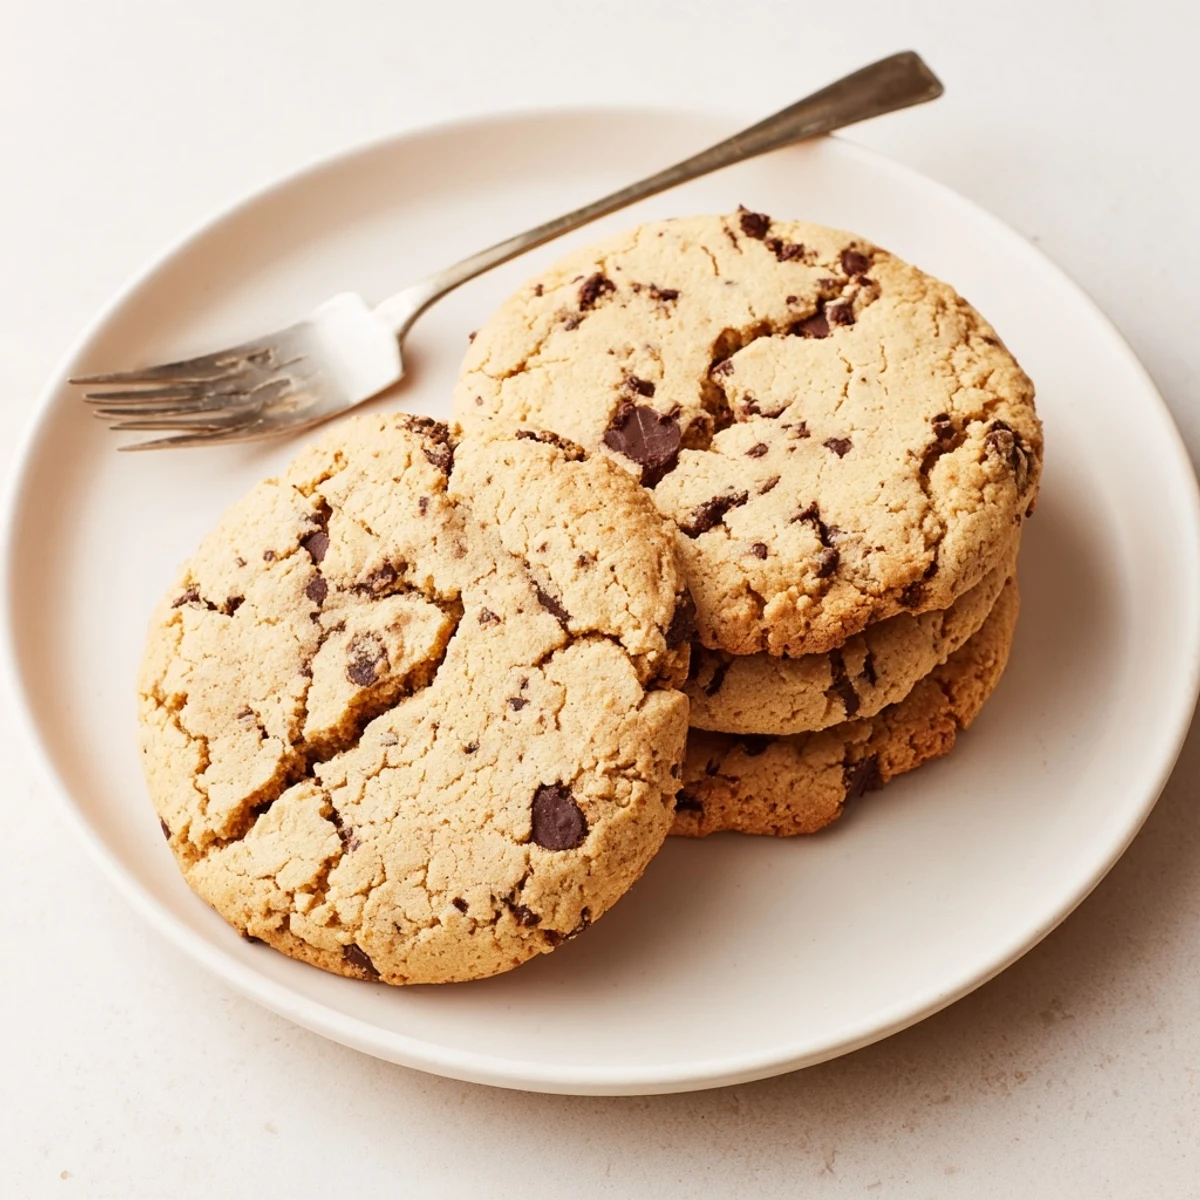
 These soft and chewy chocolate chip cookies deliver all the classic texture and flavor you love without any nuts. Made with simple pantry ingredients including butter, brown sugar, and semi-sweet chocolate chips, they're perfect for school lunches, parties, or everyday snacking.
The dough comes together quickly with just 15 minutes of prep time, and each batch yields 24 perfectly portioned cookies. Chill the dough for extra chewiness, or swap in nut-free white chocolate chips for variety.
Always verify your chocolate chips and other ingredients are certified nut-free when serving anyone with severe allergies. These cookies stay fresh for days when stored in an airtight container.
My college roommate had a severe nut allergy, and I remember the first time I tried to bake something safe for her birthday. The look on her face when she realized she could actually eat a homemade chocolate chip cookie without worry made all the extra label-reading worth it.
Last summer, my niece asked if we could make cookies for her school bake sale, but half her class had nut allergies. We made three batches of these, and every single one disappeared before the sale even officially started.
Ingredients
- 2 1/4 cups all-purpose flour: The foundation that gives structure while keeping the tender center we all crave
- 1 tsp baking soda: This creates those beautiful cracks on top and helps the cookies spread just right
- 1/2 tsp salt: Dont skip it salt balances the sweetness and makes chocolate taste more chocolatey
- 1 cup unsalted butter softened: Room temperature butter incorporates air pockets for a lighter texture
- 3/4 cup granulated sugar: Creates crisp edges that contrast perfectly with the soft centers
- 3/4 cup light brown sugar packed: The secret ingredient for chewiness and that classic caramel flavor
- 2 large eggs: Bind everything together and add richness to the dough
- 2 tsp pure vanilla extract: Use the real stuff here it makes all the difference in the final flavor
- 2 cups nut-free semi-sweet chocolate chips: Always double-check the label to ensure theyre made in a nut-free facility
Instructions
- Get your oven ready:
- Preheat to 350°F and line two baking sheets with parchment paper so nothing sticks and cleanup is effortless.
- Mix the dry team:
- Whisk flour baking soda and salt in a medium bowl until everything is evenly distributed.
- Cream the butter and sugars:
- Beat softened butter with both sugars for 2-3 minutes until the mixture looks pale and fluffy.
- Add the eggs and vanilla:
- Drop in eggs one at a time letting each fully incorporate before adding the next then pour in the vanilla.
- Combine everything:
- Gradually mix in the dry ingredients just until you no longer see white streaks being careful not to overwork the dough.
- Fold in the chocolate:
- Use a spatula to gently stir in the chocolate chips ensuring theyre evenly distributed throughout.
- Scoop and space:
- Drop rounded tablespoons of dough onto the prepared sheets leaving about 2 inches between each for spreading.
- Bake to perfection:
- Slide into the oven for 9-11 minutes removing when edges are golden but centers still look slightly underbaked.
- Set before serving:
- Let the cookies rest on the baking sheets for 5 minutes then transfer to a wire rack to cool completely.
 Pin it
 My dad who usually claims he doesnt have much of a sweet tooth ate four of these warm from the oven and asked if I could bake them for his poker night. Now theyre his official request for every family gathering.
Getting The Perfect Texture
The soft centers and chewy edges come from the ratio of brown to white sugar and pulling them out of the oven at just the right moment. I learned this trick after years of making cookies that turned into crunchy discs.
Making Them Your Own
While these are perfect as written you can swap the chocolate chips for nut-free white chocolate or dried cranberries. Just keep the total add-in weight the same so the cookies bake evenly.
Storage And Sharing
These stay soft for days in an airtight container at room temperature and they freeze beautifully baked or as dough. I often keep a roll of dough in the freezer for emergency cookie cravings.
- Place a slice of bread in the container with baked cookies to keep them soft longer
- Flash-freeze scooped dough on a baking sheet before transferring to a bag for easy single-cookie baking
- Label any nut-free treats clearly when sharing at gatherings or potlucks
 Pin it
 Theres something incredibly satisfying about watching someone who usually has to pass on desserts take that first bite and realize they can have this simple joy too.
Recipe Q&A
- → Are these cookies completely nut-free?
-
Yes, these cookies contain no nuts or nut-derived ingredients. However, always check ingredient labels for possible cross-contamination, and verify that chocolate chips are certified nut-free when serving someone with severe allergies.
- → Why chill the dough before baking?
-
Chilling the dough for 30 minutes helps create extra chewy cookies by allowing the flour to hydrate and the butter to firm up. This step also prevents cookies from spreading too much in the oven.
- → Can I freeze the dough or baked cookies?
-
Both dough and baked cookies freeze well. Scoop dough into balls and freeze on a baking sheet before transferring to a freezer bag for up to 3 months. Bake from frozen, adding 1-2 minutes to the baking time. Baked cookies freeze for up to 3 months in an airtight container.
- → What makes these cookies soft and chewy?
-
The combination of brown sugar, which adds moisture, and slightly underbaking until centers look soft creates that perfect chewy texture. Removing cookies from the oven when edges are golden but centers still appear slightly underdone ensures they stay soft.
- → Can I substitute the chocolate chips?
-
Yes, you can use any nut-free chocolate variety including white chocolate, milk chocolate, or dark chocolate chips. Dried fruit like cranberries or raisins also works well for a different twist on the classic flavor.
- → How should I store these cookies?
-
Store cooled cookies in an airtight container at room temperature for up to 5 days. Place a slice of white bread in the container to help keep them soft and fresh longer. For longer storage, freeze baked cookies in freezer-safe bags.
