 Pin it
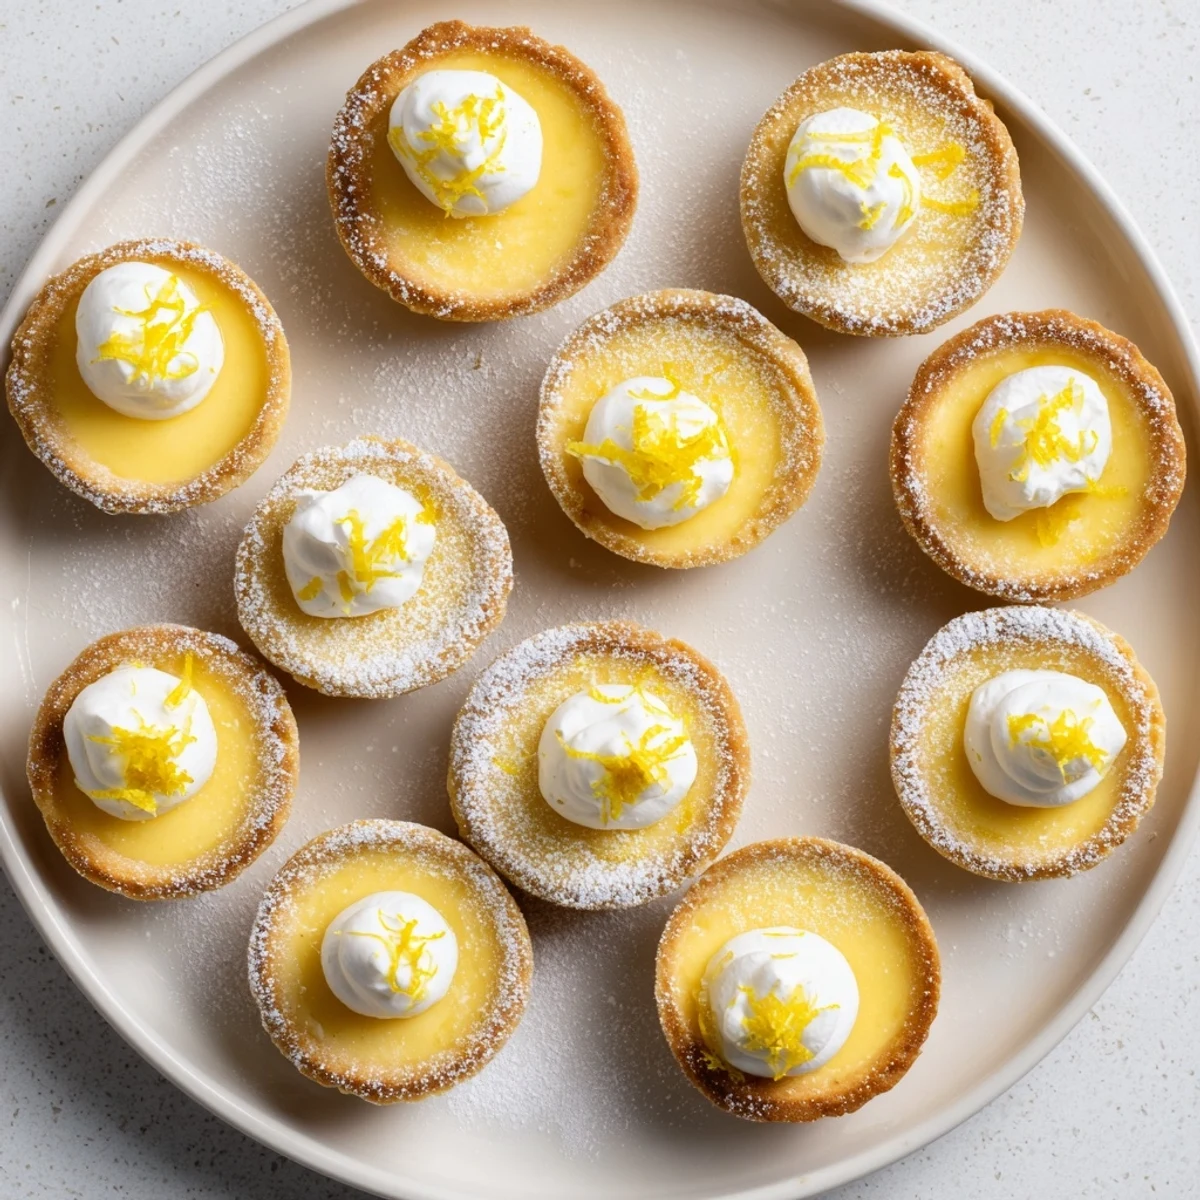
 These delightful mini tarts feature a zesty lemon curd-style filling made with coconut milk, nestled inside homemade pastry shells. The result is a perfectly balanced sweet-tart dessert that's entirely plant-based. With just 20 minutes of prep and 20 minutes of baking, you'll have 12 elegant individual tarts ideal for gatherings or afternoon tea.
The crust comes together quickly with flour and solid coconut oil, while the silky filling achieves its creamy texture through coconut milk and cornstarch. A touch of turmeric gives the filling that classic bright yellow hue. After chilling, these tarts set beautifully and can be garnished simply with extra lemon zest or fresh berries.
The tiny tart pan sat gathering dust in my cupboard for months until a summer afternoon craving for something bright and refreshing sent me searching through my pantry. Two lonely lemons and a can of coconut milk later, I found myself pressing sandy dough into miniature cups, wondering if this experiment would actually work. When I pulled that first batch from the fridge and bit into the creamy, tangy filling, I knew this would become my go-to dessert for dinner parties.
I first brought these to a potluck where everyone assumed I spent half the day on them. My friend Sarah actually asked for the recipe three times during dinner because she kept forgetting these were completely plant-based. Now they are the most requested item at every gathering, and I love watching peoples eyes light up when they realize how intensely lemony and satisfying each tiny bite is.
Ingredients
- All-purpose flour: Forms the tender, crumbly foundation that holds everything together beautifully
- Solid coconut oil: Creates a perfectly flaky crust while keeping things vegan and wonderfully fragrant
- Cold water: Essential for bringing the dough together without making it tough or overworked
- Lemon juice: The star of the show, providing that mouthwatering brightness that cuts through the rich coconut milk
- Full-fat coconut milk: Gives the filling its incredible creaminess and luxurious mouthfeel
- Cornstarch: The magic thickener that transforms the liquid into a silky, sliceable filling
- Turmeric: Just enough to give that gorgeous yellow hue without any artificial food coloring
Instructions
- Prepare your baking space:
- Preheat your oven to 350°F and get your muffin tin ready with a light coating of oil or cooking spray.
- Build the crust:
- Mix flour, sugar, and salt in a bowl, then work in the coconut oil until you see coarse crumbs throughout. Add cold water gradually until the dough comes together when pressed.
- Form the tart shells:
- Divide dough into twelve equal pieces and press each into your muffin cups, working dough up the sides to create perfect little cups.
- Bake the shells:
- Poke the bottoms with a fork and let them get golden and fragrant for about ten minutes before cooling completely.
- Whisk the filling:
- Combine all filling ingredients in your saucepan, whisking until absolutely smooth with no lumps of cornstarch remaining.
- Cook to perfection:
- Stir constantly over medium heat until you feel the mixture thicken dramatically and see the first bubble break the surface.
- Fill and chill:
- Spoon the warm filling into your cooled shells, smooth the tops, and refrigerate for at least an hour until completely set.
 Pin it
 My sister claimed these were the best thing she has ever eaten in my kitchen, and she is usually my toughest critic. Watching her close her eyes and savor that first bite, completely surprised by how rich and satisfying vegan dessert could be, reminded me why I love experimenting in the kitchen.
Making Them Ahead
I have learned that these tarts actually improve after a night in the fridge, as the flavors deepen and the crust becomes even more tender. The filling sets up beautifully, making them perfect for preparing the day before a party or gathering.
Getting That Perfect Color
The turmeric does more than just add a sunny yellow hue, it brings a subtle earthiness that rounds out the sharp lemon notes. If you prefer a more traditional yellow, you can increase the turmeric slightly, but a tiny pinch goes a long way.
Serving Suggestions
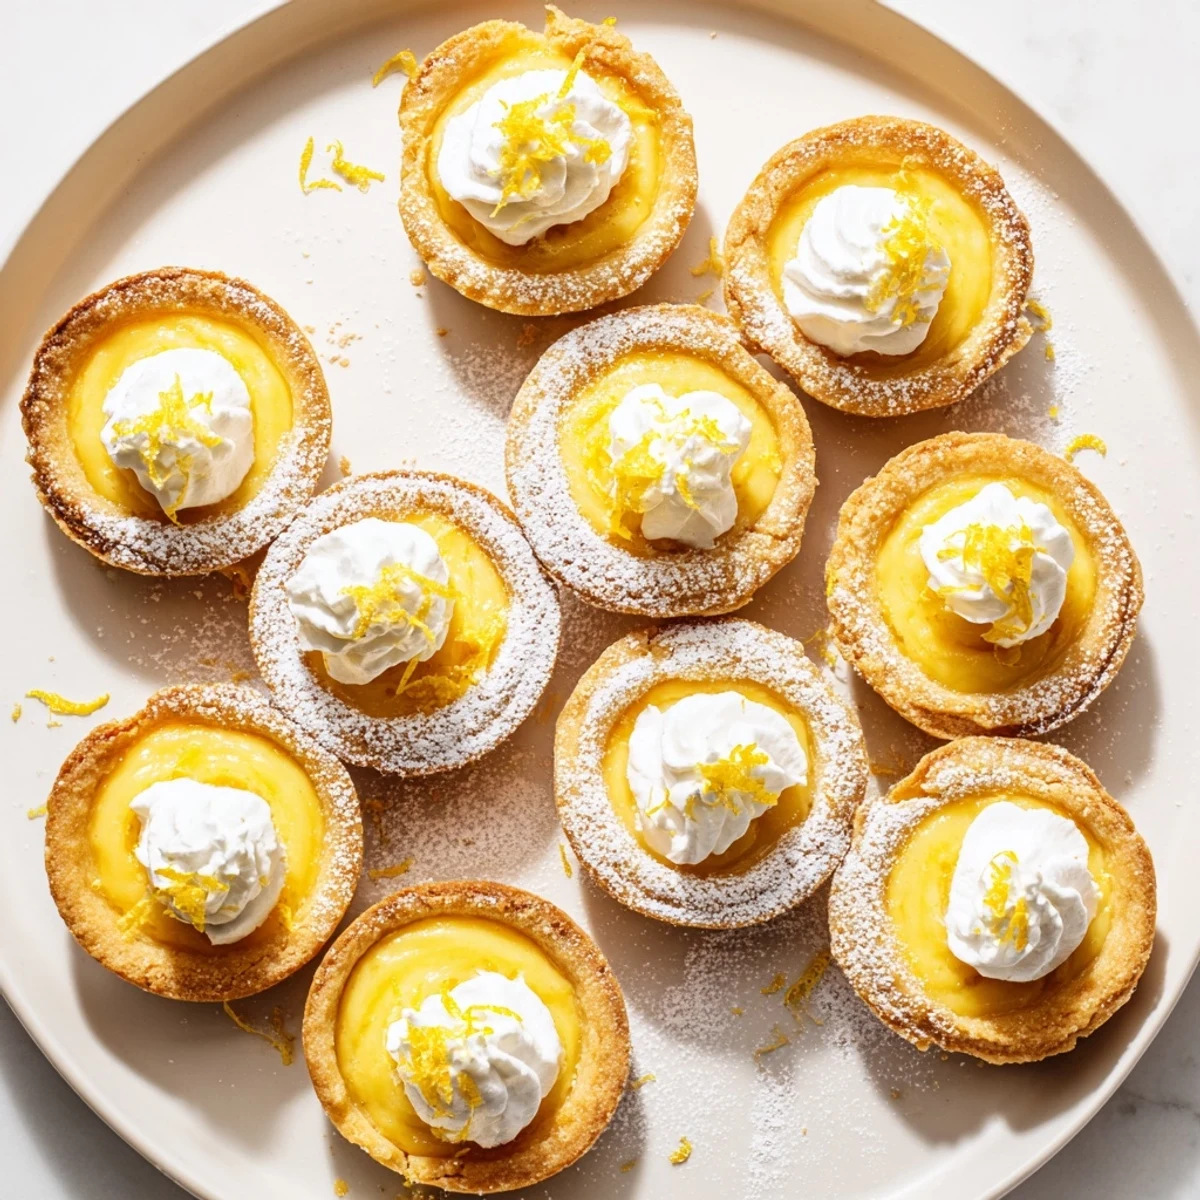
These tiny tarts are stunning on their own, but I love serving them with a dollop of coconut whipped cream and fresh berries. The contrast of the cold, creamy filling against the crisp crust is absolute perfection.
- Try adding a sprinkle of sea salt on top for a sweet and salty finish
- A few edible flowers make them look like they came from a fancy bakery
- Keep them chilled until the very last moment for the best texture
 Pin it
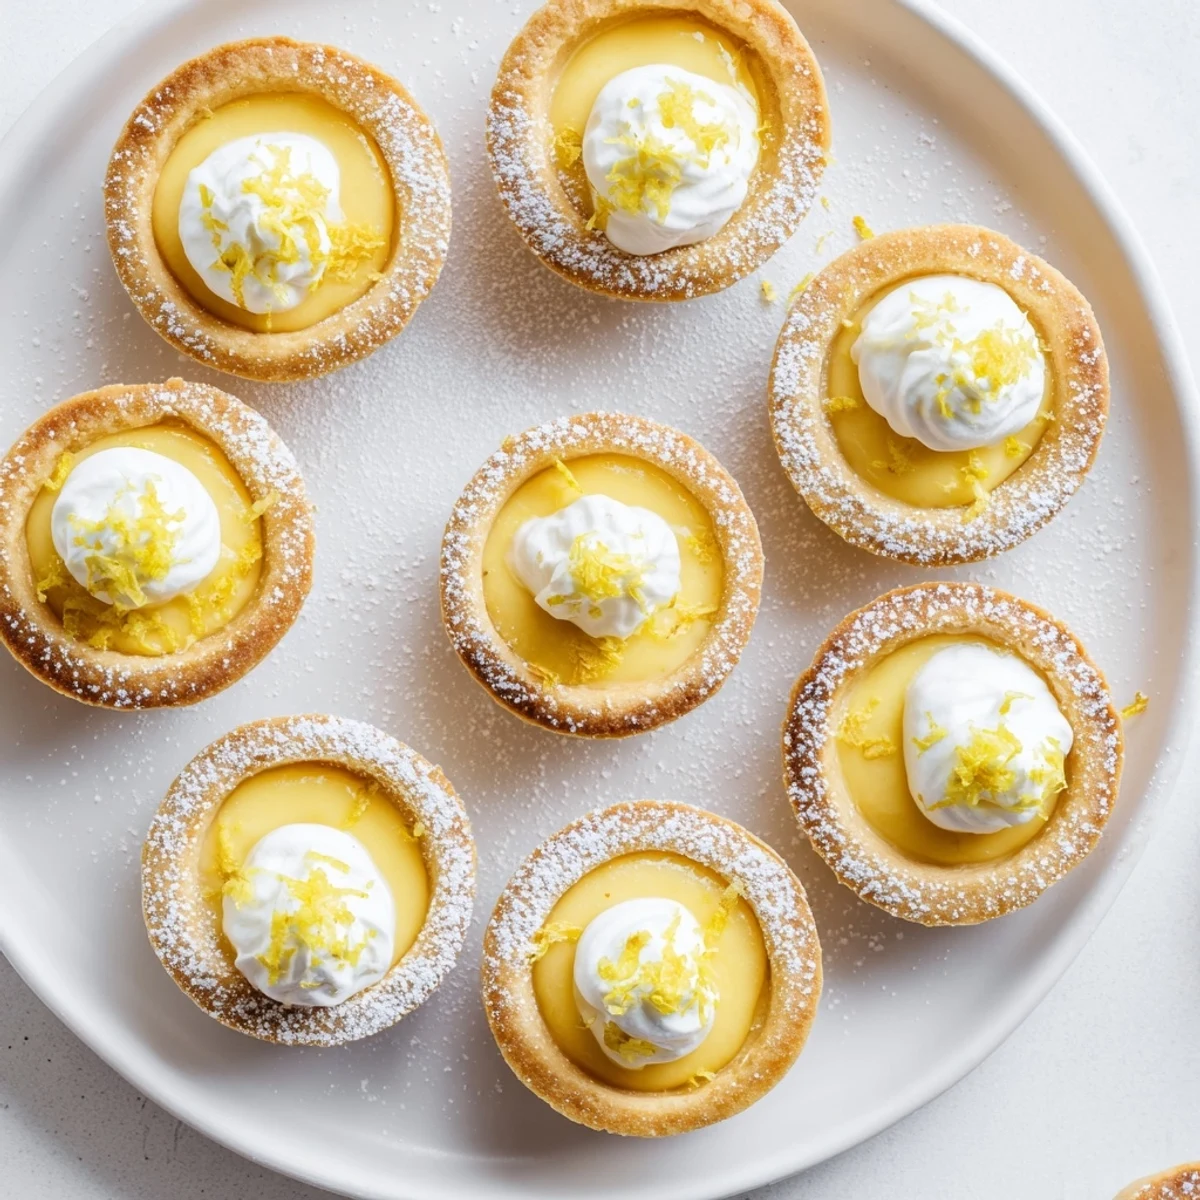
 There is something deeply satisfying about serving a dessert that looks impressive but comes together with such simple, honest ingredients. These little tarts have become my secret weapon for making any occasion feel special.
Recipe Q&A
- → Can I make these tarts gluten-free?
-
Yes, simply substitute the all-purpose flour in the crust with a gluten-free flour blend. The texture and baking time remain the same.
- → How long do the tarts need to chill before serving?
-
The tarts require at least 1 hour in the refrigerator to set properly. For best results, chill for 2-3 hours before serving to ensure the filling is firm.
- → Can I use a different plant milk instead of coconut milk?
-
Coconut milk provides the best creamy texture and richness. Other plant milks may result in a thinner filling that doesn't set as well. If substituting, choose a full-fat, creamy variety.
- → How should I store these mini tarts?
-
Store the tarts in an airtight container in the refrigerator for up to 3 days. The crust may soften slightly over time, but they'll remain delicious.
- → Can I freeze these lemon tarts?
-
Yes, freeze the unfilled baked crusts or freeze completely assembled tarts. Thaw in the refrigerator overnight. Note that the texture may be slightly different after freezing.
