 Pin it
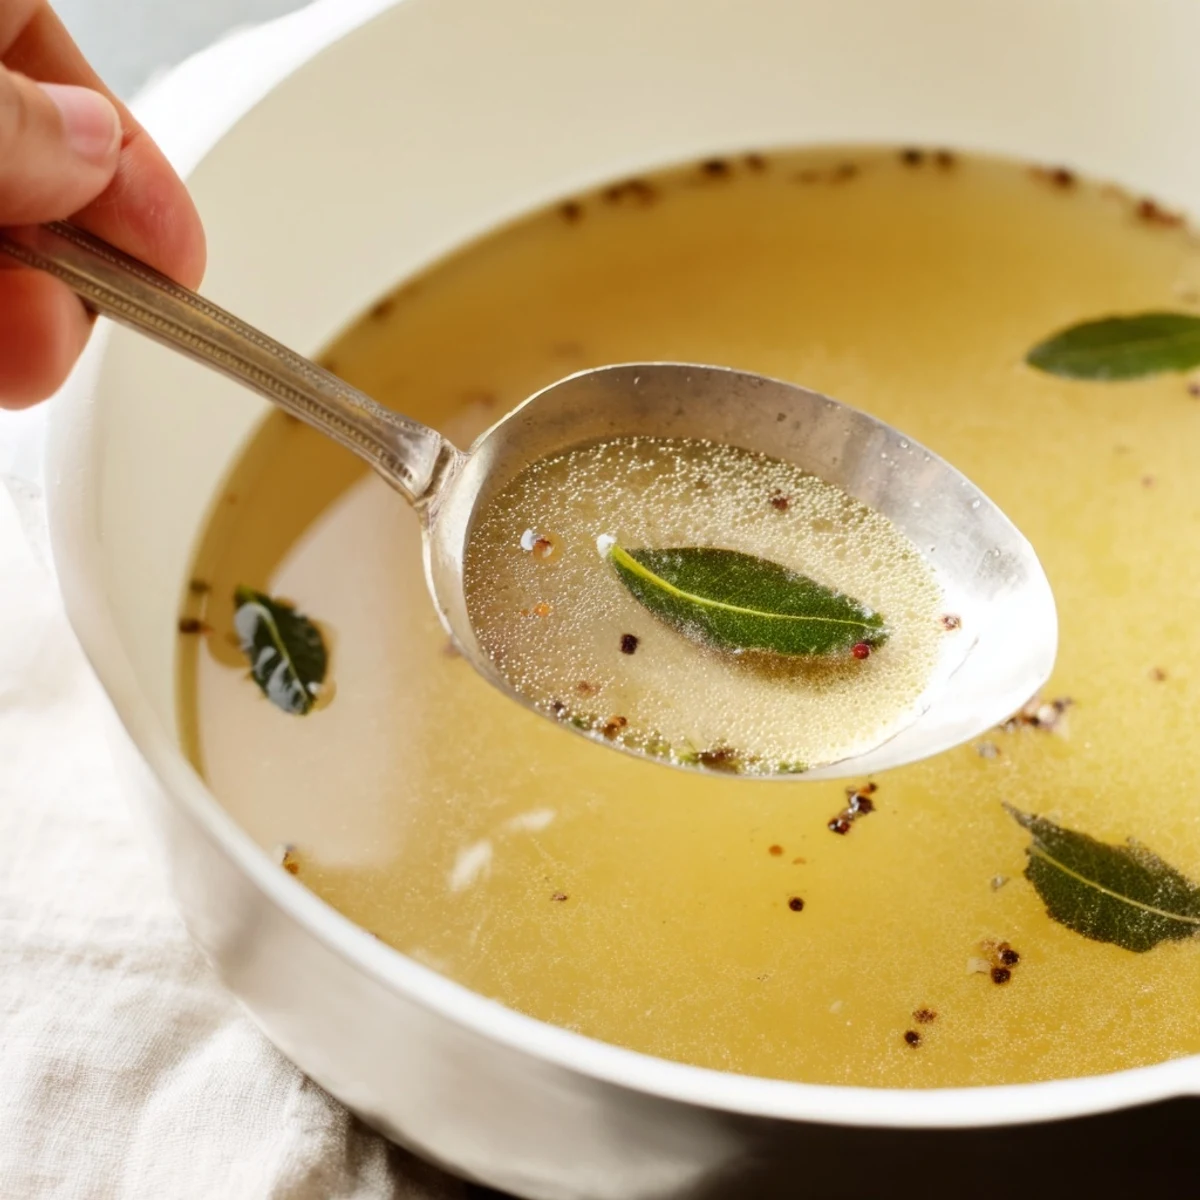
 This savory broth is made by simmering assorted vegetable scraps such as carrot peels, onion skins, and herbs in water for an hour to extract rich, natural flavors. It’s a sustainable way to use leftover produce and create a flavorful base for soups, sauces, or risottos. After boiling and simmering, the liquid is strained to remove solids, resulting in a clear, aromatic broth ready to boost your dishes. Adjust seasonings as needed and store in the fridge or freezer for convenient use.
I started saving veggie scraps in a freezer bag after reading about zero-waste cooking, not really believing it would work. The first time I simmered those odds and ends, the kitchen filled with a smell so warm and earthy I actually called my neighbor over to confirm I wasnt imagining it. Now I keep a gallon bag in the freezer and toss in peels and ends all week, turning what used to be compost into liquid gold.
I made my first batch the day before a snowstorm, planning to use it for soup. My partner walked in from shoveling, saw the pot on the stove, and said it smelled like somebody actually cared. That stuck with me. Its just scraps and water, but somehow it feels like the opposite of leftovers.
Ingredients
- Vegetable Scraps (4–5 cups assorted): Carrot peels, onion skins, celery leaves, and mushroom stems are ideal; avoid using too much cabbage or broccoli, as they can turn the broth bitter and sulfurous.
- Bay Leaves (2): They add a subtle herbal backbone that rounds out the vegetables without overpowering them.
- Black Peppercorns (1 teaspoon): Whole peppercorns release flavor slowly and give the broth a gentle warmth without making it spicy.
- Fresh Thyme (2–3 sprigs or 1 teaspoon dried): Thyme brings an earthy, slightly floral note that makes the broth taste intentional, not accidental.
- Salt (1/2 teaspoon, optional): I usually leave it out during cooking and season whatever dish I use the broth in later, but a pinch helps if you are tasting as you go.
- Cold Water (10 cups): Starting with cold water helps draw out flavor gradually; hot water can make the broth cloudy and dull.
Instructions
- Build the Base:
- Dump your scraps into a large stockpot and add the bay leaves, peppercorns, thyme, and salt if using. Pour in the cold water until everything is covered by at least an inch.
- Bring It Up:
- Set the pot over high heat and bring it to a rolling boil, then immediately drop the heat to low so it barely bubbles. You want a lazy simmer, not a violent boil, or the broth will turn cloudy and lose clarity.
- Simmer and Skim:
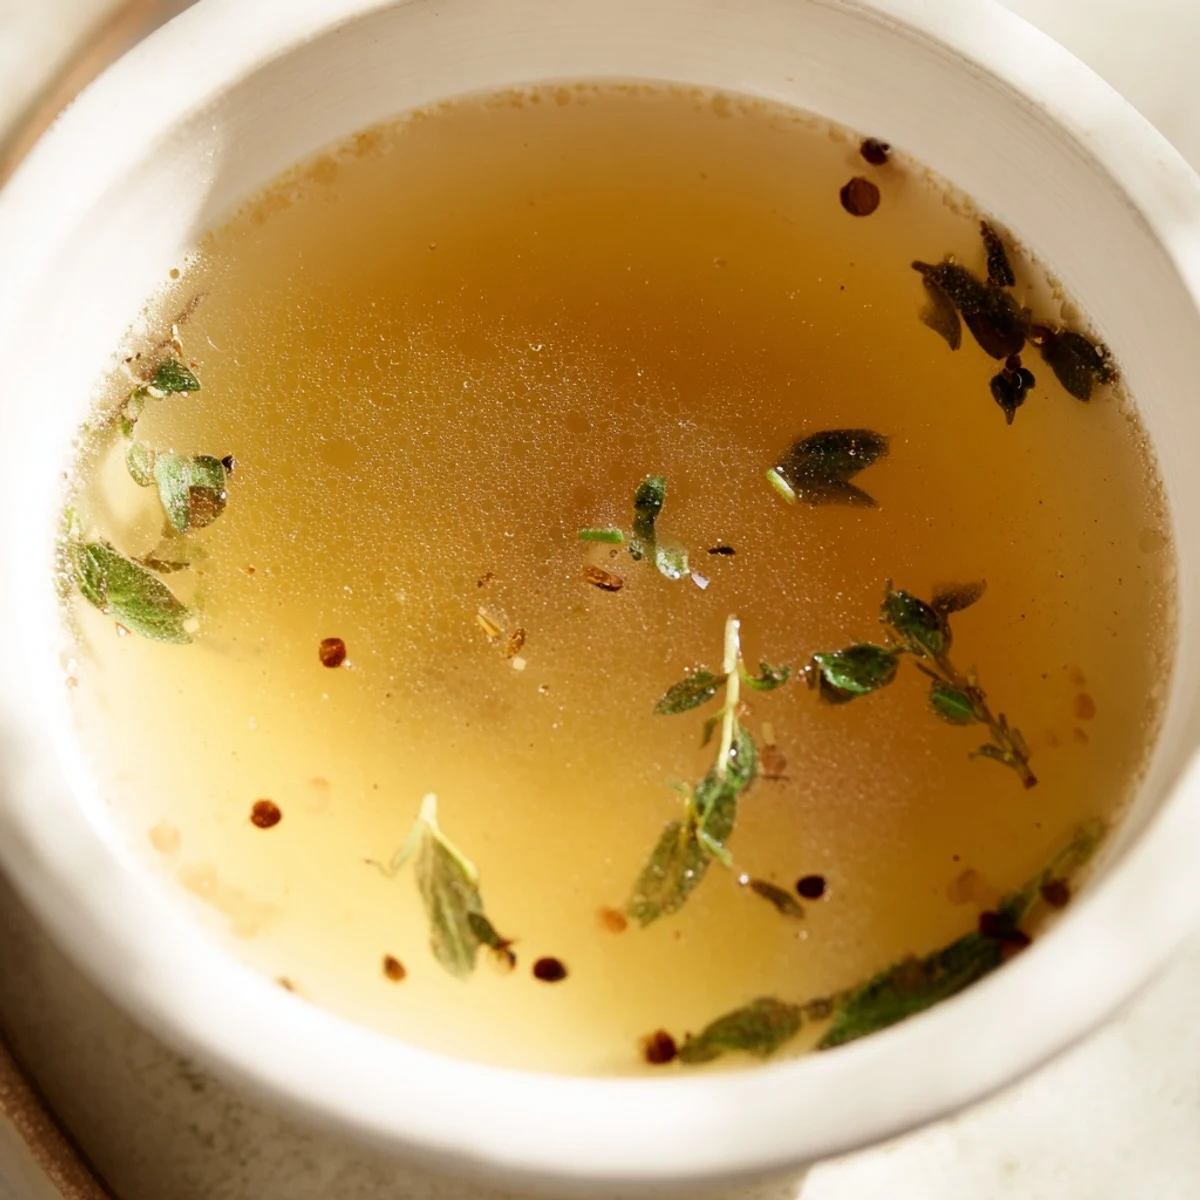
- Let it simmer uncovered for about an hour, checking every 15 minutes to skim off any foam or scum that floats to the top. This keeps the broth clean-tasting and bright.
- Strain and Store:
- Pull the pot off the heat and let it cool for a few minutes, then strain everything through a fine-mesh sieve or a piece of cheesecloth into a big bowl. Press gently on the solids to get every drop, then toss the spent scraps and transfer the broth to jars or containers.
 Pin it
 The first time I froze this in ice cube trays, I felt like I had unlocked a cheat code. Now when I make rice or deglaze a pan, I just pop out a couple cubes and the whole dish tastes like I spent hours on it. My mother-in-law asked what I used in my risotto last month and I told her it was garbage, which did not go over well until I explained.
What Scraps Work Best
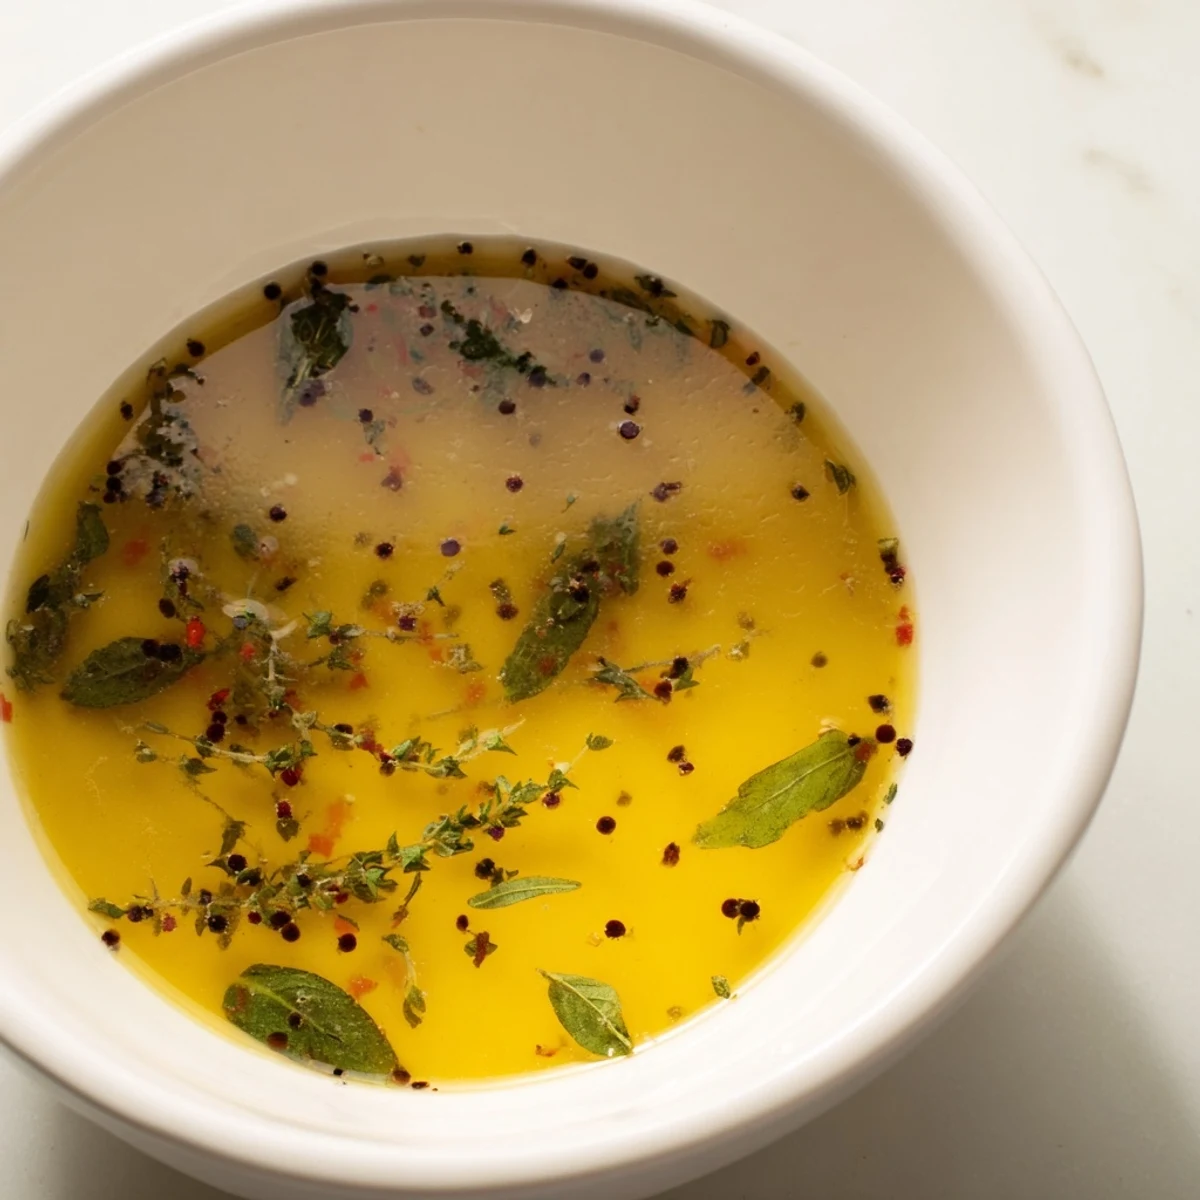
Onion skins add deep color and sweetness, carrot peels bring natural sugar, and celery leaves contribute a savory backbone. Mushroom stems and garlic skins add umami, while leek tops and parsley stems offer a fresh, grassy note. I keep a running list on my fridge so I remember what goes in the bag and what goes straight to the compost.
How to Store and Freeze
Let the broth cool completely before pouring it into jars, leaving an inch of headroom if you are freezing it or the jar will crack. I freeze half in quart containers for soup and half in ice cube trays for quick hits of flavor. Refrigerated broth keeps for five days, frozen for three months, and honestly it never lasts that long in my house.
Ways to Use Your Broth
I use this as the base for almost every soup I make, and it is the secret behind my beans that actually taste like something. It is also perfect for deglazing pans, cooking grains, thinning sauces, or adding to mashed potatoes instead of milk.
- Swap it in for water when cooking rice, quinoa, or couscous for an instant flavor upgrade.
- Use it to braise greens, simmer lentils, or add body to a weeknight pasta sauce.
- Keep a jar in the fridge and sip it warm with a pinch of miso when you feel a cold coming on.
 Pin it
 This is the kind of recipe that makes you feel smarter every time you make it, like you have figured out something the rest of the world is still paying for. Keep saving those scraps and you will always have something good simmering.
Recipe Q&A
- → What types of vegetable scraps work best?
-
Use a mix of carrot peels, onion skins, celery leaves, mushroom stems, and herbs like thyme and bay leaves for a balanced, aromatic broth.
- → How long should the broth simmer?
-
Simmer the mixture gently for about one hour to fully extract flavors without developing bitterness.
- → Can I add dried mushrooms or seaweed?
-
Yes, adding dried mushrooms or a piece of kombu enhances umami and deepens the broth's flavor profile.
- → How should I store the brewed liquid?
-
Store in airtight containers in the refrigerator for up to 5 days, or freeze in portions for up to 3 months.
- → Are there any scraps to avoid in this broth?
-
Avoid overly bitter vegetables like broccoli, Brussels sprouts, or cabbage to maintain a clean, pleasant flavor.
- → Is straining necessary after cooking?
-
Yes, straining through a fine-mesh sieve or cheesecloth removes solids for a clear, smooth broth.
