 Pin it
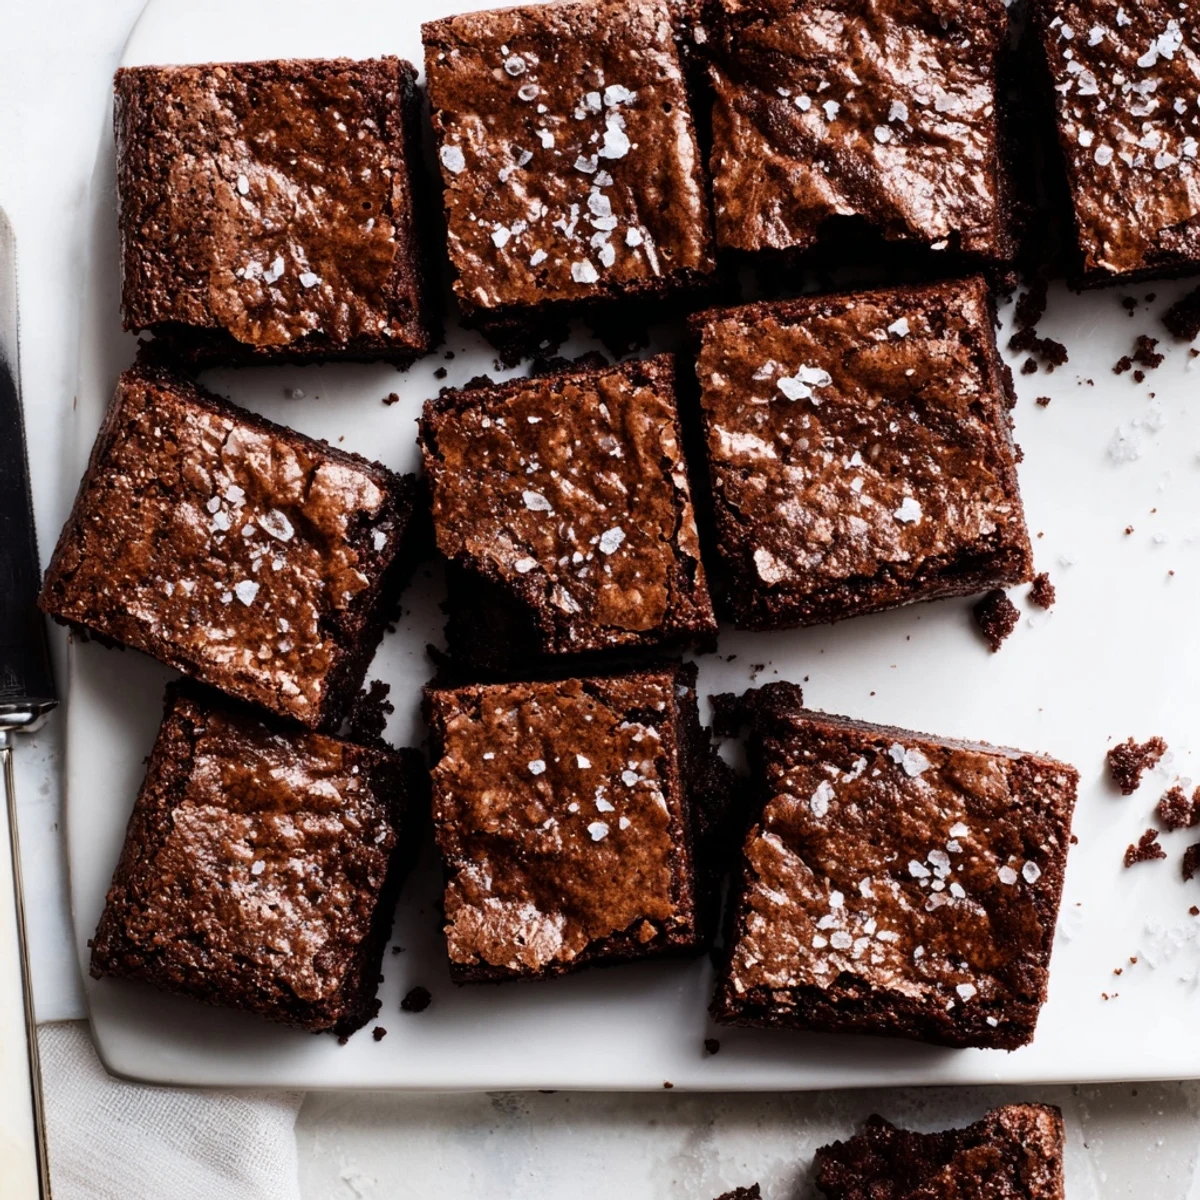
 These rich chocolate squares combine the best of American brownies with Japanese mochi texture. Sweet rice flour creates a delightfully chewy consistency, while browned butter adds deep, nutty complexity. The result is an ultra-fudgy treat with a satisfying bounce and intense chocolate flavor.
The fusion approach yields a gluten-free dessert that doesn't compromise on texture or taste. Each square offers a crisp top, gooey center, and that signature mochi chew that keeps you coming back for more.
The smell of brown butter takes me straight back to my grandmother's kitchen, where she'd claim it made everything taste like home. These brownies happened by accident one rainy afternoon when I couldn't decide between making mochi or chocolate brownies for a potluck. Now they're the most requested dessert at every gathering, striking that perfect balance between fudgy American comfort and chewy Japanese texture.
I brought these to a dinner party where the host was strictly gluten-free, and watching her face light up when she took that first bite was pure magic. She hugged the pan goodbye when she left, and now we have a standing agreement that I bring them to every gathering. There's something about watching skeptics turn into converts after one bite that never gets old.
Ingredients
- Sweet rice flour (mochiko): This is what gives the brownies their signature chewy texture. Regular rice flour won't work the same way, so definitely seek out mochiko at an Asian market or online.
- Unsalted butter: We're browning this ourselves, so starting with unsalted butter gives you complete control over the seasoning.
- Bittersweet chocolate: The 60 to 70% cacao range hits that perfect sweet spot between intense chocolate flavor and sweetness.
- Both granulated and brown sugar: The combination creates the ideal texture. Granulated gives structure while brown sugar adds moisture and that subtle caramel note.
- Whole milk and heavy cream: Using both makes these incredibly rich without crossing into heavy territory.
Instructions
- Get everything ready:
- Position your oven rack in the center and heat it to 350°F (175°C). Line your 8x8-inch pan with parchment paper, leaving those overhangs on two sides. They'll be your best friends when it's time to lift the brownies out later.
- Make the brown butter:
- Melt your butter in a small saucepan over medium heat, swirling occasionally. Watch as it foams then turns golden brown with those irresistible nutty aromas, about 4 to 6 minutes. Pour it immediately into a large bowl to stop the cooking.
- Melt the chocolate:
- Add your chopped chocolate to the hot brown butter and stir until it's completely smooth and glossy. The residual heat from the butter will melt it beautifully without risking seizing.
- Build the batter:
- Whisk in both sugars until combined, then add your eggs one at a time. Stir in the vanilla before whisking together your sweet rice flour, cocoa powder, baking powder, and salt in a separate bowl.
- Combine everything:
- Fold in half the dry ingredients just until combined, then pour in the milk and cream. Add the remaining dry ingredients and fold gently. You want to stop as soon as no streaks remain.
- Bake to perfection:
- Pour the batter into your prepared pan and smooth the top. Bake for 40 to 45 minutes until the surface is set. A toothpick should come out with some moist crumbs attached. Let them cool completely before slicing.
 Pin it
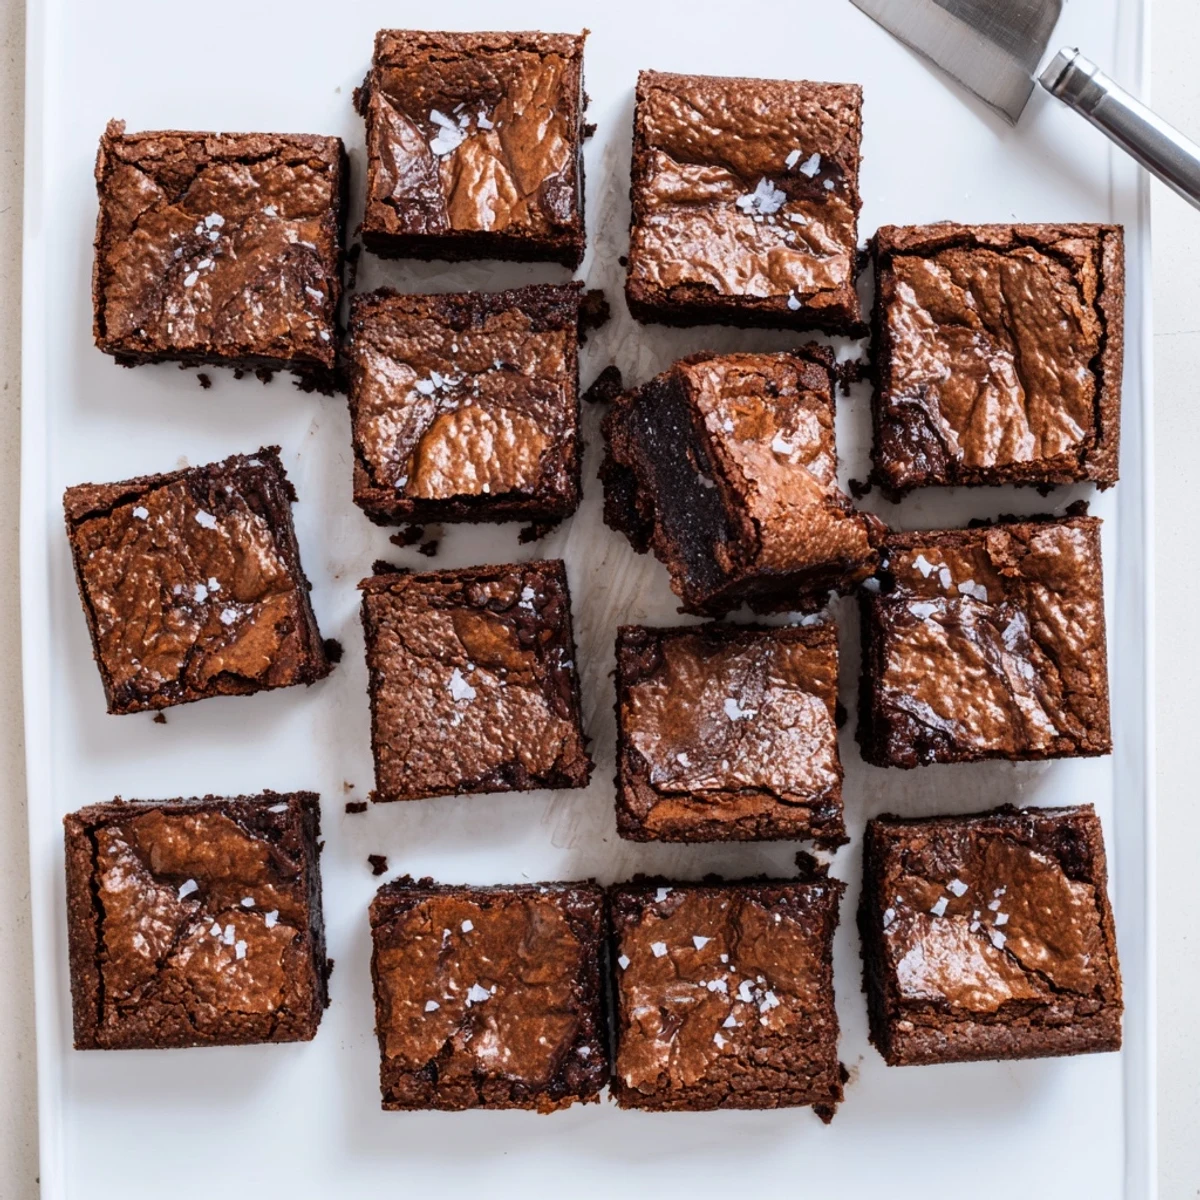
 My sister-in-law called me at 11pm after first trying these, demanding the recipe because she couldn't stop thinking about the texture. Now she makes them for every holiday, and watching my nieces and nephews fight over the corner pieces has become its own tradition. These brownies have this way of turning strangers into friends and friends into family.
Getting The Perfect Texture
The magic really happens in that first day after baking, as the mochi flour fully hydrates and settles. I've learned that letting them rest overnight at room temperature makes them even chewier and more fudgy. Don't worry, they'll still be perfectly fresh for up to three days if stored in an airtight container.
Serving Ideas That Wow
Warm these for about 20 seconds in the microwave before serving. That little bit of heat transforms the texture into something absolutely indulgent. A scoop of vanilla bean ice cream creates the perfect temperature contrast, especially if you add a sprinkle of flaky sea salt right before serving.
Make It Your Own
Once you've mastered the base recipe, the variations are endless. Stir in chopped toasted pecans or walnuts during that final fold for some crunch. Sometimes I add white chocolate chips in the winter for those snow-cap specks throughout. A teaspoon of espresso powder dissolved in the hot butter before adding chocolate intensifies the chocolate flavor without making these taste like coffee.
- Swap half the sweet rice flour with black sesame powder for a stunning gray marble effect
- Add 1/2 cup of matcha powder to half the batter before swirling them together
- Top with toasted coconut flakes immediately after baking for a tropical twist
 Pin it
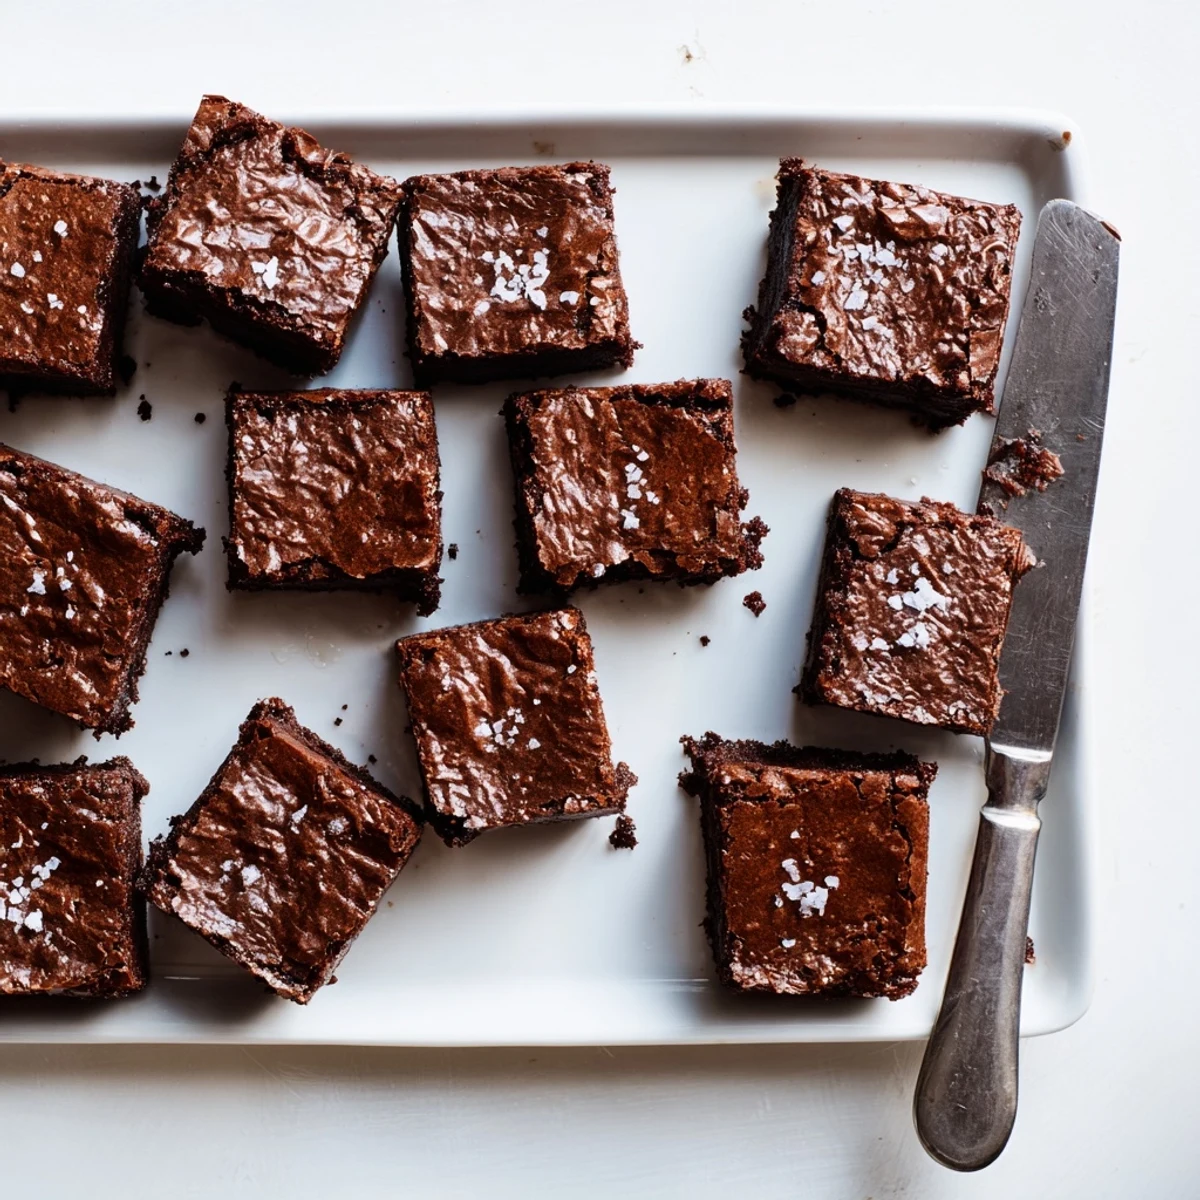
 There's something deeply satisfying about cutting into that first square and seeing the perfect crumb. Hope these bring as much joy to your kitchen as they have to mine.
Recipe Q&A
- → What makes these brownies chewy?
-
Sweet rice flour (mochiko) creates the signature chewy texture. Unlike wheat flour, it develops a pleasantly elastic consistency when baked, giving these brownies their distinctive mochi-like bounce.
- → Can I substitute the sweet rice flour?
-
Sweet rice flour is essential for the authentic texture. Regular rice flour or gluten-free all-purpose blends won't provide the same chewy consistency. Mochiko flour is specifically developed for this unique texture.
- → Why brown the butter first?
-
Browning butter removes water content and creates toasted milk solids, resulting in a nutty, caramel-like flavor that deepens the chocolate profile. This step takes only a few minutes but significantly enhances the final taste.
- → How do I know when they're done baking?
-
Insert a toothpick into the center—it should come out with a few moist crumbs, not completely clean. The top should be set and slightly glossy. Overbaking will reduce the fudgy texture.
- → Are these suitable for gluten-free diets?
-
Yes, these are naturally gluten-free when made with certified gluten-free sweet rice flour and chocolate. Always check labels to ensure your ingredients are processed in gluten-free facilities if you have celiac disease or severe intolerance.
- → Can I add mix-ins?
-
Yes! Fold in chocolate chips, toasted nuts, or swirl in caramel before baking. Top with flaky sea salt for a sweet-salty contrast. Avoid adding too many mix-ins as they may interfere with the texture.
