 Pin it
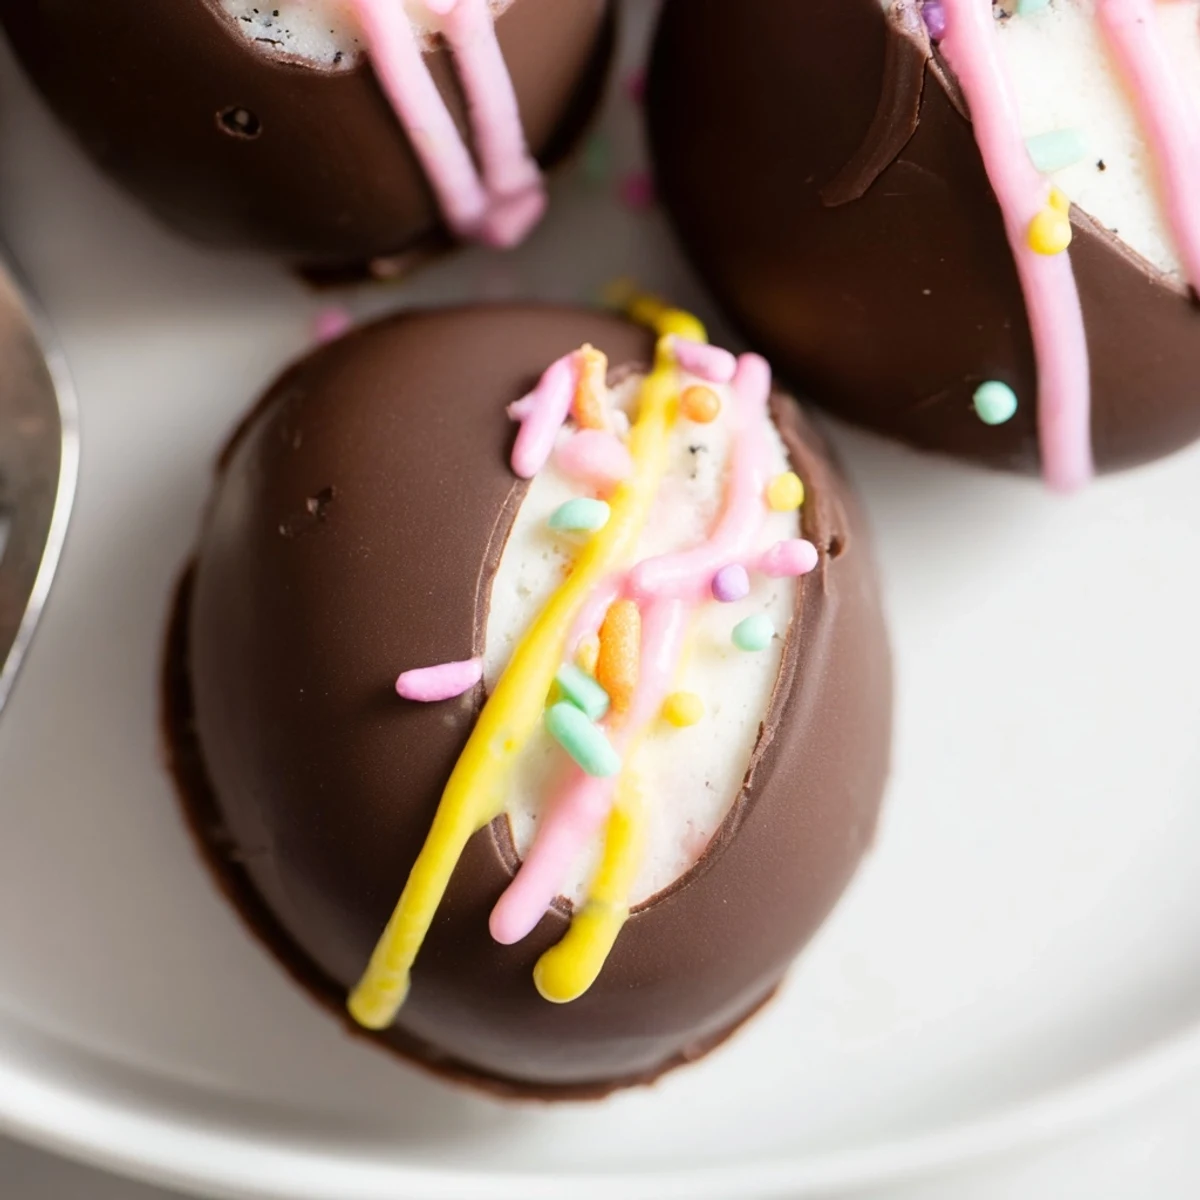
 These adorable Easter egg-shaped treats combine the classic flavors of Oreo cookies and cream cheese, dipped in smooth melted chocolate. The no-bake preparation makes them incredibly simple—just crush, mix, shape, chill, and coat. Perfect for Easter baskets, spring parties, or as edible gifts.
The combination of crunchy cookie crumbs with creamy filling creates a rich, satisfying texture. Decorate with colorful sprinkles or candy melts for a festive touch that kids and adults alike will love.
The kitchen counter was covered in white chocolate dust and my niece was already eating more sprinkles than she was actually using on the eggs. We had the best time making these for her class Easter party and neither of us could stop sampling the Oreo filling before we even got to the chocolate coating part.
Last spring I made three batches for different gatherings and each time someone asked for the recipe assuming these were some complicated confection. The look on their faces when I explained they are just Oreos and cream cheese is always worth it.
Ingredients
- Oreo cookies: One standard package gives you exactly the right ratio of cookie to cream cheese and using the whole cookie with the filling intact creates that signature fudge like texture
- Cream cheese: Make sure this is completely softened so it blends smoothly with the crushed cookies without leaving any lumps in your mixture
- Chocolate: Semi sweet chocolate chips work beautifully but white chocolate creates such a pretty spring look especially when you add pastel colored drizzles on top
- Candy melts and sprinkles: These are optional but they transform simple balls into festive Easter eggs that look almost too pretty to eat
Instructions
- Crush the cookies:
- Pulse the whole Oreos in your food processor until they become fine crumbs like dark sand. The faster you do this the less likely you are to end up with large chunks that make shaping difficult.
- Make the dough:
- Add the softened cream cheese to the crumbs and blend until everything comes together into a smooth uniform dough that holds its shape when you squeeze it.
- Shape the eggs:
- Scoop about one tablespoon of mixture at a time and gently roll between your palms to form egg shapes. Place each one on your parchment lined baking sheet as you work.
- Chill before coating:
- Freeze the shaped eggs for at least 30 minutes until they are firm to the touch. This step prevents them from falling apart when you dip them in warm chocolate.
- Melt the chocolate:
- Microwave your chocolate in 20 second bursts stirring between each interval until completely smooth. Be patient and do not rush this or the chocolate can seize and become unusable.
- Coat the eggs:
- Use a fork to lower each chilled egg into the melted chocolate then lift it out letting the excess drip back into the bowl. Return the coated eggs to your baking sheet.
- Add decorations:
- While the chocolate is still wet sprinkle with edible glitter or drizzle with colored candy melts. Work quickly because the chocolate sets fast once it hits the cold Oreo filling.
- Set and serve:
- Chill the finished eggs for at least 15 minutes until the coating is completely firm. Serve them straight from the refrigerator or let them sit at room temperature for a few minutes before serving.
 Pin it
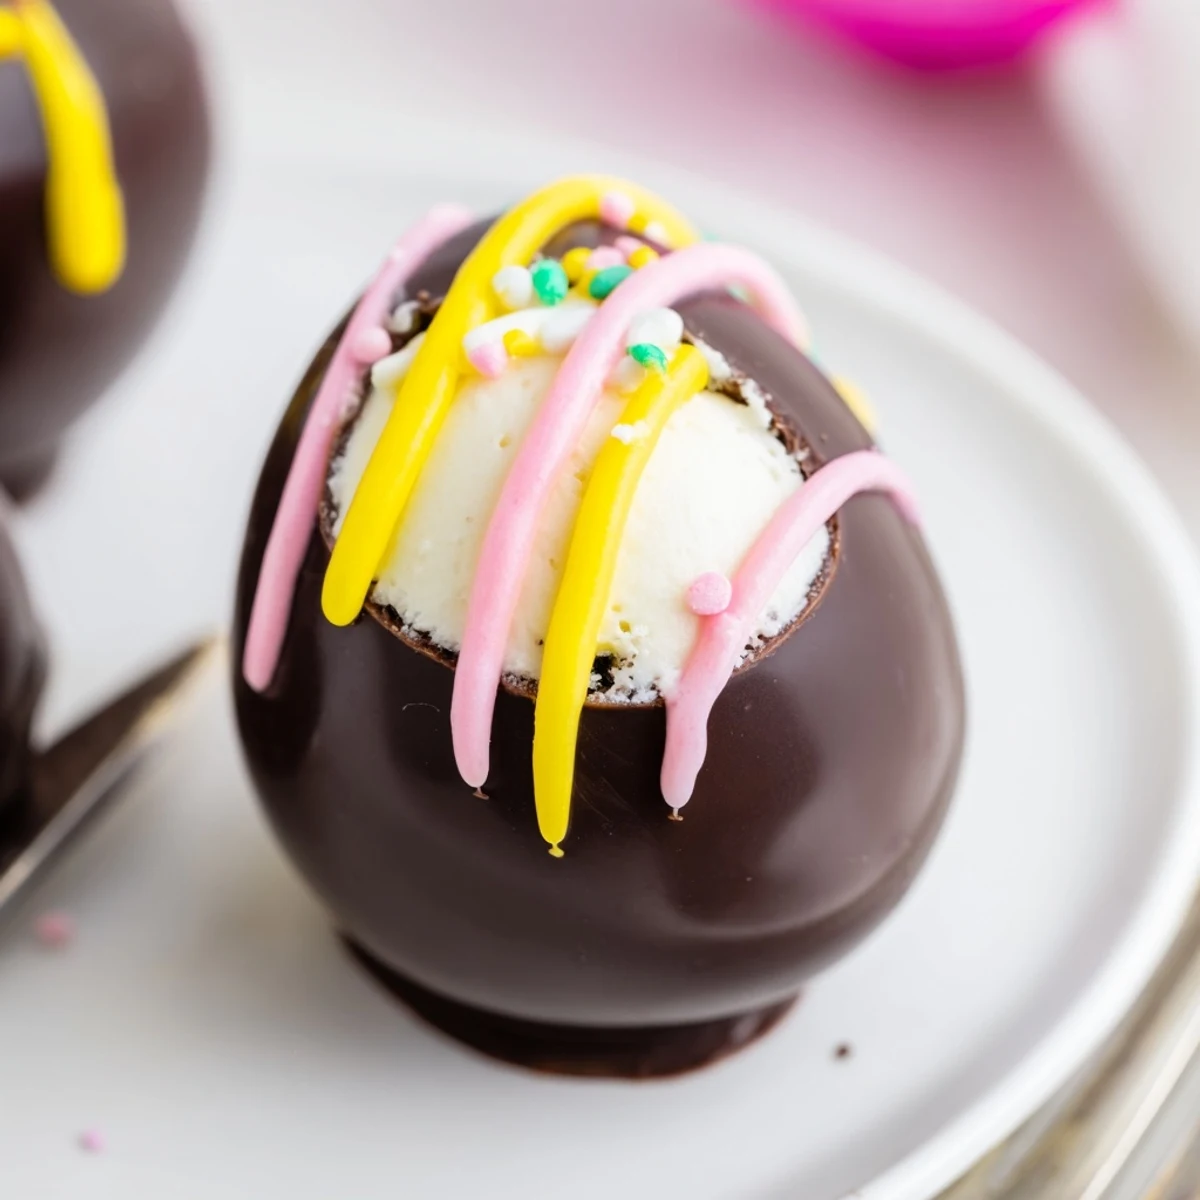
 These became my go to contribution for spring potlucks after my coworker literally followed me around at our office Easter party demanding the recipe. Now every year I get a text asking if I am bringing those amazing Easter egg things.
Choosing Your Chocolate
White chocolate creates the most beautiful spring aesthetic especially when topped with pastel sprinkles but semi dark chocolate provides that classic cookies and cream flavor everyone recognizes. I usually make a batch of each because they look gorgeous arranged together on a serving platter.
Shaping Technique
The Oreo mixture is surprisingly forgiving so do not stress about getting perfect egg shapes. Warm your hands slightly under warm water before shaping to prevent the mixture from sticking to your palms. If the dough starts feeling too soft and difficult to work with pop it in the refrigerator for 10 minutes then try again.
Storage And Serving
These actually taste better after they have been chilled for at least a day because the flavors have time to meld together. They keep perfectly in the refrigerator for up to a week though I have never had them last that long in my house.
- Set up a decorating station at your next spring gathering and let guests create their own egg designs
- Package a few eggs in clear treat bags tied with pastel ribbon for adorable edible gifts
- Try using flavored Oreos like mint or golden for fun variations on the original recipe
 Pin it
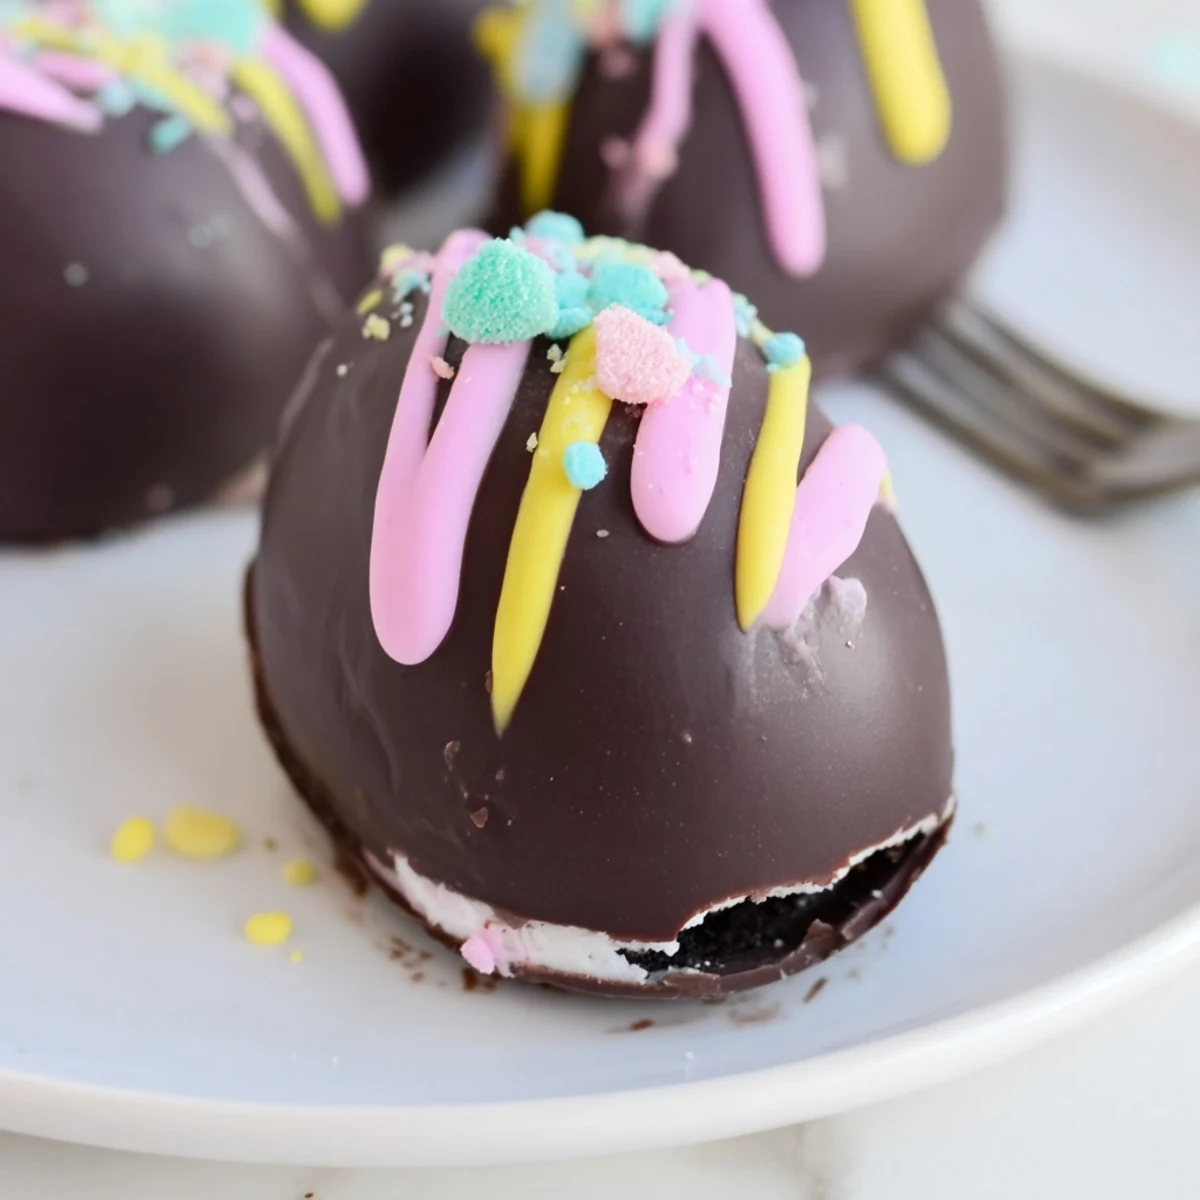
 There is something so satisfying about turning a simple package of cookies into something that feels special and celebratory. I hope these bring as much joy to your spring celebrations as they have to mine.
Recipe Q&A
- → How long do these chocolate-coated treats stay fresh?
-
Store in an airtight container in the refrigerator for up to 1 week. The chocolate coating helps maintain freshness while keeping the creamy center firm.
- → Can I make these ahead of time for Easter?
-
Absolutely! You can prepare and shape the filling up to 2 days in advance, keeping them refrigerated. Dip in chocolate 1 day before serving for best results.
- → What's the best way to melt the chocolate for coating?
-
Melt chocolate in a microwave-safe bowl in 20-second intervals, stirring between each. This prevents overheating and ensures a smooth, dippable consistency.
- → Can I use different cookie varieties?
-
Golden Oreos work wonderfully for a lighter flavor. You can also try mint or peanut butter Oreos for unique variations that still hold their shape perfectly.
- → Why do the shaped balls need freezing before dipping?
-
Freezing for 30 minutes firms the creamy mixture, making it easier to handle and preventing it from softening when dipped in warm chocolate. This ensures clean, professional-looking results.
- → What decorations work best for Easter?
-
Pastel-colored sprinkles, edible glitter, or drizzled candy melts in pink, yellow, blue, and purple create beautiful Easter effects. Apply decorations immediately after dipping while chocolate is still wet.
