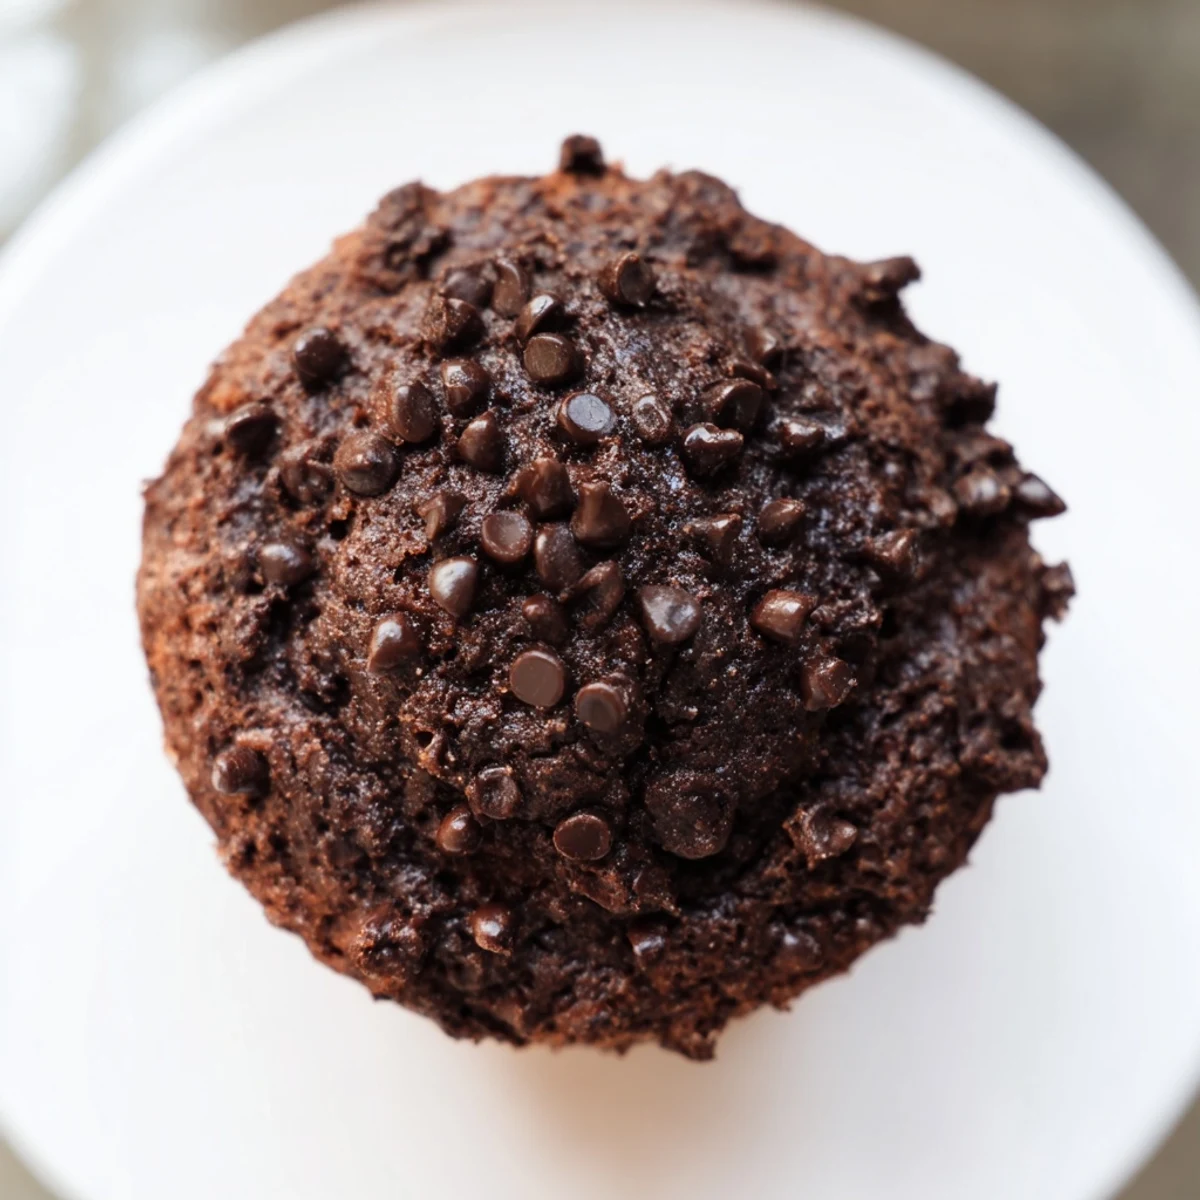
 Pin it
 These chocolate muffin tops offer the ideal balance of textures, featuring crisp edges and moist, tender centers. Made with a blend of cocoa powder, chocolate chips, and rich ingredients like sour cream and butter, they deliver a decadent taste that’s both soft and flavorful. Simple mixing and baking steps yield a batch of 12 delightful treats perfect for any occasion.
I discovered muffin tops completely by accident when I was rushing through a Saturday morning bake. The full muffins never quite worked for me—something about those dense, soggy bottoms felt like wasted effort. So one day, I just stopped filling the cups all the way and let them overflow onto the pan instead. That crispy, caramelized edge with the fudgy center that emerged from the oven was a revelation, and I've been chasing that perfect texture ever since.
I made these for my partner one morning after they'd had a rough week, and watching them bite into one while still warm from the oven—that little moment of quiet joy—reminded me why I love cooking. No fancy presentation needed, just soft chocolate and the smell of cocoa filling the kitchen.
Ingredients
- All-purpose flour (1 2/3 cups): This is your structure; it keeps the tops tender without making them tough, so resist the urge to add more.
- Unsweetened cocoa powder (1/2 cup): Don't skip sifting this with the flour—lumps of cocoa powder never fully dissolve and create bitter pockets.
- Baking powder and baking soda (1 teaspoon and 1/2 teaspoon): Together they create that light, airy crumb and help the tops rise just enough to get crispy on the edges.
- Salt (1/2 teaspoon): A small amount brings out the chocolate flavor and balances the sweetness in a way you won't quite be able to identify.
- Granulated and brown sugar (2/3 cup and 1/3 cup): The mix of both gives you complexity—white sugar for structure, brown for moisture and depth.
- Eggs (2 large): These bind everything and add richness; room temperature eggs mix in more smoothly.
- Whole milk and sour cream (1/2 cup each): This combination keeps the crumb impossibly moist while the sour cream adds a subtle tang that makes the chocolate taste more like chocolate.
- Melted butter (1/2 cup): Cool it slightly before mixing so it doesn't scramble the eggs, and use unsalted so you control the salt level.
- Vanilla extract (2 teaspoons): Pure vanilla matters here because it carries the chocolate flavor forward instead of fighting it.
- Semisweet chocolate chips (1 cup): These are your textural anchor; scattered throughout, they stay mostly intact instead of melting completely into a fudge situation.
Instructions
- Get your oven ready:
- Preheat to 375°F and line two baking sheets with parchment paper while the oven heats. A hot oven is what gives you those crispy edges you're after.
- Combine the dry ingredients:
- Whisk flour, cocoa powder, baking powder, baking soda, and salt together in a large bowl. A whisk breaks up any cocoa lumps that a spoon would miss, which matters more than you'd think.
- Mix the wet ingredients separately:
- In another bowl, whisk together both sugars, eggs, milk, sour cream, melted butter, and vanilla until the mixture is completely smooth and the sugar grains have mostly dissolved. This takes a full minute or two of actual whisking.
- Bring them together gently:
- Pour the wet ingredients into the dry ingredients and fold them together with a spatula until you just barely see no flour streaks. Overmixing develops gluten and makes these dense instead of tender, so stop as soon as it comes together.
- Fold in the chocolate:
- Add the chocolate chips and give everything a few final folds to distribute them evenly throughout the batter.
- Scoop onto the pans:
- Using a large cookie scoop or 1/4 cup measure, drop mounds of batter onto the parchment, spacing them about 2 inches apart so the edges get room to spread and crisp up.
- Bake until barely set:
- Bake for 11–13 minutes; the tops should look set but a toothpick pulled from the center will have a few moist crumbs clinging to it. That's the exact moment you want to pull them out.
- Cool strategically:
- Let them sit on the baking sheet for 5 minutes so they firm up enough to move without falling apart, then transfer to a wire rack. This final step is what keeps the bottoms from getting soggy from residual heat.
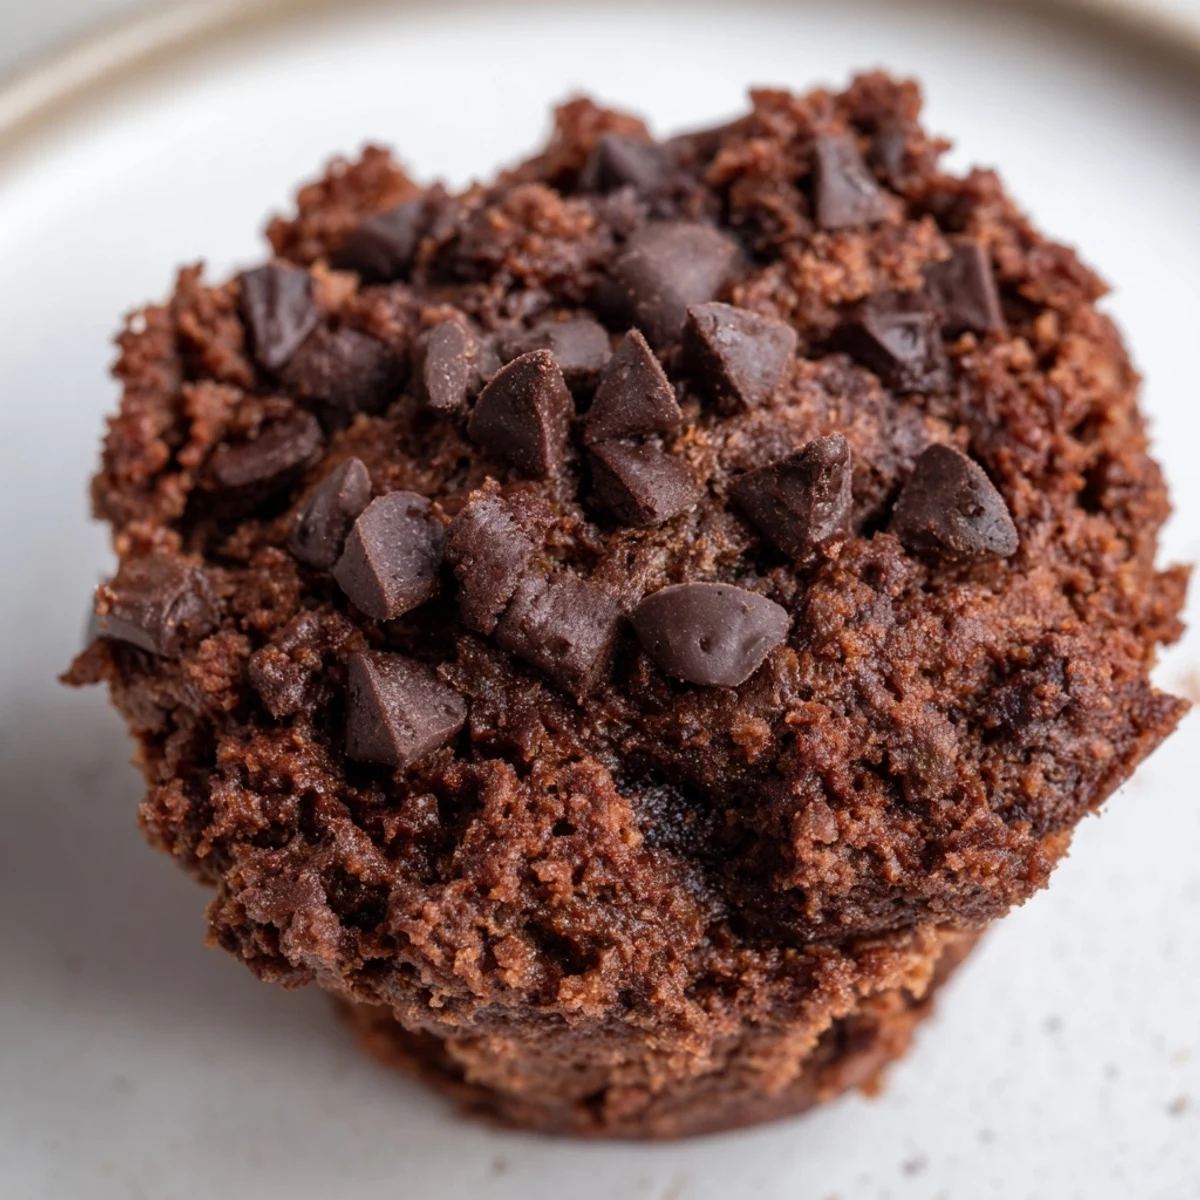 Pin it
 There's something almost meditative about pulling a pan of these from the oven and watching them cool just enough to handle. That moment when you know they're perfect—still warm, still soft inside—feels like a small victory every single time.
Making Them Your Own
These muffin tops are a blank canvas if you want them to be. I've pressed extra chocolate chips on top before baking for a crunchy surprise, stirred a pinch of espresso powder into the batter to deepen the chocolate flavor, and even swapped half the semisweet chips for white chocolate when I was feeling adventurous. Each change shifts the vibe without losing what makes them work.
Storage and Keeping Them Fresh
These are best eaten within two days while they still have that tender-but-crispy quality that makes them special. Keep them in an airtight container at room temperature, and if you somehow have leftovers, a quick 15 seconds in the microwave brings back some of that fresh-baked warmth without drying them out. I've also wrapped them individually and frozen them for up to a month—just thaw at room temperature and they taste nearly as good as fresh.
Why This Method Works
The reason muffin tops have become my go-to is that they solve a problem most people don't talk about: regular muffins are structurally unbalanced, with that disappointingly dense bottom that never quite tastes as good as the top. By ditching the tin and letting the batter spread on a flat pan, you create more surface area for crisping and avoid the trapped moisture that makes bottoms soggy. The higher oven temperature and shorter bake time mean the outside sets while the inside stays tender and fudgy, which is the whole point.
- Press a few chocolate chips onto the unbaked tops before baking for extra chocolate in every bite.
- Let the butter cool for a minute or two after melting so it doesn't cook the eggs when you whisk it in.
- If you're doubling this recipe, you'll need three baking sheets or plan to bake in batches.
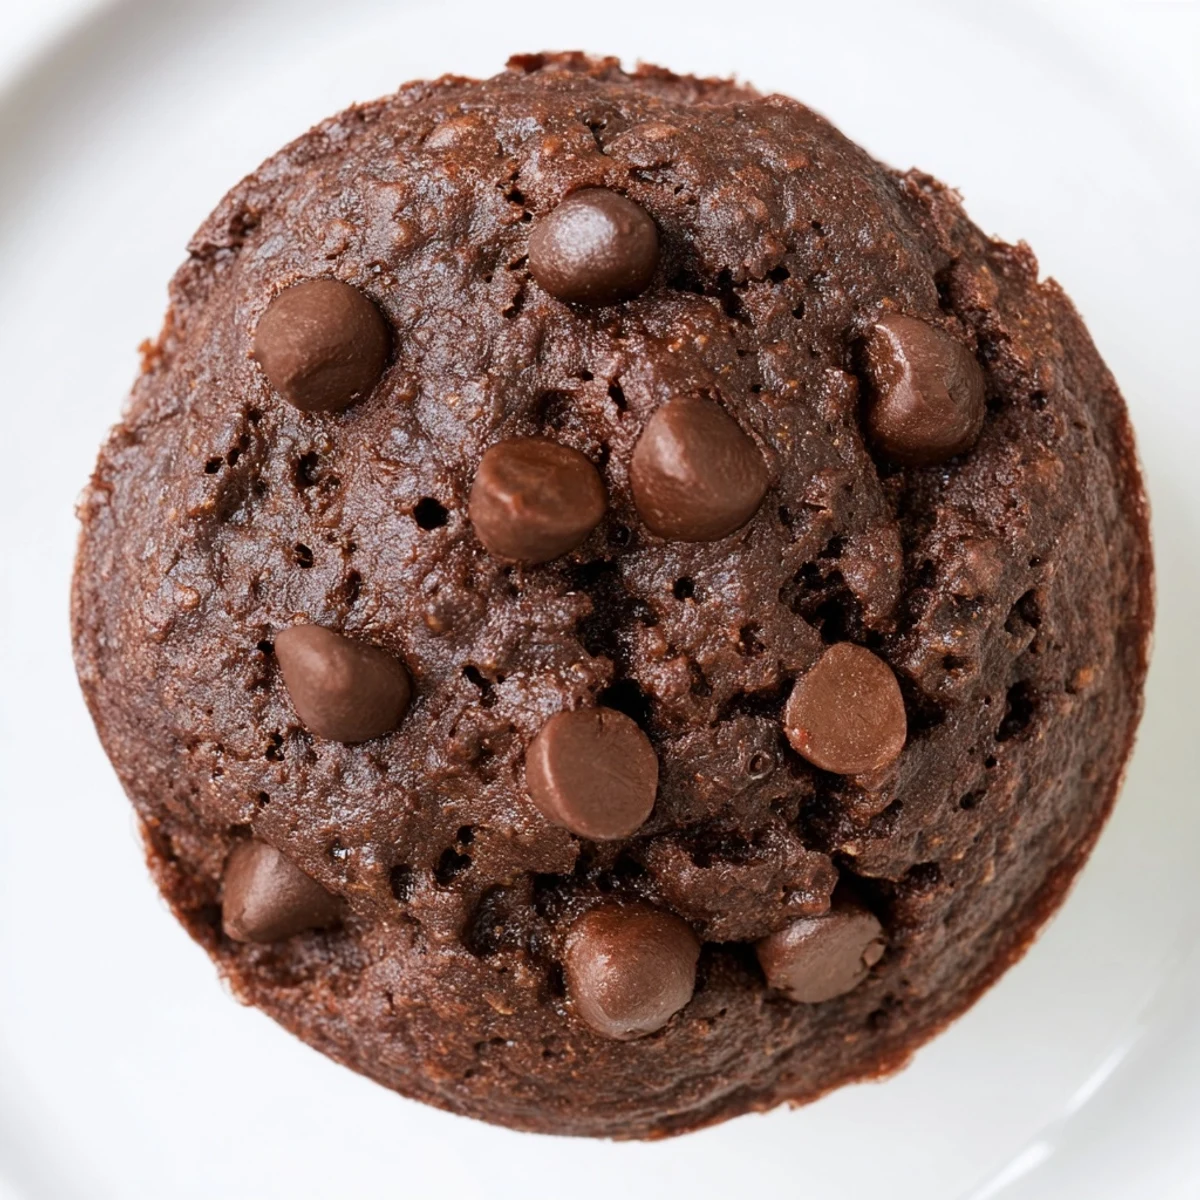 Pin it
 These muffin tops have become my answer to that 3 p.m. moment when the kitchen smells empty and needs a little warmth. They're proof that sometimes the best version of something comes from just doing it a little bit differently.
Recipe Q&A
- → What ingredients create the moist texture?
-
The combination of sour cream, butter, and eggs helps maintain a moist and tender crumb in these muffin tops.
- → How is the crisp edge achieved?
-
Baking the batter in generous mounds on parchment-lined sheets encourages the formation of crisp, flavorful edges.
- → Can the chocolate chips be substituted?
-
Yes, you can substitute with white or milk chocolate chips for a different flavor profile.
- → What is the best way to store these muffin tops?
-
Store in an airtight container to maintain freshness, ideally consuming within two days.
- → Does adding espresso powder affect flavor?
-
A pinch of espresso powder can enhance the depth of chocolate flavor without altering texture.
