 Pin it
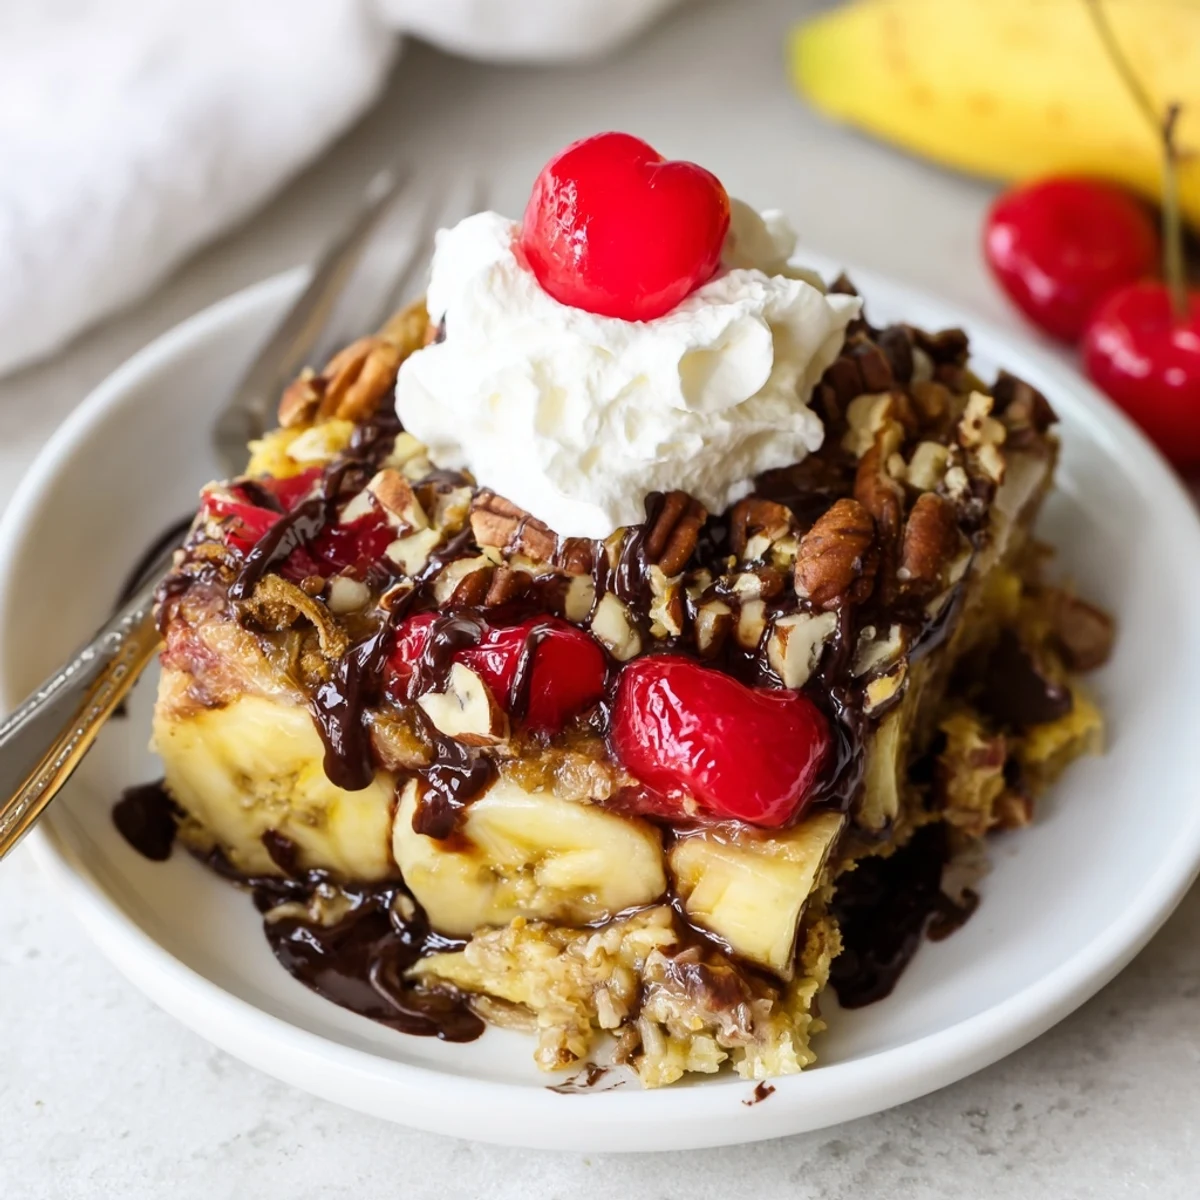
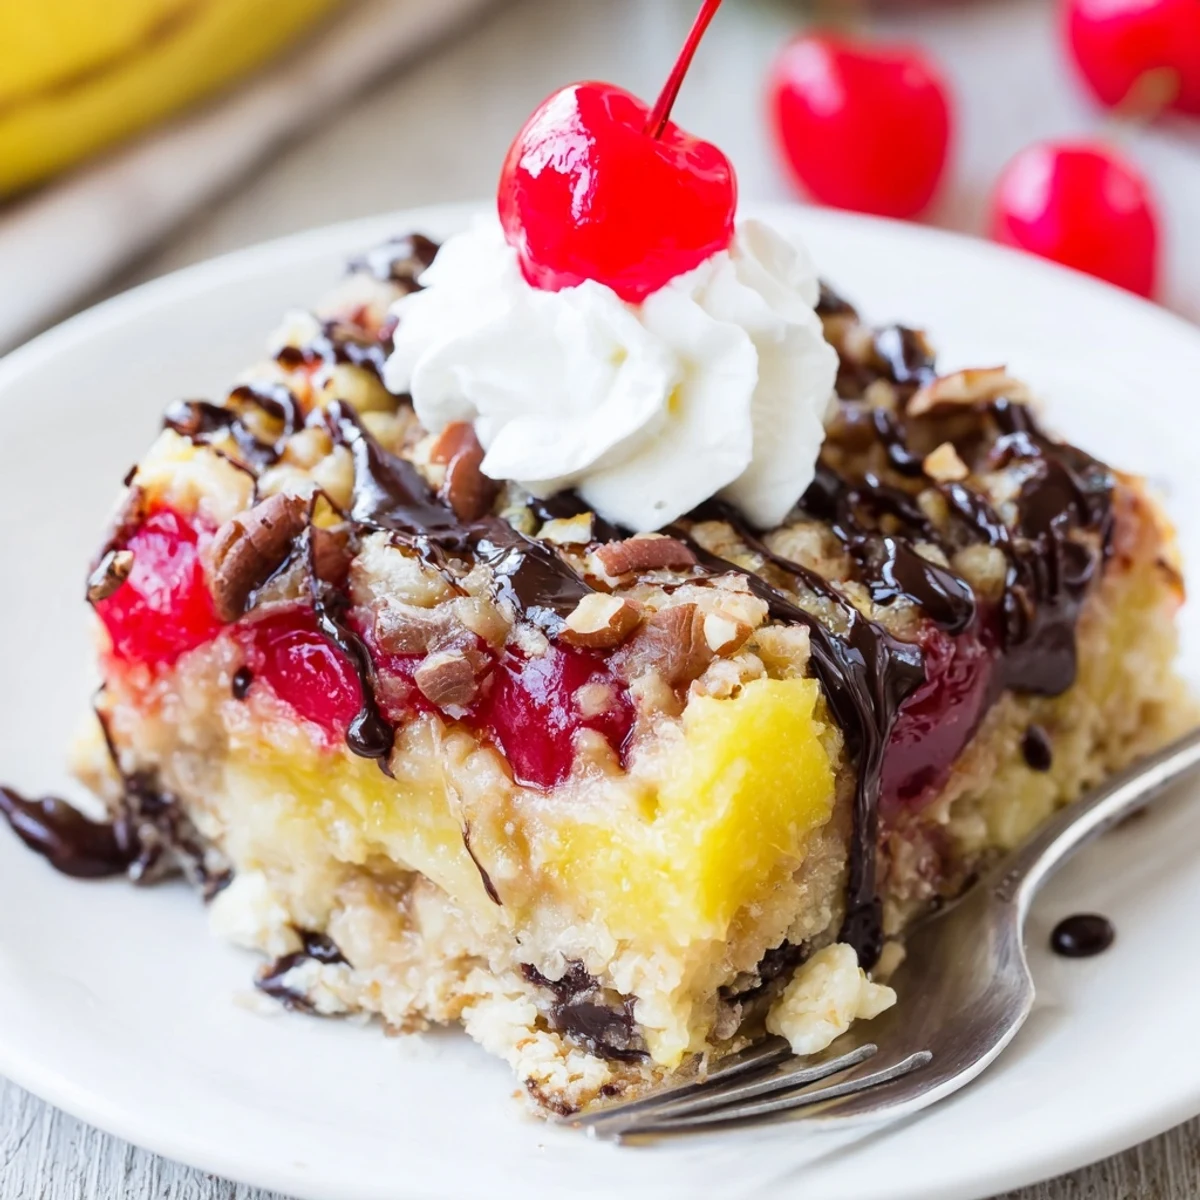
 This easy, nostalgic bake layers sliced bananas, drained crushed pineapple and halved maraschino cherries in a 9x13-inch pan, then sprinkles dry yellow cake mix, chocolate chips and optional nuts on top. Melted butter is poured over before baking 35–40 minutes until golden and bubbling. Let rest briefly, then serve warm with whipped cream, extra cherries and a drizzle of chocolate.
Some desserts just sound like a celebration from the start, and this Banana Split Dump Cake is no exception. The first time I tossed the ingredients together, my kitchen instantly filled with notes of caramelizing fruit and melting chocolate—pure chaos in the best way. Nothing beats the thrill of watching guests gather, peeking curiously as the layers transform in the oven. There’s a certain lightheartedness to this recipe that makes it feel like a party on a plate, anytime you bake it.
I once whipped this up for a last-minute game night, and the whole house got quiet mid-bite—that always makes me laugh, because it’s rare you hear silence when friends cram around my table. Watching everyone’s faces light up after the first spoonful, I realized there’s genuine magic in desserts that require almost no effort but bring absolute joy.
Ingredients
- Ripe bananas: Essential for that nostalgic banana split aroma—slice them thick so they hold their shape once baked.
- Crushed pineapple (drained): A punch of sweetness and juiciness, just be sure to really let it drain so your cake isn’t soupy.
- Maraschino cherries: These are non-negotiable for that sundae feeling—halve most but always save a handful whole for the top.
- Yellow cake mix: Sprinkle evenly; don’t stir or you’ll lose that rustic layering that makes the crust irresistible.
- Chocolate chips: Nestle these between layers, ensuring little pools of chocolate in every bite.
- Chopped walnuts or pecans (optional): Toast first if you have an extra minute, the crunch is unreal.
- Unsalted butter (melted): The secret to crisp golden crust—pour slowly to avoid dry pockets.
- Garnishes (whipped cream, extra cherries, chocolate syrup): Dress it up at the end and you’ll convince anyone you ordered dessert in.
Instructions
- Heat the oven and prep the dish:
- Get your oven warming to 350°F (175°C) and swipe a little butter (or spray) over your 9x13-inch dish—it’ll save you grief at clean-up time.
- Layer the bananas:
- Spread the banana slices over the base—if you sneak one, I won’t judge, their sugary scent is irresistible even raw.
- Spread the pineapple:
- Gently spoon the pineapple over the bananas and even out the layer, letting some juices mingle for extra flavor depth.
- Add the cherries:
- Tuck halved cherries throughout; it’ll look chaotic and lovely, just like a classic banana split.
- Sift on the cake mix:
- Shake the dry cake mix over the fruit in an even drift—this messy part is actually the secret to the perfect dump cake crust.
- Scatter chips and nuts:
- Flake chocolate chips and (if using) nuts across the top so every scoop gets that iconic mix of textures.
- Drizzle the melted butter:
- Pour the melted butter as evenly as possible—any missed bits can be tipped in with a spoon, aiming for full coverage.
- Bake to golden:
- Slide your dish into the oven for 35–40 minutes; when the edges bubble and the top turns golden, it’s done.
- Dress and serve:
- Let it cool just long enough not to scorch tongues, then scoop it out—pile on whipped cream, extra cherries, and chocolate syrup as freely as you like.
 Pin it
 On a Sunday afternoon, I remember my niece insisting the cherry arrangement was a matter of “great importance,” teaching me that garnishes doubled as entertainment. Turns out, there’s as much fun in layering and decorating as there is in actually eating the dessert together.
Your Pan Matters
I’ve learned baking this in glass versus metal changes the crispness of the edges—glass pans mean gentler browning, metal for a crunchier base. If you’re a sucker for the crispy corners, go metal and let it bake right up to 40 minutes.
Substitutions for Any Mood
One stormy night, I was out of yellow cake mix and swapped in chocolate, which made a richer, deeper dessert—sometimes pantry improvising results in the best surprises. You can also go nut-free or use vanilla cake mix for a lighter spin.
Serving Up Smiles
This is one of the few desserts that’s actually better a little warm than piping hot, so give it a few minutes to rest out of the oven. A scoop of vanilla ice cream on top is never a bad idea—if anything, it makes for a melty, magical mess.
- A little crunch from toasted nuts adds a grown-up edge if you like.
- If you want sharp slices, chill leftovers and cut cold—the layers set up beautifully.
- Don’t be shy with extra chocolate drizzle at the finish.
 Pin it
 This Banana Split Dump Cake is all about joy, silliness, and shared bites around the table—nothing complicated, just pure, crowd-pleasing comfort. I hope you bake it, eat it, and have as much fun as we do every time this dessert enters the scene.
Recipe Q&A
- → Can I use fresh pineapple instead of canned?
-
Yes. Chop fresh pineapple and drain any excess juice by patting pieces dry so the topping doesn't become soggy. Fresh fruit adds brightness but may need a brief extra bake if very wet.
- → How can I make it nut-free?
-
Simply omit the walnuts or pecans. For added texture without nuts, try extra chocolate chips, toasted oats, or a sprinkle of shredded coconut instead.
- → How do I know when it's done baking?
-
The top should be golden and the edges bubbling; the center will be set but still moist. A toothpick inserted into the cake-mix layer may not come out clean due to fruit, so rely on color and bubbling at the edges.
- → Can I swap the yellow cake mix for another flavor?
-
Yes—chocolate or vanilla cake mix both work nicely. Chocolate will deepen the flavor and make the filling richer, while vanilla keeps it lighter and lets the fruit shine.
- → What is the best way to serve and store leftovers?
-
Serve warm with whipped cream, extra cherries and a chocolate drizzle. Store covered in the refrigerator for up to 3 days; reheat gently in a low oven to restore warmth and gooey texture.
- → Can this be prepared ahead of time?
-
You can assemble the layers and refrigerate for a few hours before baking; add the melted butter right before baking for best texture. Alternatively, bake fully and rewarm before serving.
